How to Make Slides on a Chromebook
Introduction
Creating presentations has become easier with modern technology, and Chromebooks are no exception. Known for their speed, security, and simplicity, Chromebooks offer an excellent platform for creating slides. This guide will walk you through the process of making slides using Google Slides on your Chromebook. Whether you’re a student, teacher, or professional, mastering this skill is beneficial for various presentations.

Getting Started with Your Chromebook
Before diving into slide creation, ensure your Chromebook is all set up. First, power on the device and connect it to a stable internet network. Ensure that your Google account is ready, as this will be required to access Google Slides. If you don’t have one, creating a Google account is simple and free. Once you’ve logged in, you’re ready to start using the powerful suite of Google applications pre-installed on Chromebooks.
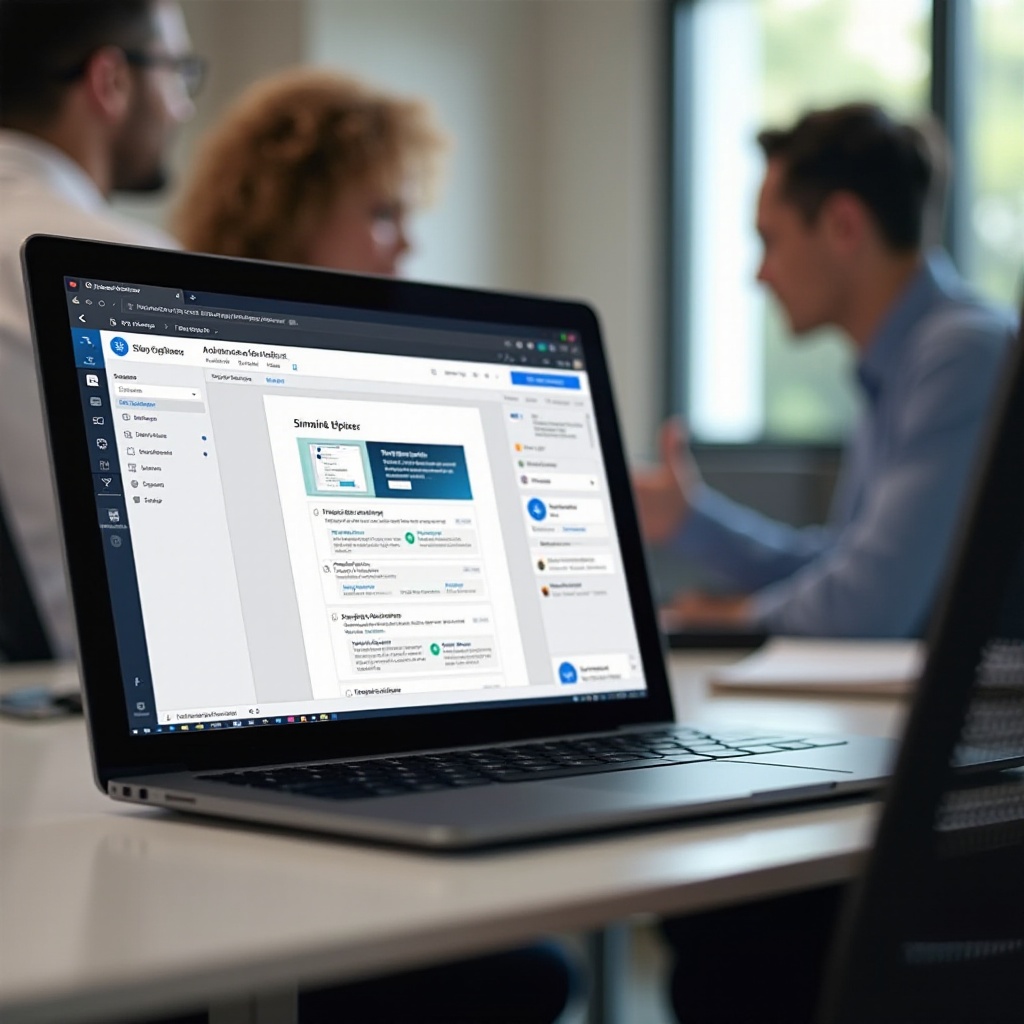
Using Google Slides on Chromebook
Google Slides is a versatile tool available to all Google account holders. To access it, open your browser and navigate to Google Slides by typing slides.google.com in the address bar. Alternatively, you can find Google Slides in your Google Apps menu. The app offers numerous features equivalent to traditional presentation software, making it possible to create dynamic and engaging slides directly from your Chromebook.
Step-by-Step Guide to Creating Slides
Creating a New Presentation
To start, open Google Slides and click on the ‘+’ button or ‘Blank’ option to begin a new presentation. You can also choose to start from a pre-made template that fits your needs.
Selecting and Customizing Templates
Google Slides offers various templates for different purposes. Browse the template gallery to find a design that suits your presentation. Once you have selected a template, customize it by changing the layout, colors, and fonts to align with your presentation’s theme.
Adding Text and Media
Adding text is straightforward: click on the text box and start typing. You can format your text using the toolbar above. To insert images or videos, use the ‘Insert’ menu. You can add images from your computer, Google Drive, or even search the web directly within Google Slides.
Advanced Features and Tools
Once you’ve mastered the basics, it’s time to explore the advanced features that can enhance your slides further.
Incorporating Images and Videos
Insert high-quality images and videos to make your slides more engaging. Use the “Insert” option to add relevant visual content directly.
Adding Transitions and Animations
To add transitions, click on the ‘Slide’ option in the toolbar and select ‘Change transition.’ Choose the transition type that best fits the flow of your presentation. For animations, select the element you want to animate, click on ‘Insert’ and then ‘Animation’ to set the desired motion effect.
Using Master Slides
Master slides control the design of your slide layouts. Navigate to the ‘Slide’ menu, choose ‘Edit master,’ and make changes to fonts or layouts that will be applied throughout your presentation.
Collaboration and Sharing
One of the most powerful features of Google Slides is the ability to collaborate in real-time. By clicking on the ‘Share’ button, you can invite others to view, comment, or edit your presentation. This feature is invaluable for team projects, allowing multiple people to work on a presentation simultaneously. Google Slides also makes it easy to present directly from your Chromebook by providing a ‘Present’ button, which launches a full-screen presentation mode.
Tips and Best Practices for Effective Slides
Creating engaging slides involves more than just adding text and images. Here are some best practices to follow:
– Keep text minimal and concise. Use bullet points for clarity.
– Use high-quality images and limit the number of colors.
– Maintain consistent design throughout the presentation.
– Utilize white space to avoid clutter.
– Practice your presentation to ensure smooth delivery.

Alternatives to Google Slides
While Google Slides is a fantastic tool, there are other options available if you’re looking for different features:
– Microsoft PowerPoint Online: Offers many of the same features as the desktop version and is accessible via a browser.
– Canva: Known for its design capabilities, Canva lets you create visually stunning slides.
– Zoho Show: An online presentation tool with collaboration features similar to Google Slides.
Conclusion
Creating slides on your Chromebook is a straightforward process with Google Slides. By following this guide, you can develop professional and compelling presentations. Practice the tips provided, and explore the advanced features to fully utilize the capabilities of Google Slides.
Frequently Asked Questions
Can I use PowerPoint on my Chromebook?
Yes, you can use Microsoft PowerPoint Online through your browser or download the PowerPoint app from the Google Play Store if your Chromebook supports it.
What if I don’t have internet access?
Google Slides offers offline access. Enable Offline mode in Google Drive settings, and you can work on your slides without an internet connection.
Are there any offline apps for creating slides on a Chromebook?
Yes, by enabling Google Slides for offline usage, you can create and edit presentations without an internet connection. Other apps like Microsoft PowerPoint (offline mode available) are also options.