Disable Touch Screen on Chromebook: Step-by-Step Guide
Introduction
Chromebooks, renowned for their seamless integration of hardware and software, are increasingly becoming the go-to choice for students, professionals, and casual users alike. A key feature that sets them apart is the touch screen, offering a tablet-like experience right on your laptop. But not everyone finds the touch screen indispensable. Whether you’re a traditionalist who prefers typing or you’re looking to conserve battery life, disabling the touch screen could be beneficial. This comprehensive guide will take you through the steps to disable the touch screen on your Chromebook, ensuring your device is customized to meet your current needs.

Understanding the Touch Screen Feature in Detail
The touch screen capability of Chromebooks brings the utility of a tablet with the functionality of a laptop into a singular device. It’s invaluable for activities like digital art, browsing, or interactive learning. Touch screens provide an intuitive, direct means of interaction that can often surpass a mouse or touchpad in terms of ease of use.
Despite its benefits, the touch screen can be a hindrance for those who engage in typing-heavy tasks or for those prone to inadvertent touches, leading to unintentional actions on the device. This makes disabling the touch screen a valuable option for users seeking a more precise and controlled computing environment.

Simple Steps to Disable Touch Screen via Chromebook Settings
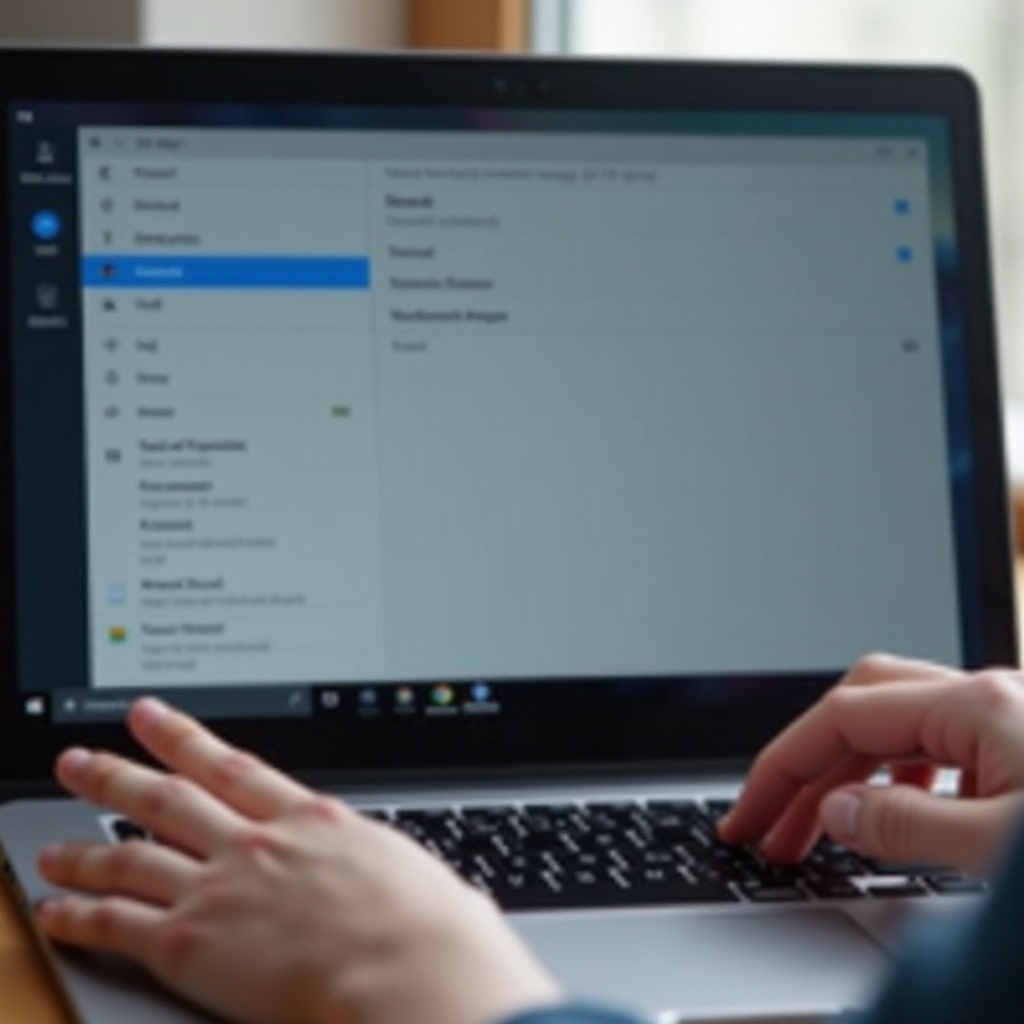
Let’s begin by exploring the straightforward method of using Chromebook settings to disable the touch screen. This quick and easy method suits those less inclined towards technical adjustments.
- Log into your Chromebook.
- Access the ‘Settings’ by clicking the time in the bottom-right corner, then selecting the gear icon.
- In the Settings app, look for the ‘Device’ section.
- Choose ‘Touchpad and mouse settings’.
- Toggle off any touch screen settings if available.
This method’s applicability may vary; not every Chromebook model supports a settings-based toggle for the touch screen. If these settings are unavailable on your device, using Crosh will be a more appropriate solution.
Advanced Method: Using Crosh to Disable Touch Screen
Crosh, the Chromebook shell, provides a command-line interface that can perform more complex tasks beyond graphical settings. It’s a powerful tool for users who are comfortable navigating system commands.
What is Crosh?
Crosh, shortening for Chrome Shell, is an interface accessible in Chromebooks that allows users direct access to system commands. Ideal for users familiar with command-line interfaces, Crosh can disable the touch screen when standard settings do not offer a solution.
How to Access Crosh
Accessing Crosh does not require extra installations and is straightforward:
- Press
Ctrl + Alt + Tto bring up the Crosh terminal.
Instructions to Disable Touch Screen Using Crosh
Once you’re in Crosh, follow these detailed steps to disable the touch screen:
- Type
shelland hit Enter to open a bash shell environment. - Enter
sudo suto gain root access for necessary permissions. - Run the command
echo 0x0 > /sys/devices/virtual/input/input1/enable. Note that the input device number (input1) might differ depending on your Chromebook model, so verification is essential.
By successfully entering these commands, your Chromebook’s touch screen should be disabled. If faced with challenges, refer to our troubleshooting tips.
Troubleshooting Touch Screen Disabling Issues
Occasionally, the touch screen may not disable as expected. Here are some steps to troubleshoot common issues:
- Verify Input Device Number: Confirm you’ve targeted the correct input device by using
ls /sys/devices/virtual/input/to list all devices. - Restart Required: Reboot your Chromebook to ensure the change takes effect.
- Update Software: Ensure your Chromebook is running the latest OS version to avert any compatibility issues.
Persisting problems might necessitate professional repair services or further technical troubleshooting.
Optimizing Chromebook Experience without a Touch Screen
With the touch screen turned off, consider optimizing your Chromebook usage through other efficient input methods. Here’s how:
Mastering the Keyboard and Touchpad
- Adopt advanced touchpad gestures, such as two-finger scrolling, to improve ease of navigation without the touch screen.
- Utilize keyboard shortcuts to enhance productivity, cutting down on the time needed to transition between apps.
Alternative Input Techniques
- Use Alt + Tab for swift application switching.
- Activate voice typing in Google Docs for hands-free document creation, particularly useful in situations where typing is inconvenient.
These methods will elevate your Chromebook usage, demonstrating that a touch screen isn’t essential for efficiency or productivity.
Conclusion
Disabling your Chromebook’s touch screen can lead to a more personalized device operation, catering to your specific preferences and use cases. Whether you’re opting to reduce distractions, enhance precision, or improve battery efficiency, the flexibility of Chromebooks allows you to easily toggle features using internal settings or advanced measures with Crosh. By maximizing your alternative input methods, your Chromebook usage will be both efficient and enjoyable, even without its touch screen.
Frequently Asked Questions
Can I re-enable the touch screen after disabling it?
Yes, you can easily re-enable the touch screen by reversing the steps outlined earlier in the guide.
Will disabling the touch screen improve battery life?
Disabling the touch screen can slightly reduce power consumption, thereby offering a marginal improvement in battery life.
Is it possible to disable the touch screen on all Chromebook models?
Most Chromebook models offer touch screen control via Crosh, but the availability of settings may vary. Always check your specific device’s manual for guidance.