How to Get Sound on Screen Recording iPhone
Introduction
Capturing activities on your iPhone through screen recording is an invaluable feature for various purposes. From sharing your gaming achievements or demonstrating app functionalities to assisting a friend with tech issues, a screen recording can be extremely beneficial. However, such recordings often fall flat without sound. A video with sound transforms a basic visual into a comprehensive, interactive experience. In this guide, we will explore how to integrate sound into your iPhone screen recordings. We’ll address setting up, troubleshooting, and improving the quality of your audio recordings. Whether using the built-in or an external microphone, our easy tips will enrich your screen capturing endeavors.
Setting Up Your iPhone for Screen Recording
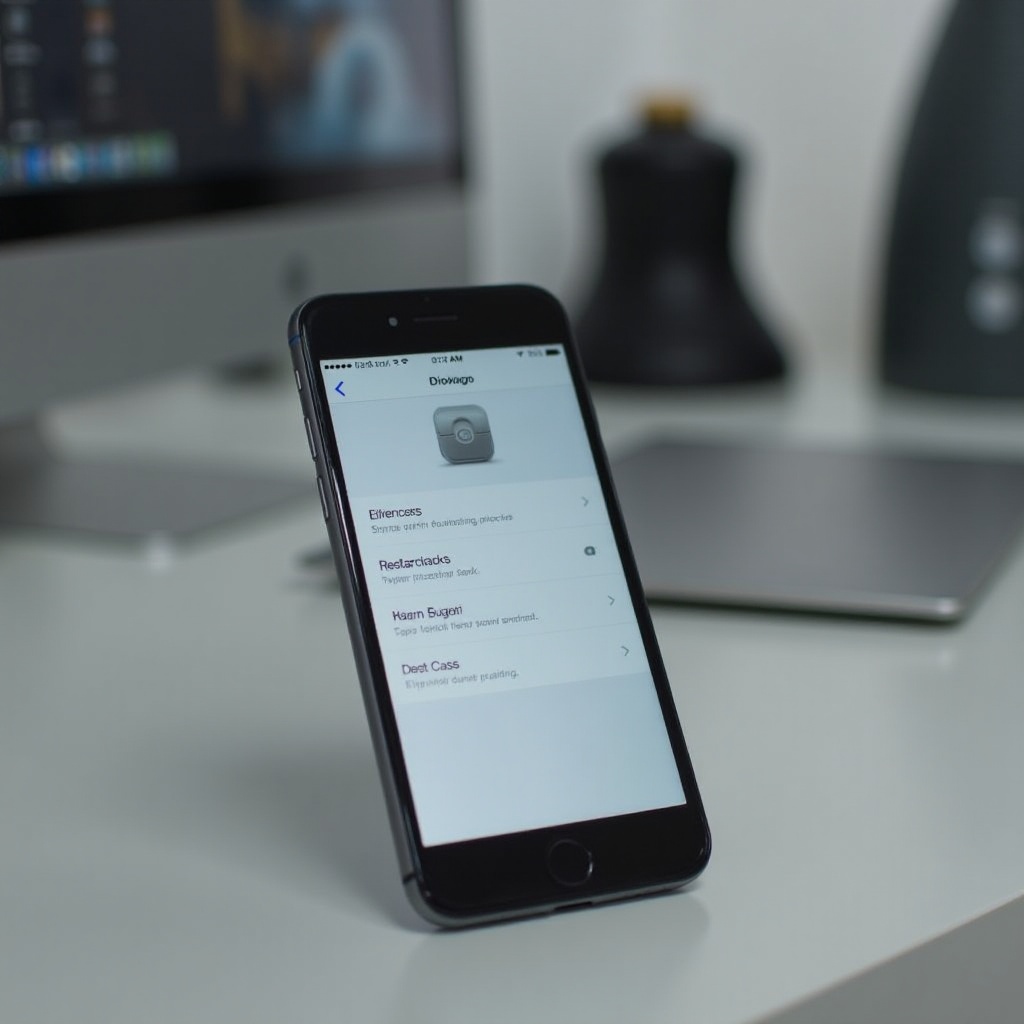
To begin adding sound to your screen recordings, it is essential to set up your iPhone correctly for screen capturing. iOS comes built-in with screen recording features, eliminating the need for third-party applications.
- Enable Screen Recording in Control Center:
- Open the ‘Settings’ app.
- Tap ‘Control Center,’ followed by ‘Customize Controls.
-
Locate ‘More Controls’ and add ‘Screen Recording’ by tapping the plus sign next to it.
-
Add the Control to Control Center:
After enabling, the Screen Recording option will appear under ‘Include,’ allowing quick access from the Control Center.
-
Access Control Center:
For iOS 14 and above, swipe down from the top-right corner. For earlier versions, swipe up from the bottom.
With these setup steps completed, you’ll need to ensure sound is included in your recordings.
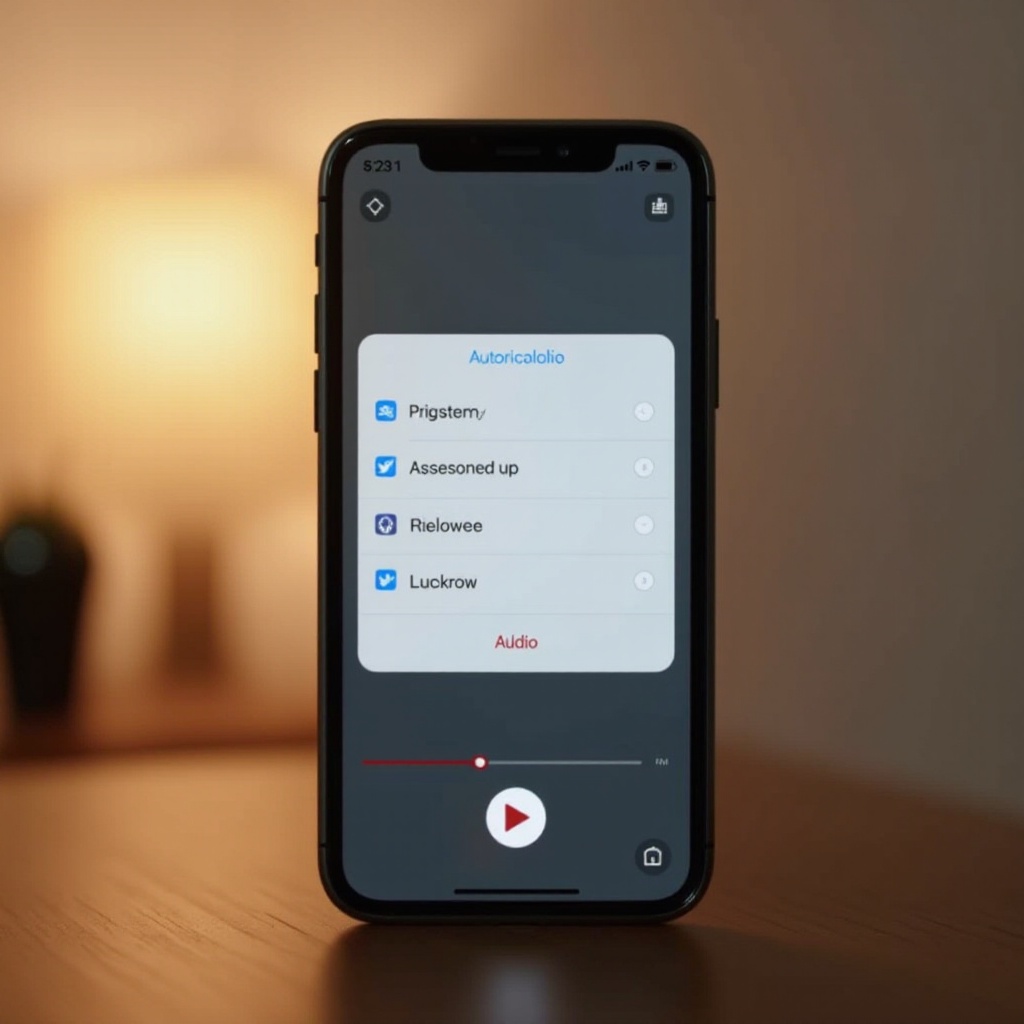
Enabling Sound in Screen Recordings
Accessing the Control Center
Initiate screen recording with sound by starting from the Control Center.
- Open Control Center:
- Swipe down from the screen’s top-right corner or swipe up from the bottom, based on your iPhone model.
Activating Microphone Audio
Screen recordings are silent by default. Follow these instructions to ensure that sound is recorded:
- Long Press the Record Button:
-
In the Control Center, long press the ‘Screen Recording’ button.
-
Turn on Microphone Audio:
-
Tap the microphone icon to turn it red, signaling that audio capture is activated.
-
Start Recording:
- Tap ‘Start Recording.’ The countdown begins, and the recording captures audio once finished.
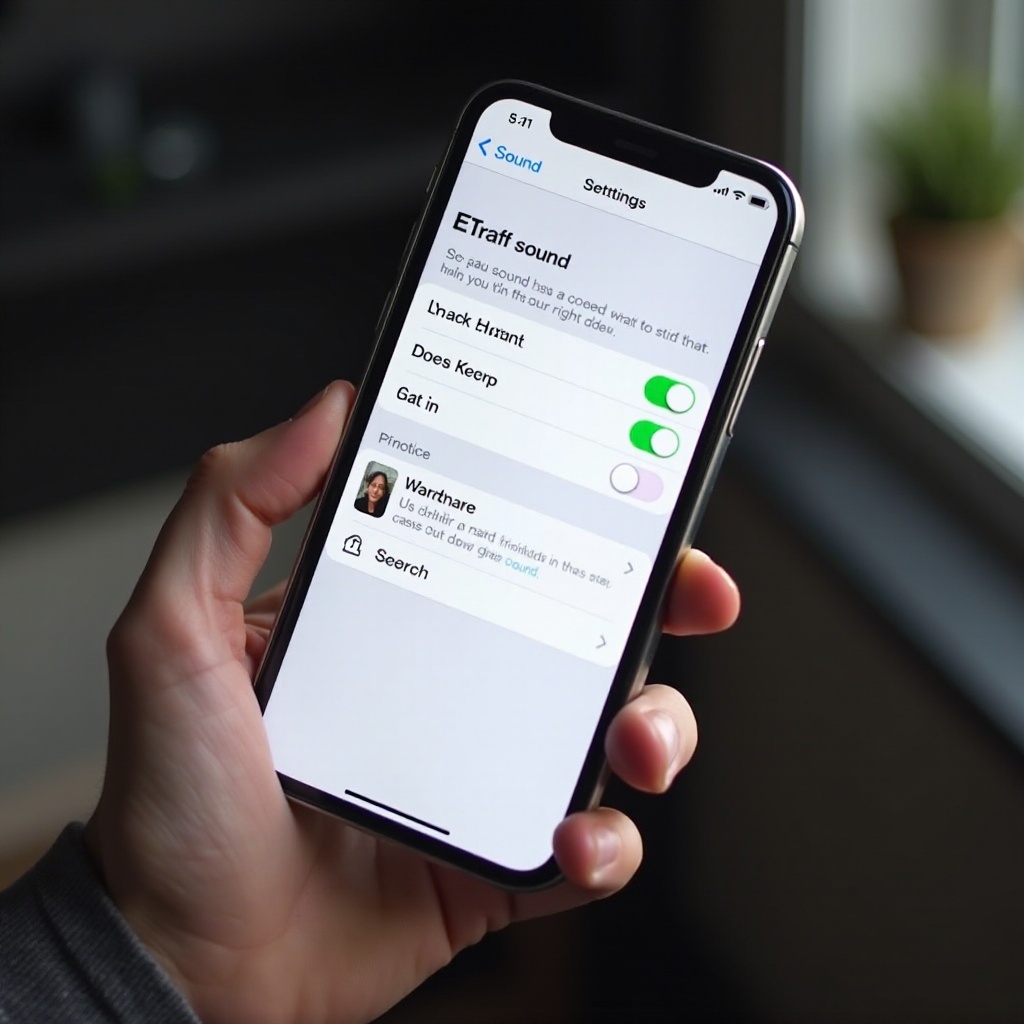
Confirming Sound Settings
Verify all critical configurations are in place to optimize sound quality:
- Volume Settings: Check that your device’s sound and volume settings are ideal for clear audio capture.
- Microphone Use Permissions: For app-specific recordings, ensure that microphone permissions are granted.

Troubleshooting Common Issues
No Sound During Playback
No sound during playback is a common issue. Here’s how to address it:
-
Check the Mute Switch:
Ensure your iPhone’s mute switch is off.
-
Review Volume Levels:
Ensure the volume is adequately high.
App-Specific Settings
Some apps feature unique sound settings that affect recordings:
-
App Permissions:
Confirm the app allows the use of the microphone.
-
App Volume:
Adjust the app’s volume settings if they are muted or too low.
Ambient Noise Interference
Ambient noises can compromise audio quality. To avoid this:
- Record in a Quiet Environment: Minimize background noise.
- Use Headphones: Consider wired headphones to block unwanted sounds.
Enhancing Your Screen Recordings with Audio
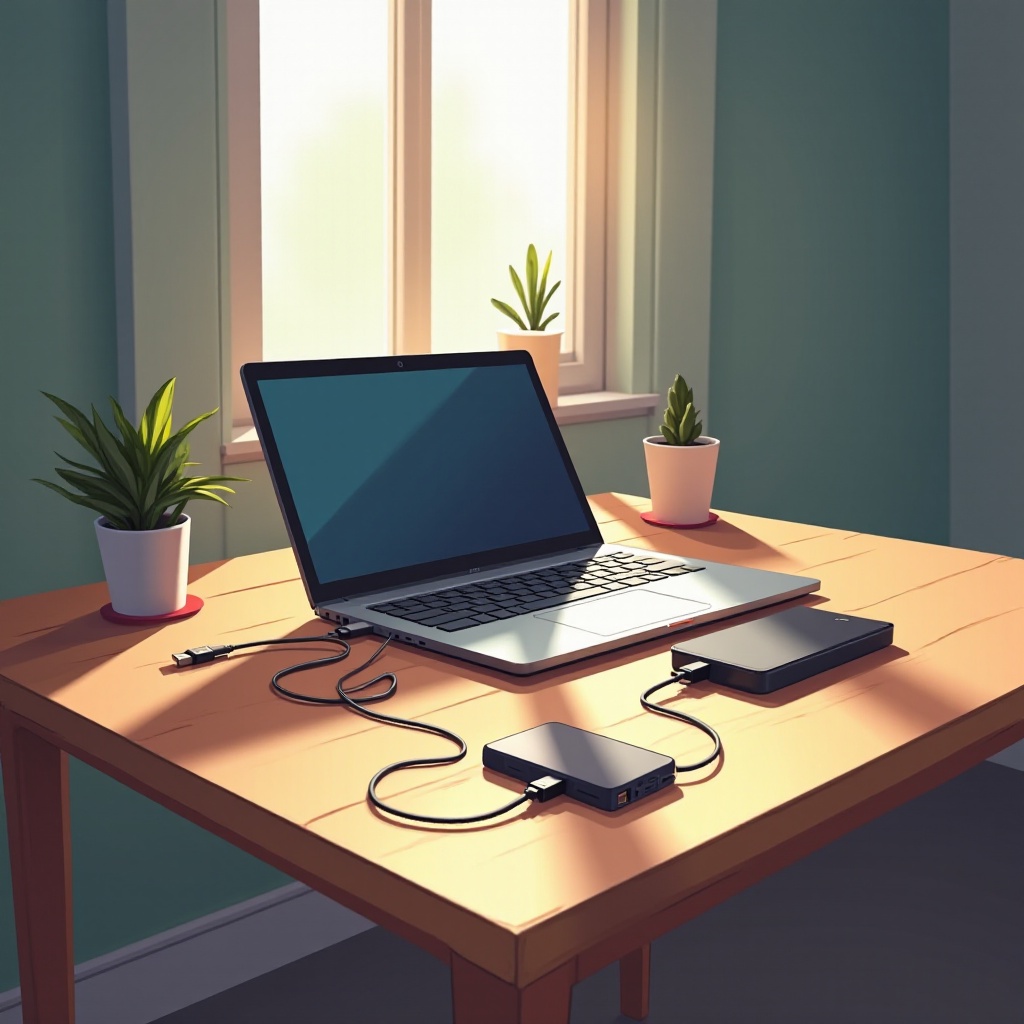
Using External Microphones
For enhanced audio quality, consider an external microphone:
-
Connect via Lightning Port:
Use microphones compatible with the lightning port.
-
Check Compatibility:
Ensure the device is suitable for your specific iPhone model.
Optimizing Sound Settings
Maximize your recordings’ sound quality by adjusting settings:
- Settings Adjustments: Refine sound settings under ‘Settings’ > ‘Sound & Haptics.
- Noise Reduction: Use noise-canceling functions when available to reduce background noise.
Editing for Improved Audio Quality
Enhance post-recording audio quality using editing software:
- Apps like iMovie: Utilize built-in or third-party apps for editing.
- Remove Background Noise: Employ tools to remove ambient noises.
Practical Applications for Screen Recording with Sound
Sound-augmented screen recordings are more than just a tech feature; they are powerful tools for various scenarios:
- Tutorials: Create instructional content with verbal explanations for clarity.
- Feedback: Offer design or app feedback with audio commentary.
- Game Streaming: Share gameplay with audio narratives for engaging content.
Conclusion
Integrating sound into your iPhone screen recordings unlocks numerous possibilities, letting you craft more engaging and informative content. Proper device setup and an understanding of common troubleshooting steps ensure you produce sound-inclusive, high-quality recordings. Explore additional enhancements like external microphones and editing techniques to elevate your recordings to the next level.
Frequently Asked Questions
Is there a way to record internal audio only on an iPhone?
No, iPhones currently only allow microphone audio during screen recording, not internal audio directly.
How can I improve the sound quality of my screen recordings?
You can use external microphones and audio editing apps to enhance sound clarity and reduce ambient noise in your screen recordings.
Why is there no sound in my app screen recording?
Check if the app has audio recording restrictions or specific settings that need adjustments and confirm that your microphone is enabled in the Control Center.