Why Is My VR Not Turning On? A Step-by-Step Fix Guide for VR Headsets
Introduction
If your headset stays dark, refuses to boot, or shuts off without warning, the culprit is usually simple: low or dead battery, a weak or damaged cable, a stuck update, or a safety lockout from heat. The good news is you can fix most of these issues at home with a few quick checks. This guide walks you through a clear path: identify the exact symptom, try fast wins, validate power delivery, then move step by step through resets, software recovery, and hardware checks. You will also see brand-specific tips for Meta Quest, PlayStation VR2, Valve Index, HTC Vive, Pico, and others.
Start at the top and move down in order. Each section builds on the last to help you isolate the fault with minimal effort and no guesswork.
Start Here: What ‘Not Turning On’ Actually Looks Like
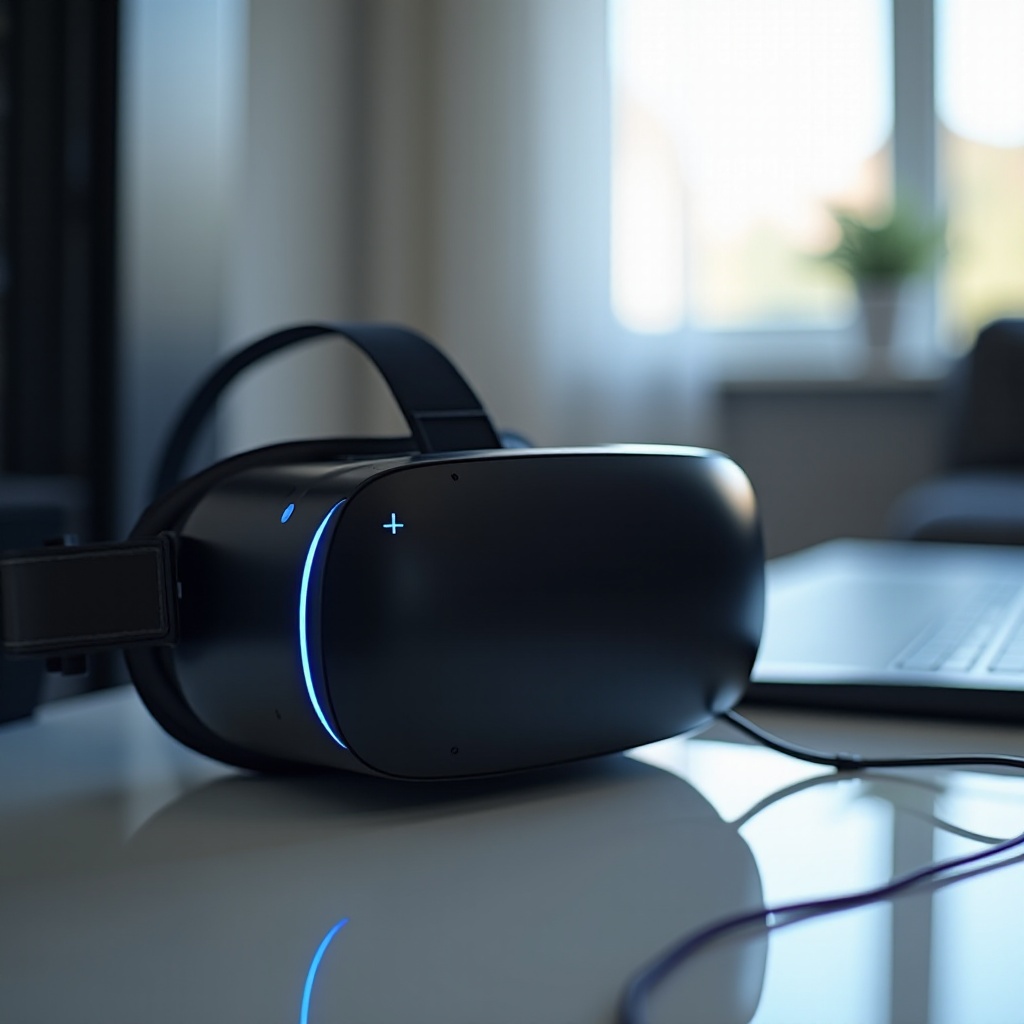
Before you attempt a fix, define the symptom precisely. The way your headset behaves tells you where to look first. Watch the LED, listen for fans, haptics, or startup chimes, and note what happens when you press the power button, plug in a charger, or connect to your PS5 or PC. No light and no sound points to power delivery. A logo that hangs points to firmware. A black screen with audio points to a display or sensor issue.
Write down the pattern. Once you can name the symptom, you can pick the right next step.
No LEDs vs solid/red/amber LEDs
No LEDs usually means the battery is flat or the charger or cable is not delivering power. A steady amber or orange light on many headsets means charging. Green means charged. A steady red can mean low battery or a charging error. If you see a color but it never changes after 30–60 minutes, swap the charger and the cable.
Black display with haptics or sound
If you hear a chime, controller beeps, or fan noise but see no image, the headset may have booted but kept the panel off. Common causes include a blocked proximity sensor, a loose face gasket that misses the sensor, or a UI crash. Remove face padding and test the sensor by covering it with a finger. If the display lights, refit the gasket.
Boot loop vs instant shutdown
A boot loop shows a logo, goes black, and repeats. That often means a failed or interrupted update. Instant shutdown after a flash may indicate a weak battery that sags under load or a failing power button.
Now that you can describe the symptom, you can try quick fixes targeted to it.
Five-Minute Quick Wins Before Deep Troubleshooting
With the symptom in hand, run simple checks that resolve many cases in minutes. These steps require no tools and do not erase data.
Try a different outlet, charger, and cable
Move to a known-good wall outlet. Use a 20W or higher USB-C Power Delivery charger and a certified USB-C cable. Avoid charging from a laptop USB port for recovery. Let the headset charge for 30–60 minutes before you test the power button again.
Force restart or soft reset button combos
Press and hold the power button for 10–20 seconds to force a restart on most headsets. If your headset supports a boot menu, hold power + volume down, then select Restart. A forced restart clears minor crashes without wiping data.
Remove accessories and let it cool
Detach battery head straps, face covers, docks, hubs, and skins. Accessories can block sensors, starve power, or add heat. If the shell feels warm, leave it unplugged for 15 minutes and try again after it cools.
If these fast steps do not work, confirm that your power and charging setup meets the basics. That prevents deep troubleshooting on a weak power source.
Power and Charging Fundamentals You Can’t Skip
Most no-power complaints trace back to charging. Validate the charger, the cable, and the battery state before anything else.
Battery deep discharge and revival behavior
If the battery sits empty, it can enter a deep discharge state. Many headsets need a slow, steady charge before any LED turns on. Leave it on a high-quality wall charger for 30–60 minutes without pressing the power button. Avoid low-power USB ports during revival. Patience here often brings a dead headset back to life.
Charger wattage/voltage and cable quality
Aim for a charger that delivers at least 15–20W (for example, 5V/3A or USB PD). Cheap or long cables can drop voltage and confuse charge controllers. Use a short, certified USB-C cable. Watch for the LED to shift from dark to amber, then to green, as a sign of healthy charge.
USB-C PD vs legacy USB-A charging
USB-C Power Delivery negotiates higher current and voltage. Many headsets expect PD to reach fast charge and maintain stable power. Legacy USB-A ports often output 0.5–1A, not enough for boot. Use a wall PD charger for any recovery attempt.
Once you confirm clean, stable power, it is time to apply correct startup and reset sequences. That avoids unnecessary factory resets and keeps your data safe.
Correct Startup and Reset Sequences by Headset Type
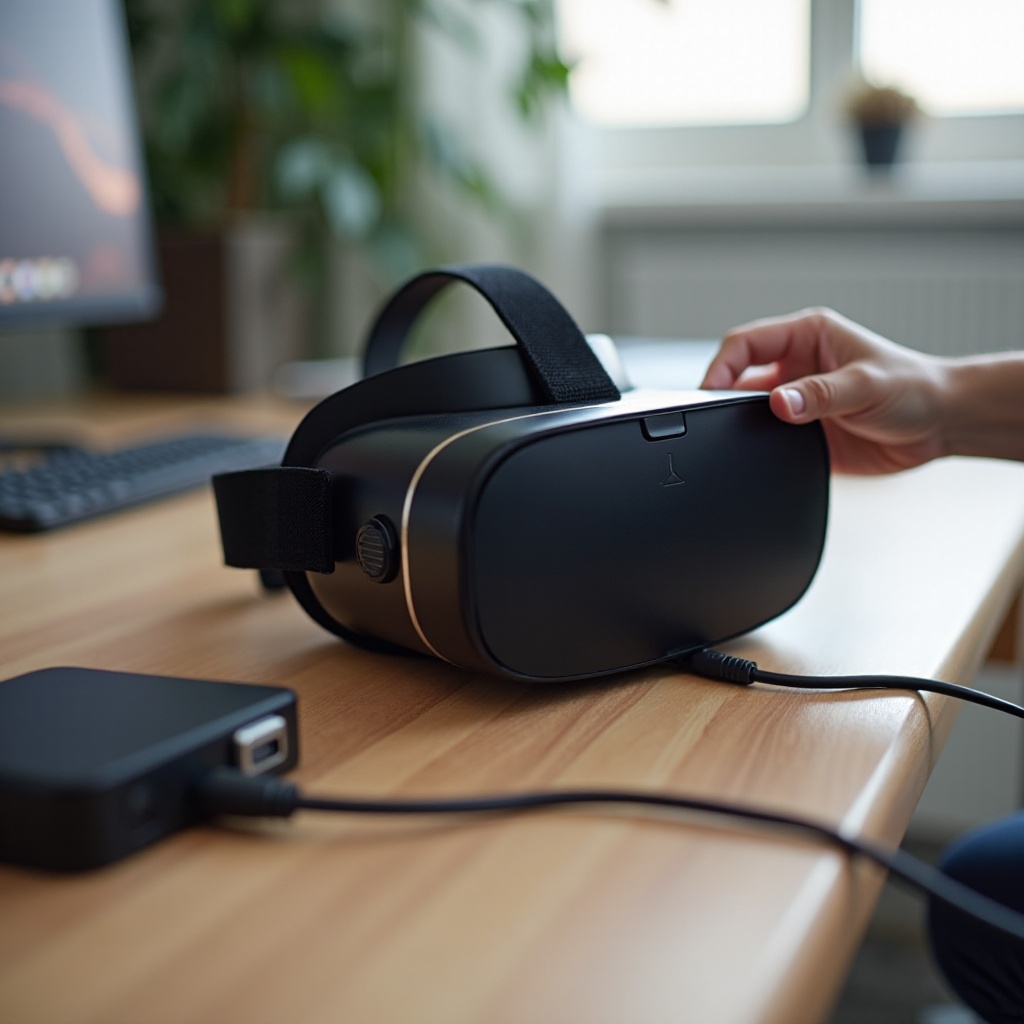
Different headsets use different button timings and menus. Using the right sequence can be the difference between a quick fix and a data wipe.
Short-press vs long-press timing
A short press may wake the headset from sleep. A longer 1–3 second press issues power on. A very long 10–20 second press forces a reboot. Count slowly, watch the LED, and feel for a haptic bump. Precision matters here.
Forced restart and hard reset sequences
On standalone headsets like Meta Quest or Pico, a long hold of the power button triggers a hard reboot. To open the boot menu, hold power + volume down until the menu appears, then select Restart. Try this before any factory reset.
What to back up before a factory reset
If you must reset, preserve your captures and confirm account sync. On many devices, you can copy media to a PC. Cloud restores can reinstall apps but may not restore all save data. Check your brand s support steps so you do not lose irreplaceable content.
If timing and resets do not solve it, use platform-specific indicators and known fixes. Each brand offers useful signals you can act on.
Headset-Specific Power Indicators and Fixes
Power codes and connection paths differ by brand. Read them and follow the path they suggest.
Meta Quest 2/3/Pro LED codes and charge rules
On Quest models, amber or orange means charging, green means full, and red means low or charging error. If the LED stays dark while plugged in, suspect the cable or port. Try a force restart (hold power 10–20 seconds). For deep discharge, charge for 30–60 minutes without touching the power button, then try again. Remove third-party battery straps and charge the headset directly from a wall PD charger.
PlayStation VR2 power path and cable checks
PS VR2 draws power from the PS5 over USB-C. Seat the cable firmly at both ends and test both the front and rear USB-C ports. Boot the PS5 first, then connect the headset. Disable USB power saving and Rest Mode during testing. Update PS5 system software and check for headset firmware prompts in Settings.
Valve Index, HTC Vive, Pico, and other DC-powered HMDs
For Index and Vive, make sure the link box power brick is plugged in and its LED is on. Use the GPU s full-size DisplayPort. Avoid adapters at first. Try a different DP port and swap USB cables. For Pico and similar standalone devices, follow the same charging and sensor checks as Quest.
If brand cues suggest software trouble, handle firmware and app issues that can mimic a dead headset.
Firmware and Software Causes That Mimic Power Failure
A failed update or a hung service can leave the display dark while the system runs in the background. Address these software blockers before you assume hardware failure.
Stalled updates and recovery
If the headset died mid-update, connect it to a stable wall charger and Wi‑Fi for 30–60 minutes. Many devices resume and complete the update. If they do not, use the boot menu to reboot, clear cache (if available), or apply recovery.
Mobile app pairing and cloud restore pitfalls
For standalone headsets, open the companion app and confirm the headset appears online. Re-pair if the app shows offline or pairing errors. Cancel a stuck restore and start a fresh setup. A clean pairing often clears black screens after setup.
Controller or proximity sensor causing a black screen
A blocked or failed proximity sensor keeps the panel off. Remove the face gasket, clean the sensor area, and test by covering the sensor with a finger. If the panel lights, refit or replace the gasket. If controllers wake sounds play but the screen stays black, restart the headset and re-seat accessories.
If software checks out, verify the entire power and signal chain for PC VR. A weak link there often looks like no power.
PC VR Power Chain Checks
Tethered headsets depend on clean power, stable data, and a direct graphics path. Treat each link as a possible failure point and test them in order.
Link box power and LED states
Confirm the link box or inline power hub has power. Status LEDs should be on and steady. Swap the AC adapter if you have a spare. Some boxes hide a power switch; toggle it and watch for light changes. If the link box LEDs are dark, the headset will appear dead.
GPU port selection and DisplayPort 1.4 cables
Connect the headset to the discrete GPU, not the motherboard. Use a short, high-quality DisplayPort 1.4 cable. Avoid HDMI adapters unless the headset supports them. Try another DP port to rule out a bad connector.
USB power management on Windows, macOS, and Linux
On Windows, disable USB selective suspend and set USB hubs to not power down. Use rear I/O ports on desktops for more stable power. Update chipset, USB, and GPU drivers. On laptops, plug in AC power and enable performance mode so USB-C and DP alt-mode have enough power and bandwidth.
If the PC chain looks solid and the headset still acts dead, consider environmental factors. Heat and sunlight can trigger protective shutdowns that resemble power faults.
Thermal and Environmental Factors
Headsets protect themselves from damage with heat lockouts and sensor safeguards. These conditions can make a healthy headset look dead.
Overheat lockouts and safe cool-down
If the headset feels warm or you used it in a hot room, let it cool for 15–30 minutes before trying again. Do not charge while hot. Restart only when the shell feels at room temperature.
Sunlight damage, humidity, and lens heat
Direct sunlight through lenses can burn the screen and confuse sensors. High humidity can fog sensors and block the proximity trigger. Store the headset in a case away from windows and heaters, and use a lens cover when not in use.
If heat and environment were not the cause, follow a safe recovery plan for black screens and stuck logos. This protects data and avoids needless resets.
Stuck on Black Screen or Logo? Recover Safely
When the headset shows a logo then freezes, or stays black but responsive, use recovery steps that do not wipe data first.
Safe mode options (if available)
Enter the boot or safe mode with the power and volume keys. Choose Restart first. If that fails, look for Clear Cache or Repair options if your model provides them. Only proceed to reset if lighter options fail.
Factory reset steps and data implications
As a last resort, perform a factory reset following the official procedure for your headset. This deletes local data and settings. Confirm account credentials and back up captures before you proceed. After the reset, allow the device to fully update while on a charger and strong Wi‑Fi.
If recovery does not help, turn your attention to accessories. Add-ons can block sensors or limit current without obvious signs.
Accessory Conflicts and Power Blockers
Extras make headsets more comfortable but can introduce power and detection problems that look like a dead device.
Battery head straps and pass-through power limits
Some battery straps cannot pass enough current to both run and charge the headset. Disconnect the strap and charge the headset directly from a wall PD charger. If the vendor offers firmware for the strap, update it and retest.
Face gaskets, skins, docks, and sensor occlusion
Thick face gaskets, skins, or misaligned covers can block the proximity sensor. Magnetic docks may supply only trickle current. Remove all extras and test the bare headset on a known-good charger and cable. If it boots, reintroduce accessories one by one to find the offender.
When accessories are not to blame, look for hardware red flags. Some signs strongly suggest a fault that needs repair.
When It’s Likely Hardware Failure
Certain symptoms point to components you cannot fix at home. Identifying them early saves time and protects your warranty.
Signs of bad power button, mainboard, or tether
A mushy or stuck power button, a burnt smell, visible cable kinks, or rattling inside the shell all spell trouble. If the LED flickers or the headset resets when you wiggle the cable, the tether is likely bad. Replace the cable with an official or certified one to test. If nothing changes, the fault may be on the mainboard or battery pack.
Warranty, receipts, and RMA prep checklist
Prepare for support by gathering proof of purchase, serial numbers, photos or a short video of the issue, and a clear list of steps you tried. Contact support through official channels. Ask about advanced exchange, authorized repair, and data handling so you know what to expect.
Even after you fix the issue, good habits will keep the headset healthy and ready. A few daily and monthly routines prevent most no-power surprises.
Preventative Habits to Avoid ‘Won’t Turn On’ Next Time
Take simple steps to protect the battery, ports, and firmware. These habits reduce wear and stop problems before they start.
Charge cycles, storage level, and scheduled updates
Do not store the battery empty. If you will not use the headset for weeks, leave it at 40–60% charge and top up monthly. Allow scheduled updates to run while on a charger and stable Wi‑Fi so you do not catch a headset mid-update.
Surge protection and cable strain relief
Use a surge protector on your PC or console to prevent brownouts. Route cables with slack and avoid sharp bends. Replace frayed or heat-damaged cables as soon as you spot them.
Cleaning ports and buttons safely
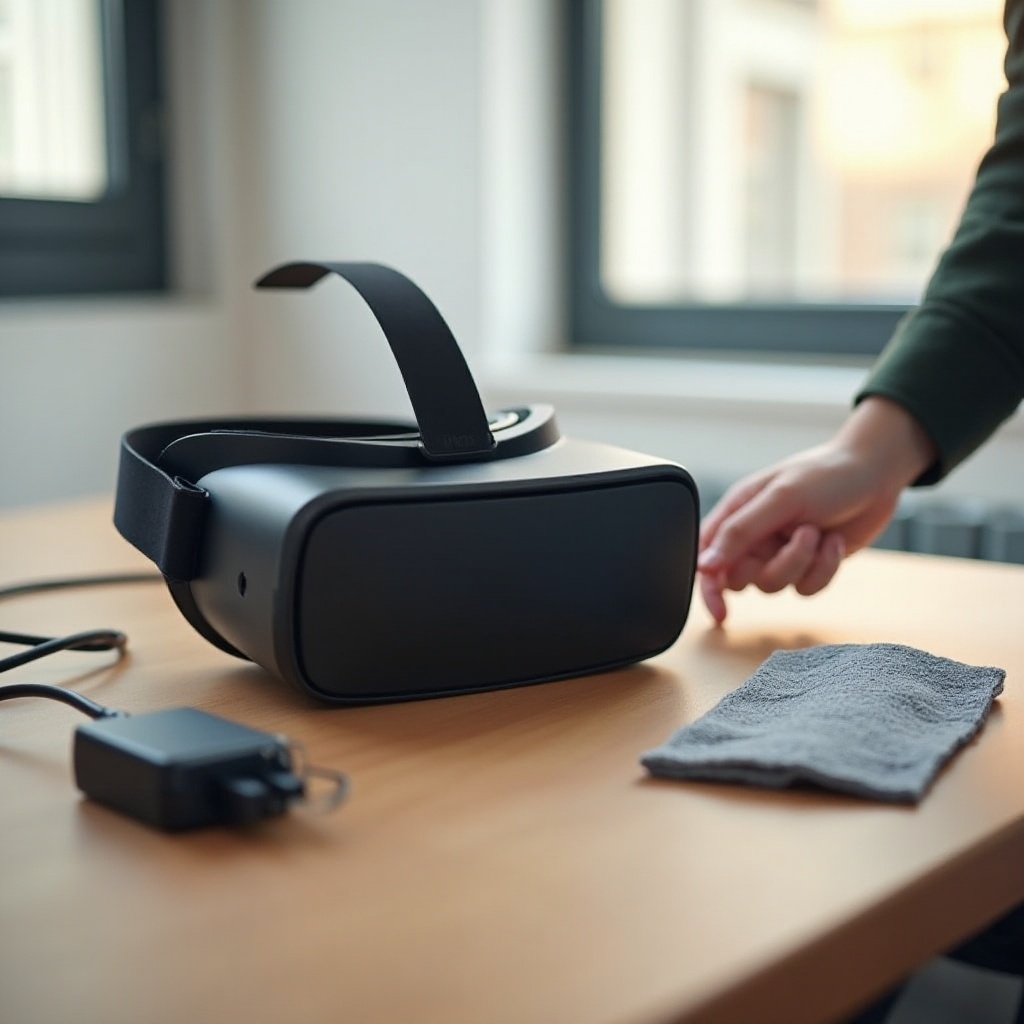
Power down, then clean USB-C and DisplayPort sockets with short bursts of compressed air. Wipe buttons, lenses, and sensors with a dry microfiber cloth. Keep liquids away from ports and avoid harsh solvents on plastic parts.
Conclusion
Most cases of why your VR will not turn on come down to power, cables, or software hiccups. Define the symptom, try quick wins, and confirm clean power first. Use the correct restart sequences and brand cues to guide recovery, then validate your PC or PS5 power chain if you use a tethered headset. Remove accessories that can block sensors or limit current. If the headset still shows no signs of life, collect evidence and contact support to protect your warranty. Careful charging, cable care, and safe storage will help you avoid no-power surprises in the future.
Frequently Asked Questions
How long should I charge a VR headset that appears dead before it will power on?
Give it 30–60 minutes on a high-quality wall charger that supports USB-C Power Delivery. Do not try to turn it on during that time. If you still see no LED after an hour, swap to a known-good cable and charger, then try another outlet. Some deeply discharged batteries need a few short charge cycles to stabilize.
Why does my VR show a black screen even though the LED is on?
The system may be running while the display stays off due to a blocked proximity sensor, a stuck service, or a failed handshake with your PC or PS5. Remove and refit the face gasket, clean the sensor area, and test by covering the sensor with a finger. Force restart the headset. On PC VR, reseat the DisplayPort and USB cables and disable USB power saving. If a logo appears and freezes, let updates complete or use the boot menu to reboot.
Can a bad cable or accessory really stop my VR from turning on?
Yes. Weak or damaged USB-C and DisplayPort cables cause voltage drops and handshake failures that look like a dead headset. Third-party battery straps, docks, and hubs can limit current and confuse charging. Always test the bare headset with a known-good wall PD charger and certified cables. If it powers on, reintroduce accessories one by one to find the culprit.