
Connecting Ring Doorbell to Wi‑Fi: Step‑by‑Step Setup, Network Settings, and Quick Fixes
Introduction
Connecting ring doorbell to wifi should feel simple, not stressful. This guide shows you how to set up any Ring doorbell fast, tune your Wi‑Fi for stable video, and fix common errors without guesswork. You will see exactly which band to use, which router settings matter, and how to place your hardware so live view loads quickly and recordings never skip.
We will start by preparing the phone, the app, and the network so the first attempt succeeds. Then you will follow a quick setup flow that works for most homes. After that, model‑specific notes clear up differences between battery, wired, and PoE models. Once connected, we will refine Wi‑Fi and placement, adjust router settings, and walk through targeted fixes. The final section offers advanced tips that keep your doorbell reliable day after day.
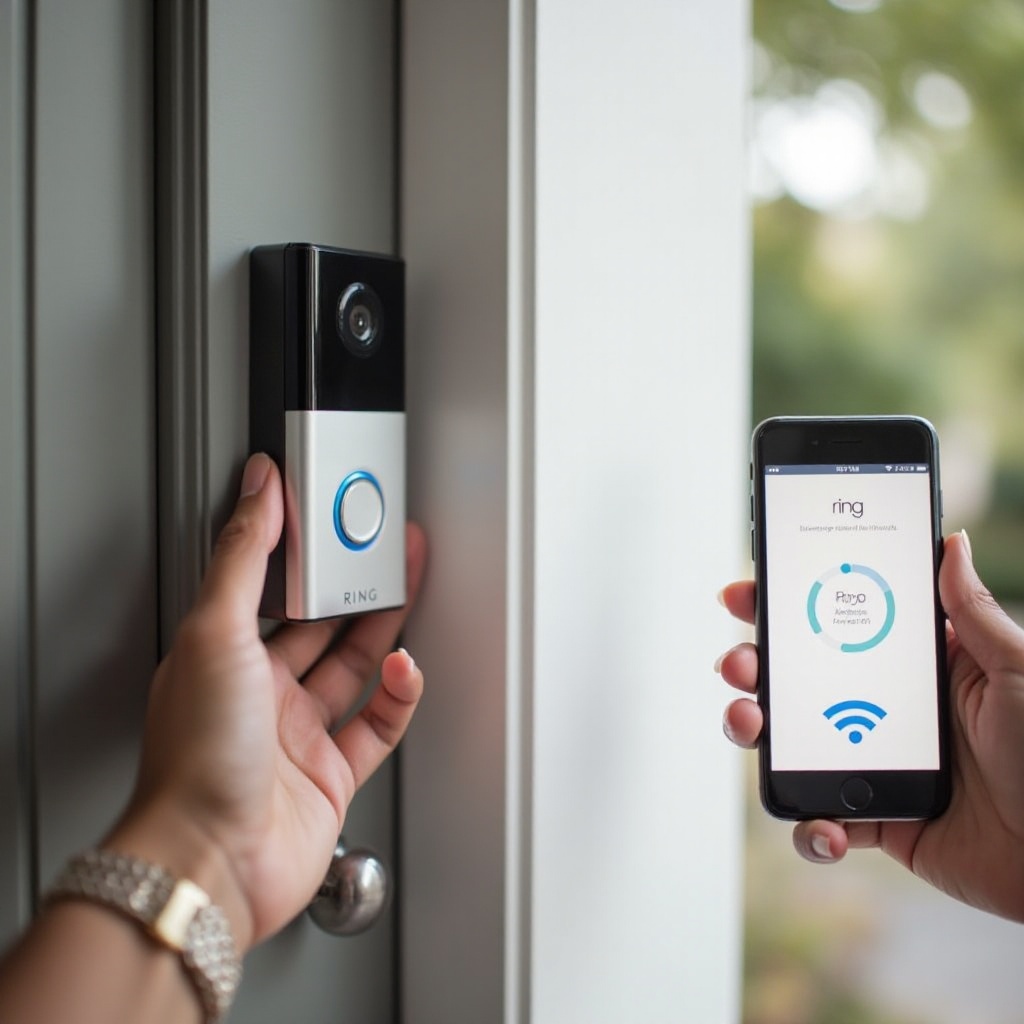
What You Need Before You Start: App, Power, and Network Checklist
Begin with a short checklist. Five minutes here prevents repeated failures during setup and saves time later.
- Phone and app readiness:
- Install the Ring app and sign in to your account.
- Enable Bluetooth, local network, and location services on your phone.
- Keep mobile data on, but connect your phone to your home Wi‑Fi during setup.
- Device power and readiness:
- Battery models: charge to at least 40 percent. Full charge is best for long updates.
- Wired and Pro models: verify transformer rating and secure wiring. The status light should show the device is responsive.
- Network access and credentials:
- Know your Wi‑Fi name (SSID) and password. Confirm the 2.4 GHz band is enabled.
- If you use mesh, consider temporarily separating bands or pausing 5 GHz to simplify pairing.
- Stand near the router or a mesh node for the first connection. You can mount the doorbell after pairing.
With the essentials out of the way, you are ready to connect. The next section gives you a fast setup path that applies to most Ring models, so you can go from box to online in minutes.
Quick Setup: Connect Your Ring Doorbell to Wi‑Fi in Minutes
Use this streamlined flow to get your doorbell online quickly. It works for battery and wired models.
- Put the device in setup mode.
- Battery models: press and release the setup button on the back or top. Look for a spinning or flashing light.
- Wired or Pro models: press the setup button or follow in‑app prompts. Wait for the setup light pattern.
- Open the Ring app.
- Tap Set Up a Device, choose Doorbells, and scan the QR code on the device or box.
- Grant permissions.
- Allow Bluetooth, local network, and location if prompted. These help the app discover and configure the doorbell.
- Join the temporary Ring network.
- Your phone will connect to a Ring‑XXXX network so the app can pass your Wi‑Fi details to the doorbell. Approve prompts when they appear.
- Select your home Wi‑Fi and enter the password.
- Choose the 2.4 GHz band if you see multiple options. Use the correct password and avoid unusual characters that some devices misread.
- Wait for the light to finish and the app to confirm.
- If pairing fails, move closer to the router, double‑check the password, and try again.
- Verify video and alerts.
- Open Device Health to check signal quality and complete firmware updates. Test live view and a doorbell press.
After this quick connect, your device should be reachable in the app. If you have a specific model, the next section highlights small differences that can affect pairing and band choices.
Model‑Specific Steps to Connect Ring Doorbells
Different Ring models share the same core flow but vary in power needs, band support, and accessories. Use these notes to avoid surprises.
Battery Models: Ring Video Doorbell 2nd Gen, Battery Doorbell Plus, Ring 3 and 4
- Charge to full before setup. A full battery speeds updates and prevents drop‑offs during pairing.
- Many battery models support only 2.4 GHz. Some newer units add 5 GHz but still work best on 2.4 GHz for range.
- Pair near the router first, then mount the doorbell and recheck RSSI in Device Health.
- If you see weak signal after mounting, add a mesh node or a Ring Chime Pro indoors near the door.
Wired Models: Ring Video Doorbell Wired, Wired Plus, Pro and Pro 2
- Verify transformer specs and wiring. The status light should show the device is ready for setup.
- Pro and Pro 2 often support 5 GHz, but 2.4 GHz still wins through walls. Choose the band that gives you better RSSI.
- If you use a mechanical chime, follow the in‑app prompt to install the Pro Power Kit or to bypass the chime per model instructions.
- After setup, test live view for a full minute to confirm stable streaming before you finish mounting.
Elite and PoE Models: When Wi‑Fi Is Still Relevant
- Elite models use Ethernet with Power over Ethernet. You connect via cable, not Wi‑Fi.
- Complete setup in the app using the QR code and allow firmware updates over the wired link.
- Even if the doorbell uses Ethernet, keep your network names and security simple for any wireless Ring accessories.
With model behavior clear, the next step is to pick the right Wi‑Fi band and adjust mesh settings so the connection stays solid throughout the day.
Wi‑Fi Basics for Ring: 2.4 GHz vs 5 GHz and Mesh Networks
Your choice of band and mesh settings can make or break a smooth setup. Ring devices are small, power‑conscious, and often mounted outside, so stability matters more than raw speed.
- 2.4 GHz: Best range and wall penetration. Ideal for doorbells mounted far from the router or behind dense materials.
- 5 GHz: Higher throughput but shorter range. Works well when the device sits near a mesh node or access point.
- Mixed support: Some models use only 2.4 GHz, while others can join both bands. When in doubt, start with 2.4 GHz for reliability.
Band Steering, Separate SSIDs, and SSID Naming Tips
- Band steering on mesh can move devices between bands while pairing, causing failures. Temporarily disable steering or split your network into two SSIDs like Home‑2G and Home‑5G.
- Keep SSIDs simple. Avoid emojis, odd punctuation, and leading or trailing spaces that make passwords hard to enter correctly.
- If your router supports a 2.4 GHz only mode or a temporary IoT pairing mode, enable it during setup and turn it off after.
eero, Orbi, and Nest Wi‑Fi: What to Adjust During Setup
- eero: Temporarily disable steering or use the 2.4 GHz pairing mode when available. Keep 2.4 GHz at 20 MHz channel width.
- Orbi: Use 20 MHz on 2.4 GHz and avoid DFS on 5 GHz. If devices struggle, create an IoT SSID for 2.4 GHz only.
- Nest Wi‑Fi: Force a 2.4 GHz join by standing next to a Nest point or by using a temporary phone hotspot that mimics your SSID, then switch back after onboarding.
Once you select the right band and stabilize how the doorbell joins the network, placement and signal strength become the next lever for reliable video and notifications.
Optimize Signal and Placement for Reliable Video
Signal quality drives live view, two‑way talk, and the speed of motion alerts. A few small moves can transform performance.
Reading RSSI in Device Health and Target Ranges
- Open Device Health in the Ring app and find RSSI. Values closer to zero are better.
- Targets: from about minus 40 to minus 60 is strong, minus 61 to minus 67 is fair, minus 68 to minus 75 is weak, and below minus 75 is poor.
- Improve RSSI by relocating your router, adding a mesh node, or installing Ring Chime Pro. Place the helper device one or two rooms from the door, not behind thick exterior walls.
Avoiding Interference: Metal Frames, Brick, Microwaves
- Large metal doors, brick, and stone block 2.4 GHz and 5 GHz differently. Put a mesh node on the same side of the exterior wall as the door when possible.
- Keep access points away from microwaves, baby monitors, and cordless phone bases that crowd 2.4 GHz.
- If you must use a basic extender, place it halfway between the router and the doorbell. Avoid placing it in a dead zone.
With signal dialed in, you can lock in router and security settings that reduce random disconnects and make reconnects painless after changes.
Router and Network Settings That Matter for Ring
A few router choices affect whether the doorbell stays online, how quickly live view opens, and how stable the stream remains. Apply these and forget them.
Channels 1, 6, or 11, 20 MHz, WPA2 or WPA3, and Password Rules
- On 2.4 GHz, pick channel 1, 6, or 11 to avoid overlapping interference. Keep channel width at 20 MHz for better stability.
- Security should be WPA2‑PSK or WPA2 and WPA3 transition. Avoid WEP or open networks.
- Use an ASCII password with letters, numbers, and common symbols. Avoid highly unusual characters that some devices mishandle during onboarding.
Disable AP or Client Isolation, Avoid DFS, and 802.11w Notes
- Turn off AP isolation and client isolation so your phone and doorbell can communicate on the same LAN.
- Avoid DFS channels on 5 GHz. Many IoT devices will not connect to them.
- Protected Management Frames, also known as 802.11w, should be optional or in transition mode if you see connection problems.
IoT SSIDs, DHCP Reservations, DNS, and Required Access
- Create a dedicated IoT SSID for cameras and doorbells. Keep this SSID 2.4 GHz focused if your devices need range.
- Reserve a DHCP address for your doorbell. A fixed IP via reservation can reduce brief offline blips after restarts.
- Use reliable DNS from your ISP or a well‑known public resolver. Allow outbound HTTPS and streaming traffic. Overly strict firewalls that block unknown outbound connections can break setup and live view.
If the doorbell still struggles after these changes, apply targeted fixes based on the exact symptom. The next section shows fast actions that solve the most common issues.
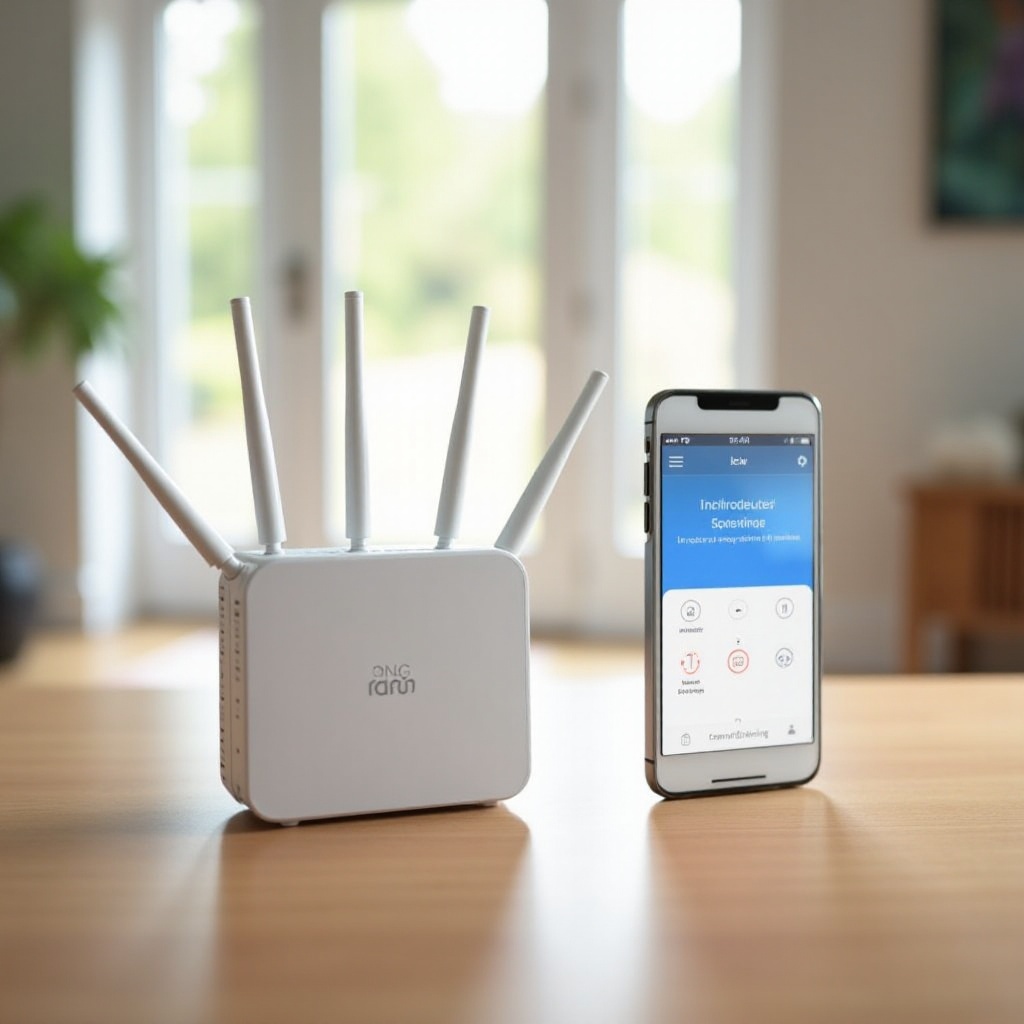
Troubleshooting: Ring Doorbell Not Connecting to Wi‑Fi
When connecting ring doorbell to wifi fails, focus on the symptom you see. Work from small, fast fixes to more specific network changes.
Can not Enter Setup or Join the Ring‑XXXX Network
- Restart your phone and the doorbell. On many battery models, hold the setup button for about 10 to 15 seconds to reboot.
- Toggle airplane mode on your phone, then turn Wi‑Fi and Bluetooth back on.
- Stand next to the router or a mesh node and retry. Thick walls reduce the temporary pairing signal.
Wi‑Fi Not Listed or Incorrect Password Loops
- Confirm that 2.4 GHz is enabled and the SSID is set to broadcast.
- Re‑enter the password carefully. Watch for auto‑fill mistakes and stray spaces.
- On mesh, temporarily separate SSIDs or pause 5 GHz to force a clean 2.4 GHz join.
Connects, Then Goes Offline, or Live View Fails
- Check RSSI in Device Health. If weaker than about minus 70, move a node closer or add Ring Chime Pro.
- Set 2.4 GHz to 20 MHz and choose channel 1, 6, or 11. Avoid DFS channels on 5 GHz.
- Power cycle the router and the doorbell. Install available firmware updates from the app.
After New Router, SSID Change, or ISP Gateway Swap
- In the Ring app, go to Device Settings, General, then Change Wi‑Fi Network. Put the doorbell back in setup mode and join the new SSID.
- To auto‑reconnect many devices, keep the new SSID and password identical to the old ones.
- On some ISP gateways, advanced security features can isolate new devices. Turn those off for pairing, then re‑enable them after the doorbell comes online.
Once you are back online, take a few extra steps to strengthen coverage, integrate with voice assistants, and lock down security without breaking compatibility.
Advanced Tips: Extenders, Ring Chime Pro, Alexa, and Security
These tips help you fine‑tune coverage, streamline alerts, and keep your network safe while maintaining device compatibility.
When to Use Ring Chime Pro vs Mesh or Standard Extenders
- Need a modest boost near the door and an indoor chime in one device Use Ring Chime Pro.
- Want whole‑home coverage Choose a modern mesh system. It manages roaming better than basic extenders.
- Avoid chaining multiple extenders. One hop is the practical limit before latency and drop‑offs appear.
Re‑linking Alexa, Routines, and Notifications After Reconnect
- After a Wi‑Fi change, open the Alexa app and run device discovery.
- Re‑enable doorbell announcements and routines, then test them with a button press.
- In phone settings, confirm Ring notifications and critical alerts are allowed, especially if the system asked for permissions during setup.
Security Best Practices Without Breaking Compatibility
- Use WPA2 or WPA3 transition mode during setup. Move to stronger settings once everything stays stable.
- Keep both router firmware and Ring firmware updated. Updates often improve roaming and streaming stability.
- Put visitors on a guest SSID and reserve the IoT SSID for cameras and sensors only.
Conclusion
A stable connection starts with clean setup, the right band, and a few router tweaks. Use 2.4 GHz for range, 5 GHz when you have a nearby node, and keep channels clean at 20 MHz on 2.4 GHz. Simple SSIDs and sane security settings prevent most pairing failures. If problems appear, match the fix to the symptom: verify password and band, improve signal, and review isolation and DFS settings. With these steps, connecting ring doorbell to wifi takes minutes and stays reliable for live view, motion alerts, and recordings.
Frequently Asked Questions
How do I reconnect my Ring Doorbell to Wi‑Fi after changing my router or password?
Open the Ring app, go to Device Settings, General, then Change Wi‑Fi Network. Put the doorbell in setup mode, pick your SSID, and enter the password. If it fails, separate 2.4 GHz from 5 GHz, stand near the router, and try again. Test live view and allow firmware updates.
Can Ring Doorbell use 5 GHz Wi‑Fi, and should I enable it?
Many newer models support 5 GHz, but 2.4 GHz gives better range through walls. Use 5 GHz if your doorbell sits close to a mesh node. If setup fails or the signal is weak, switch to 2.4 GHz for stability.
Do I need a Wi‑Fi extender or mesh for Ring Doorbell to stay online?
Not always. If RSSI is around minus 60 or better, you are fine. If it is weaker than minus 67, add a mesh node near the door or use Ring Chime Pro. Mesh beats basic extenders for whole‑home coverage, and you should avoid chaining multiple extenders.