Connecting Sony TV to Internet Wireless: The Complete Step‑by‑Step Guide (2024–2026)
Introduction
Connecting a Sony TV to internet wireless unlocks streaming, casting, voice control, and timely app updates. You can get online in minutes with clear steps and a few checks. This guide explains how to connect Sony Google TV and Android TV models from 2024–2026, then shows faster pairing options, performance tuning, and reliable fixes for common network issues. It also covers advanced network settings and workarounds for hotels and dorms. If Wi‑Fi still struggles, you will see when a wired link is the smarter choice.
We will start by confirming your TV interface so you can follow the right path. Then you will connect to Wi‑Fi and test a few apps to confirm stability. If problems appear, you will try a focused troubleshooting flow. As your network stabilizes, you can apply advanced settings for speed, privacy, and security. With the basics in place, let’s identify your TV platform and menu layout.
Check Your Sony TV Platform and Interface
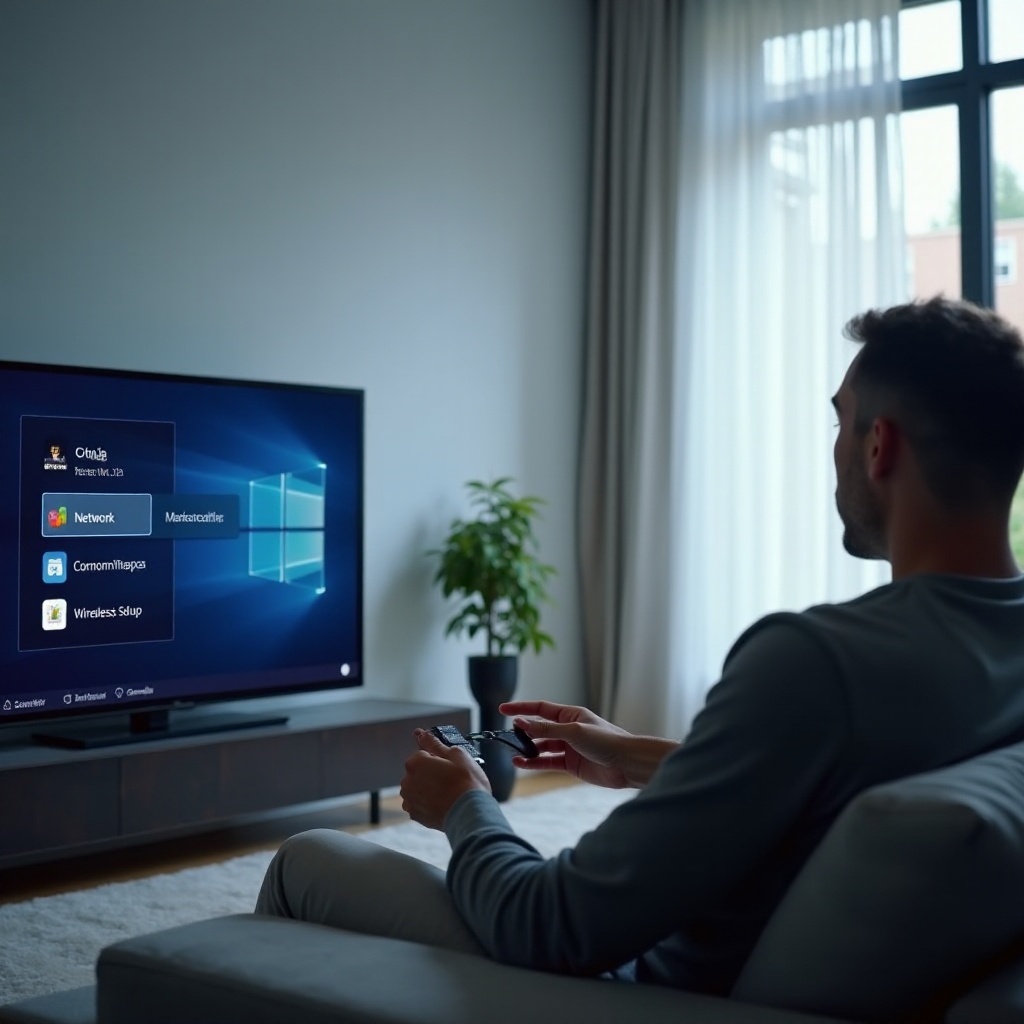
Different Sony models use different menus. Knowing your platform saves time and avoids confusion. Most 2024–2026 units ship with Google TV. Some earlier models still run Android TV and use slightly different menu paths.
Identify Google TV (2024–2026)
Google TV shows a home screen with tabs such as For You, Live, Apps, and Library. The Settings gear icon sits near your profile. Network settings live under Settings > Network & Internet. This layout makes it simple to find Wi‑Fi and connection details.
Identify Android TV interfaces
Android TV presents a home lane with app rows and a gear icon for Settings. Inside Settings, open Network or Network & Internet. Then you will find Wi‑Fi and related options for SSIDs, IP, and status.
Find software version and network capabilities
Open Settings > System > About to check the software version and build. Under Network & Internet, confirm that your TV sees both 2.4 GHz and 5 GHz SSIDs. That view verifies hardware capabilities and helps you choose the right band.
With your interface identified, you are ready to gather a few items that make the first connection smooth and fast.
What You Need Before Connecting
A smooth setup starts with a short checklist. These items prevent most login errors and connection delays.
Stable Wi‑Fi network, password, and router bands
Confirm the router broadcasts a visible SSID and that you have the correct Wi‑Fi password. If the router runs dual‑band, know the separate names for 2.4 GHz and 5 GHz so you can pick the best one for the TV.
Remote, on‑screen keyboard, or Google Home app
Keep the TV remote handy to type credentials. If you prefer fewer keystrokes, use the Google Home app to assist with Google TV setup. The app can push credentials and reduce input mistakes.
Optional methods: WPS, QR code, hotspot
Some routers support WPS pairing to avoid typing a password. Google TV can pair with QR codes through the Google Home app. If home Wi‑Fi is down or restricted, a mobile hotspot can temporarily bring the TV online.
With the basics ready, you can connect your Sony TV over Wi‑Fi. Let’s start with Google TV models.
Connect on Sony Google TV (2024–2026)
Google TV uses a clean, modern layout for network setup. Follow these steps:
- Open Settings: Select your profile icon and choose the gear icon for Settings.
- Open Network & Internet: Navigate to Network & Internet.
- Turn on Wi‑Fi: Enable Wi‑Fi if it is off.
- Select your SSID: Choose your home network name.
- Enter the password: Type it carefully and press Connect.
- Confirm status: Look for Connected and an IP address.
After you connect, review these options:
– Auto‑connect: Leave this on so the TV reconnects after restarts.
– Metered network: Disable metered status for unrestricted streaming.
– Privacy toggles: Under Privacy, check ad personalization and diagnostics. You can reduce tracking while keeping essential services active.
If the network appears but the TV will not connect, verify the password and band. Try 5 GHz for speed and 2.4 GHz for range. With Google TV online, you can move on to Android TV, which follows a similar path with slightly different menu labels.
Connect on Android TV Interfaces
Android TV has a familiar layout and simple steps for Wi‑Fi. Use the path below:
- Open Settings: Click the gear icon on the home screen.
- Go to Network: Select Network or Network & Internet.
- Enable Wi‑Fi: Turn Wi‑Fi on.
- Select your SSID: Pick your home network name.
- Enter the password: Type the password and press Connect.
- Confirm connection: Look for Connected and an IP address.
After you connect, test a streaming app:
– Open YouTube or Netflix and play a short video.
– Check signal strength in Network settings. If the strength is low, move the TV or router, or choose 5 GHz if available.
– Update the system under Settings > System > About > System update. Fresh firmware improves reliability and app performance.
If Android TV shows Saved but not Connected, forget the network, reboot the TV and router, then reconnect. If the connection is unstable or slow, you may prefer a wired link or a bridge. Let’s explore those options before we dive into optimization.
Alternative Paths: Ethernet and Wireless Bridges
Wi‑Fi is convenient, but wired links provide consistent speed and lower latency. If streams buffer or drop, consider these alternatives.
Direct Ethernet for stability
Connect an Ethernet cable from the router to the TV’s LAN port. A wired link delivers steady throughput for 4K HDR and Dolby Vision streaming and avoids interference from nearby devices.
USB‑Ethernet adapters on supported Google TV models
Some Google TV devices support USB‑Ethernet adapters via USB ports. Check your model’s documentation to confirm compatibility. If supported, you can switch to a wired connection without relying on wireless.
Use a Wi‑Fi bridge or powerline adapter
A Wi‑Fi bridge connects wirelessly to the router and provides Ethernet to the TV. Powerline adapters use your home’s electrical wiring to carry data to distant rooms. Both options help in long homes or spaces with thick walls.
If you will stay on Wi‑Fi, you can still speed up setup and reduce typing. Fast pairing methods often cut setup time in half.
Faster Pairing Methods
You can avoid typing long passwords by using pairing shortcuts. Use these only when your router and TV support them.
WPS Push Button
Press the WPS button on your router. Within two minutes, open WPS on the TV’s Network settings. The TV pairs without a typed password. Note that some routers disable WPS for security, so enable it only if you trust your environment.
WPS PIN entry
If push‑button does not work, the TV can show a WPS PIN. Enter that PIN in the router’s WPS settings page. The router accepts the device and passes credentials.
QR code pairing via Google Home app
On Google TV, you can pair using the Google Home app. Add the TV in the app, scan the on‑screen QR code, and follow prompts. This method is quick and helps you avoid remote typing errors.
With Wi‑Fi connected, you can tune your network for smooth streaming. Optimizing channels, bands, and mesh placement reduces buffering and lag.
Optimize Your Home Wi‑Fi for Streaming
A well‑tuned network keeps apps responsive and 4K streams stable. Focus on band choice, channel selection, and mesh placement.
2.4 GHz vs 5 GHz and SSID separation
Use 5 GHz for short‑range speed and low latency. Use 2.4 GHz for long‑range coverage through walls. If your router merges both bands under one name, split them into separate SSIDs, such as Home‑2G and Home‑5G. Manually pick the 5 GHz SSID for the TV if the signal is strong.
Channel selection and interference avoidance
Dense areas cause interference. Set 2.4 GHz channels to 1, 6, or 11. On 5 GHz, avoid DFS channels if devices drop or cannot see the SSID. Use 40 or 80 MHz width for 5 GHz where supported, but prefer stable links over maximum width if you see drops.
Mesh node placement and backhaul best practices
Place mesh nodes halfway between the router and TV, not right next to the TV. Use wired backhaul between nodes if possible. Do not place nodes behind TVs, inside cabinets, or near microwaves. Raise routers and nodes to waist height or above to improve signal paths.
If you face errors despite good optimization, work through a structured troubleshooting flow. Most issues resolve with one or two specific changes.
Troubleshoot Common Connection Issues
Use this checklist to diagnose and fix connection problems. Start simple, then move to targeted adjustments.
Network not found or hidden SSID
- Verify the router broadcasts the SSID and that the TV’s Wi‑Fi is on.
- Move the TV or router closer and reduce obstacles.
- If the SSID is hidden, select Add network and type the exact name and security type.
Connected without internet access
- Restart the router and the TV. Unplug for 30 seconds, then power back on.
- Forget the network on the TV, reconnect, and re‑enter the password.
- Check date and time under Settings > System > Date & time. Incorrect time can break secure connections.
- Try manual DNS: Set DNS to 1.1.1.1 or 8.8.8.8 under Network settings.
- Test another device. If all devices fail, contact your ISP.
Stuck on obtaining IP address
- Toggle Wi‑Fi off and on, then retry.
- Assign a DHCP reservation in the router for the TV’s MAC address.
- Switch bands: Try 5 GHz if you were on 2.4 GHz, or the other way around.
- Reduce channel width if the router uses 80 MHz on 5 GHz and the TV struggles.
- Disable AP Isolation in router settings if enabled. AP Isolation blocks device‑to‑device traffic and can cause odd casting and discovery behavior.
If these steps do not fix the issue, adjust advanced network parameters. The next section shows safe tweaks that often improve reliability.
Advanced Network Settings on Sony TVs
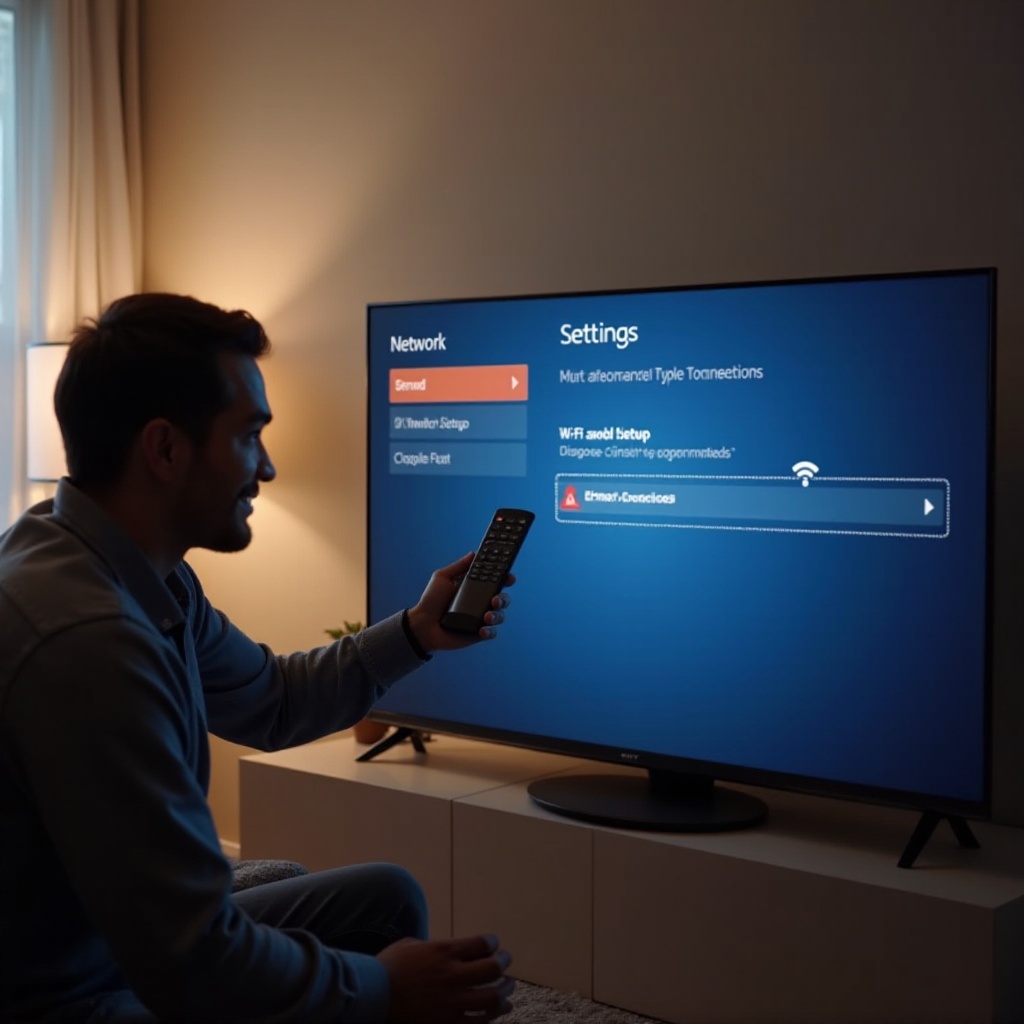
When basic fixes do not stick, fine‑tune network settings for speed and stability. These changes are reversible and safe when applied carefully.
Static IP vs DHCP reservations
You can set a static IP on the TV under Network details. Choose an IP outside the router’s DHCP pool to avoid conflicts. Alternatively, use a DHCP reservation in the router so the TV always gets the same IP. Reservations make device management and casting more predictable.
DNS tweaks for reliability and speed
If streams buffer or apps fail to load, change DNS. Under Network settings, choose Manual and enter 1.1.1.1 or 8.8.8.8 for primary, and 1.0.0.1 or 8.8.4.4 for secondary. This often fixes resolution delays and login issues.
Safely reset network settings
A network reset clears saved SSIDs and cached configs. Use it when the TV keeps failing to connect. After resetting, reconnect with fresh credentials. Avoid full factory resets unless all other steps fail, because factory resets remove apps and personal settings.
Advanced changes work best alongside a healthy router. Keep router firmware up to date and retest performance after each change to confirm improvements.
Special Situations: Hotels, Dorms, and Captive Portals
Shared networks often rely on web login pages that a TV cannot display. Use these workarounds to bring your Sony TV online.
Use a travel router for sign‑in pages
A travel router creates a private SSID in your room. Connect the travel router to the hotel’s Wi‑Fi or Ethernet, complete the portal on your phone, then connect the TV to your private SSID. The TV stays online across sessions even if the venue resets equipment.
Share your phone’s hotspot with the TV
Enable a personal hotspot on your phone and connect the TV to that SSID. Watch data usage and battery drain. This is a quick fix for short stays or rigid networks that block smart TV connections.
Chromecast built‑in guest mode
If the network blocks device discovery, turn on guest mode in Chromecast settings. Guests can cast with a PIN even when devices cannot see each other. This helps in strict AP isolation environments.
Once your TV is online in shared spaces, protect your data and keep connections resilient. Security and privacy practices matter on every network, especially outside the home.
Security and Privacy Best Practices
A secure setup protects your TV and personal data while you stream. Focus on strong encryption, sensible privacy controls, and regular updates.
Prefer WPA2/WPA3‑Personal on your router
Open or WEP networks are unsafe. Use WPA2 or WPA3‑Personal with a strong password. Avoid enterprise networks unless your TV explicitly supports them, which is uncommon.
MAC randomization and ad tracking controls
Under Privacy, disable ad personalization if you want fewer targeted ads. On some models, enable MAC address randomization to reduce tracking on public networks. At home, reserve the TV’s MAC in the router for stable connectivity.
Keep system firmware and apps updated
Update the TV’s system and apps on a regular schedule. Updates patch security issues and improve Wi‑Fi performance. Enable automatic updates and reboot the TV after major changes to clear caches and apply fixes.
If you still chase stability at the edge of your Wi‑Fi coverage, consider a different path. Ethernet delivers the most reliable experience for premium streaming.
When to Prefer Ethernet Over Wi‑Fi
Sometimes the best fix is a cable. Choose Ethernet when wireless keeps dropping or when you need rock‑solid playback.
Wired stability for 4K HDR and Dolby Vision
If 4K HDR or Dolby Vision content buffers or drops frames over Wi‑Fi, Ethernet often solves it. A wired link removes interference and sustains steady bitrates for premium streams.
Powerline and MoCA explained
Powerline adapters use electrical lines to extend your network to distant rooms. MoCA uses coax cables and is excellent in homes with existing TV coax runs. Both beat weak Wi‑Fi in tricky layouts and are easy to set up.
Signs you should upgrade your router
If your router is older than 2024 or lacks Wi‑Fi 6 or 6E, consider upgrading. Newer routers handle many devices, reduce latency, and maintain a stable stream to your Sony TV. An upgrade can be cheaper than long‑term frustration.
Conclusion
Connecting a Sony TV to internet wireless is simple once you know your platform and the correct menu paths. Google TV and Android TV both provide fast steps to join Wi‑Fi and confirm your status. If you want less typing, WPS and QR pairing can shorten setup. For smoother playback, optimize your home network by choosing the right band, selecting clean channels, and placing mesh nodes wisely. If apps fail or connections stall, work through the troubleshooting checklist and apply advanced settings such as DNS changes and DHCP reservations. In shared spaces, travel routers and hotspots provide easy access when captive portals block smart TVs. And when only a rock‑solid link will do, Ethernet, powerline, or MoCA deliver consistent performance. With these practices, your Sony TV will stay online, secure, and ready for the best picture and sound.
Frequently Asked Questions
Why does my Sony TV say Connected but apps will not load?
Check date and time, reboot the TV and router, set manual DNS like 1.1.1.1, forget and re-add the network, and test another device to rule out ISP issues.
Can I connect a Sony TV to university or hotel Wi‑Fi that uses a web login?
Yes. Use a travel router to complete the portal on your phone, then connect your TV to the travel router’s SSID. A mobile hotspot is a quick alternative.
Is 2.4 GHz or 5 GHz better for connecting Sony TV to internet wireless?
Use 5 GHz for speed and low latency when the signal is strong. Use 2.4 GHz for longer range through walls. Separate SSIDs and choose based on distance and reliability.