Setting Up a Blue Yeti Microphone: A Complete Step-by-Step Guide
Introduction
The Blue Yeti is a popular USB microphone trusted by podcasters, streamers, creators, and remote workers. It is simple to use, but small setup mistakes can cause hiss, echo, or clipping. This guide shows a clear, step-by-step process for setting up Blue Yeti so your voice sounds clean and professional. You will learn which accessories help the most, how to mount the mic, and how to set gain, patterns, and monitoring. You will also see the exact Windows and macOS settings that keep your signal stable and noise-free.
We will walk through app-specific tips for OBS, Zoom, Google Meet, Teams, and Discord, and include quick room treatment wins that make a big difference. Along the way, you will avoid common pitfalls and use a simple troubleshooting flow if anything goes wrong. Start with the essentials, then move through system and app setup to lock in consistent audio every time you record or go live.
What You Need Before You Start: Essentials for Setting Up a Blue Yeti
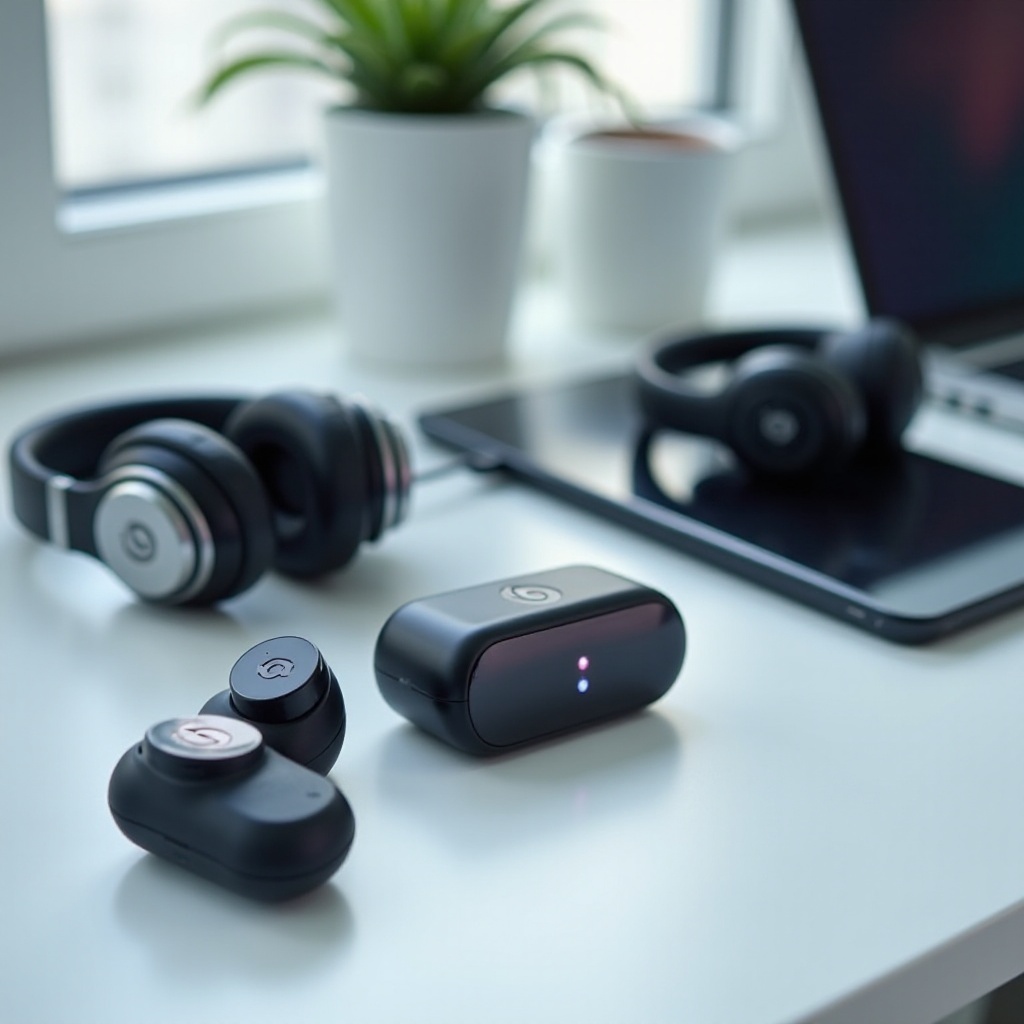
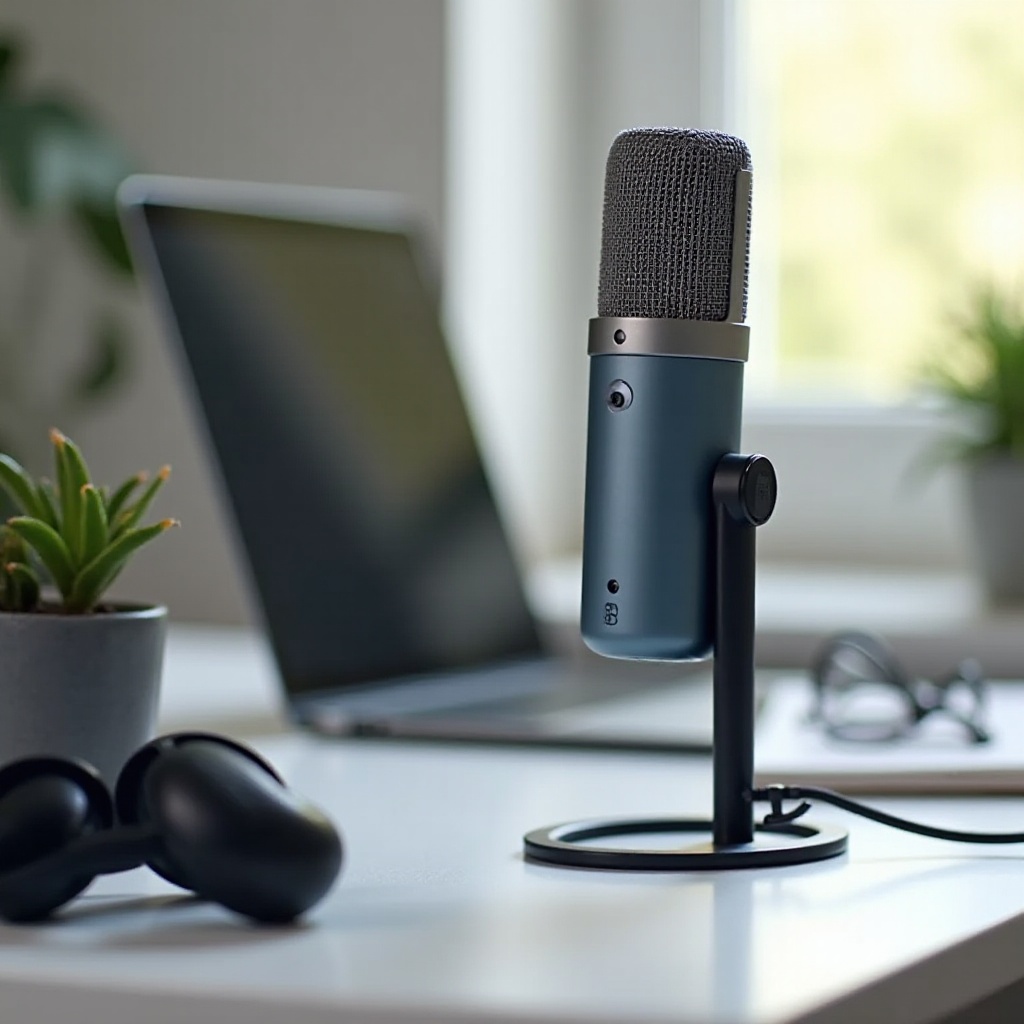
Before you plug in, set up the core gear that improves sound and comfort. A boom arm positions the mic where you need it and reduces desk noise. A shock mount isolates the mic from vibrations caused by typing or moving the mouse. A pop filter or foam windscreen softens plosives, and a quality USB cable prevents dropouts. Closed-back headphones let you monitor without bleed.
Use this checklist:
– Blue Yeti mic (Yeti, Yeti X, or Yeti Nano)
– Sturdy boom arm or heavy desk stand
– Compatible shock mount and pop filter or windscreen
– Short, high-quality USB-A or USB-C cable
– Closed-back headphones with a comfortable fit
Tidy your workspace. Add soft items like a rug and curtains to reduce reflections. Keep noisy electronics away from the mic. With the essentials ready, you can pick the right Yeti model and understand its controls before you mount and connect.
Blue Yeti Models Explained: Yeti, Yeti X, Yeti Nano
All Yeti models are side-address condensers with multiple pickup patterns. The standard Yeti offers on-body controls for pattern, gain, and headphone volume, making it a flexible all-rounder. The Yeti X adds LED metering and refined control for quick level checks, which helps when levels change during streaming. The Yeti Nano is compact, ideal for small desks or travel, and still delivers solid voice clarity.
General guidance:
– Yeti: Great for beginners and advanced users who want control on the mic
– Yeti X: LED meters and refined controls for fast feedback during live sessions
– Yeti Nano: Smaller footprint with simple controls for portable setups
Regardless of your model, the following steps apply. Knowing each control speeds up mounting, positioning, and OS selection. Next, mount the mic properly so it hears your voice clearly and ignores desk noise.
Physical Setup and Mounting: Stand, Boom Arm, Shock Mount, Pop Filter
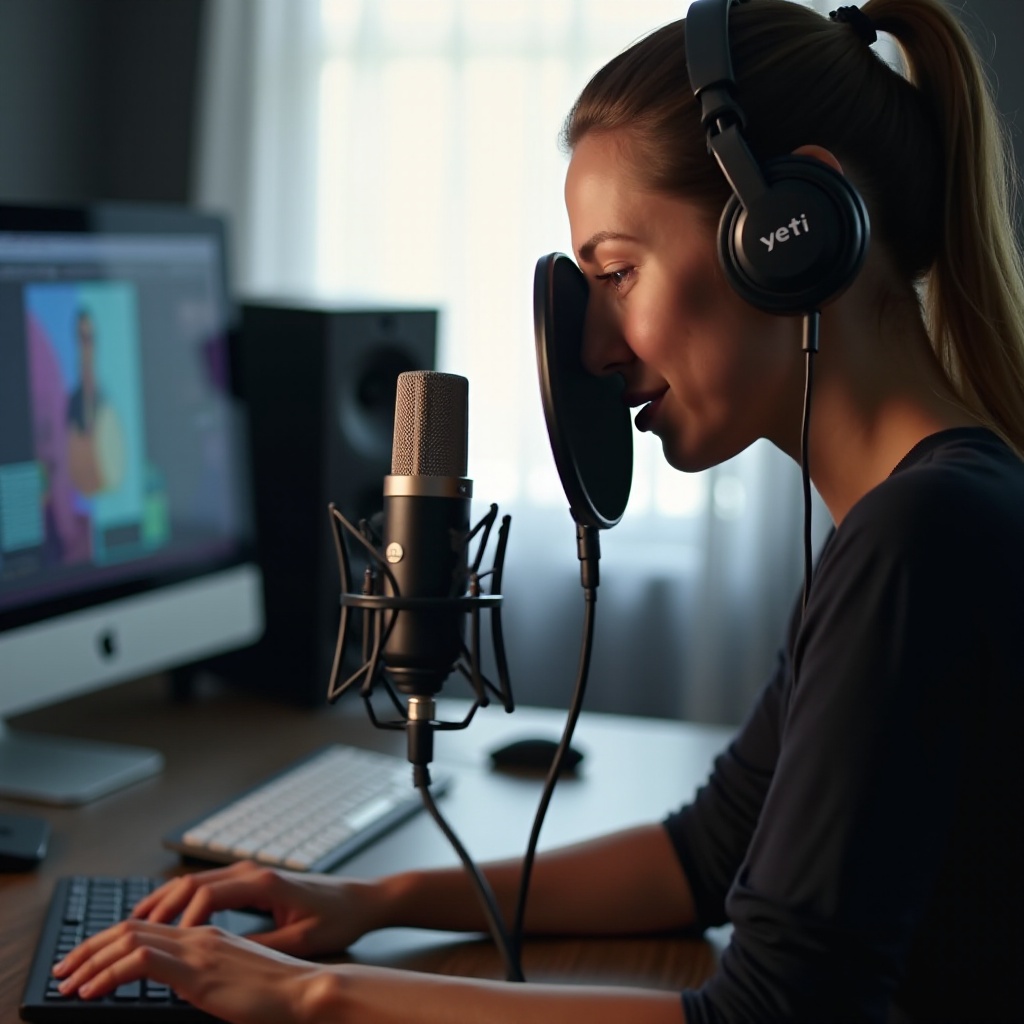
Secure mounting improves audio quality and comfort. A boom arm on a desk clamp or wall mount gets the mic off the desk and close to your mouth. If you use the included desk stand, place the mic on a soft mat to reduce vibrations. A shock mount isolates the capsule from mechanical noise. Use a pop filter to tame plosives without heavy processing.
Follow these steps:
1) Attach the mic to the boom arm or a stable desk stand.
2) Aim the front logo side toward your mouth; the Yeti is side-address, not top-address.
3) Place the mic 6–8 inches from your mouth.
4) Angle the mic slightly off-axis to reduce plosives.
5) Add a pop filter 1–2 inches from the grille or use a foam windscreen.
Avoid pulling on the cable; leave slack to prevent strain. Keep the mic away from monitors and hard walls to reduce reflections. With the mic positioned correctly, you are ready to connect and select it as your input device.
Connect the Blue Yeti and Select It as Your Input Device
Plug the Yeti directly into a USB port on your computer. Avoid unpowered hubs and very long cables; they can cause low power or dropouts. If you must use a hub, choose a powered model. Once connected, the Yeti appears in system sound settings and in your recording apps. Plug headphones into the Yeti for zero-latency monitoring.
Do this now:
– Connect the mic via a short, quality USB cable
– Plug headphones into the Yeti headphone jack
– Select the Yeti as the default input device in your OS
– Set mic gain low to start; you will raise it safely with meters later
Confirm that the mic lights or meters respond. Speak and watch the OS input meter move. If the OS sees the mic, proceed to platform-specific setup so levels and sample rate align correctly.
Windows 11 Setup for Blue Yeti: Sound Settings and Sample Rate
Open Settings > System > Sound. In the Input section, select your Blue Yeti. Speak and confirm the input level meter moves. Click Device Properties to set the input level slider and turn enhancements off. Then open the Sound Control Panel > Recording > Yeti > Properties > Advanced. Set the format to 48 kHz, 16-bit or 24-bit. This keeps audio aligned with streaming and video standards.
Steps:
1) Set Yeti as Default Device and Default Communications Device.
2) Disable audio enhancements and automatic gain control.
3) Choose a 48 kHz sample rate for clean sync with video.
4) Start with the input level slider around the middle, then adjust while watching meters.
5) Record a short test in Voice Recorder or OBS to confirm clean audio.
With Windows aligned, mirror these settings on macOS. Keeping the OS and app sample rates matched avoids clicks, drift, and unexpected level changes.
macOS Setup for Blue Yeti: System Settings and Audio MIDI
Open System Settings > Sound and choose your Blue Yeti as the input device. Watch the input level meter while you speak. Disable any per-app auto-leveling that pumps or ducks your voice. Then open Audio MIDI Setup. Select the Yeti and set Format to 48,000 Hz with the channel count you need. Keep the Yeti as the sole active input in your recording app to avoid routing conflicts.
Guidelines:
– Select the Yeti as input and disable auto-gain in apps when possible.
– Set sample rate to 48 kHz in Audio MIDI Setup.
– Keep the input level moderate and refine during a test recording.
– Use the Yeti headphone jack for direct, zero-latency monitoring.
Now that the OS settings are aligned, choose the right pickup pattern so the mic hears you and rejects noise in the room.
Choose the Right Pickup Pattern: Cardioid, Bidirectional, Stereo, Omnidirectional
The Yeti’s pattern switch changes how the mic hears the space around it. Cardioid picks up sound from the front and rejects the back, making it the default for solo speech. Bidirectional hears front and back, best for interviews across a table. Stereo captures left and right, useful for voice plus instrument or ambient sound. Omnidirectional hears all around, suited for roundtable discussions in treated rooms.
Use these patterns wisely:
– Cardioid: Solo podcast, streaming, and calls; reduces room noise.
– Bidirectional: Two-person interviews facing each other.
– Stereo: Voice plus instrument or environmental capture.
– Omnidirectional: Group discussions in a quiet, treated room.
Start with cardioid for most voice work. Pattern selection works hand in hand with gain, so next you will set levels and monitoring to keep peaks controlled and noise low.
Dial in Gain, Headphone Volume, and Zero-Latency Monitoring
Gain controls how strongly the mic captures your voice, while headphone volume controls what you hear. Begin with low gain and raise it until your loudest words peak around -12 dBFS in your app meter. Keep headphone volume comfortable so you can hear clicks, hiss, or distortions that indicate problems.
Set levels in this order:
1) Choose your pickup pattern (usually cardioid).
2) Set OS input level around the middle.
3) Raise the Yeti gain slowly while speaking at a normal level.
4) Watch app meters and aim for peaks between -18 and -12 dBFS.
5) Adjust headphone volume for comfort; monitor through the Yeti jack.
If you hear clipping, lower mic gain. If the signal is noisy, lower OS input and raise mic gain slightly, then retest. With stable gain, mic technique and placement will refine your tone and reduce plosives.
Mic Technique and Placement: Orientation, Distance, Angle
Good technique matters as much as hardware. Speak across the mic’s front side, not into the top. Stay 6–8 inches away. Angle the mic slightly so air from plosives hits the filter, not the capsule. Keep the mic slightly below mouth level and tilt it up; this reduces nasal tone and mouth clicks.
Practical tips:
– Keep posture upright; steady distance preserves consistent levels.
– Speak off-axis by 10–20 degrees to soften plosives.
– Use a pop filter; avoid shouting directly into the capsule.
– Move the mic instead of moving your voice; reposition if you turn your head.
These small adjustments reduce room tone and harshness. Next, bring the gains and patterns into your apps and add gentle filters that stabilize your sound without overprocessing.
App Setup Essentials: OBS Studio, Zoom, Google Meet, Teams, Discord
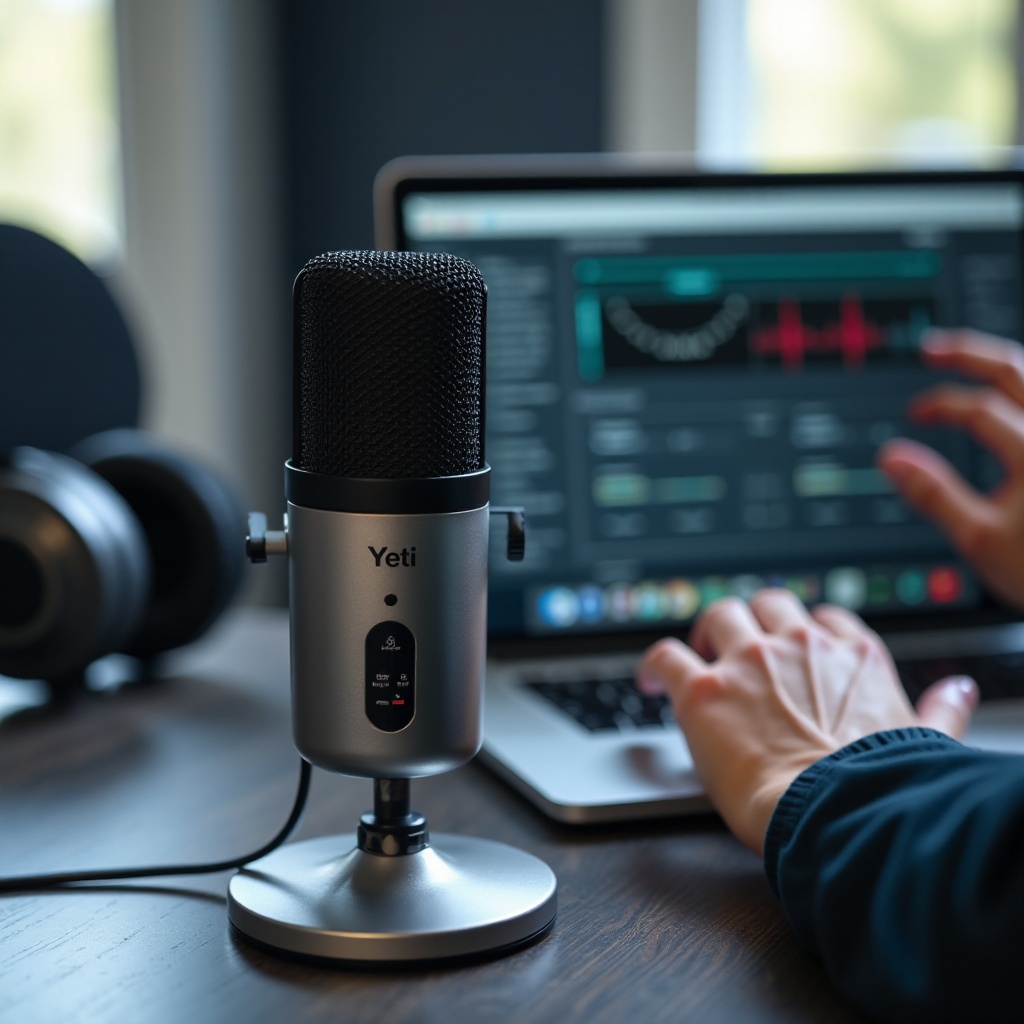
Each app handles audio differently, so setting up Blue Yeti inside your software matters. In OBS, add the Yeti as an audio source, confirm sync with video, and add light filters: a high-pass filter at about 80 Hz, a gentle noise gate, a compressor with about a 3:1 ratio, and a limiter set near -1 dB to prevent spikes. Test and tune thresholds so speech stays stable.
In Zoom, Google Meet, and Teams:
– Select the Yeti as the microphone.
– Use options like ‘Original Sound’ or high-fidelity modes when your room is quiet.
– Turn off auto-gain if it causes level swings.
– Run a quick mic test before calls and adjust sensitivity.
In Discord:
– Pick the Yeti as input.
– Set input sensitivity so normal speech triggers but room noise does not.
– Consider Push-to-Talk for noisy environments.
Create and save presets in each app so you can restore settings quickly. With software configured, improve your room with simple, low-cost changes that reduce echo and noise.
Quick Room Treatment Wins for Better Blue Yeti Audio
Room sound shapes clarity and warmth. Hard, bare surfaces create reflections that thin out voices and add echo. Place soft materials near the mic to calm reflections. Rugs, curtains, fabric panels, and bookshelves with books help absorb or diffuse sound. Keep the mic away from corners or bare walls that amplify reflections.
Easy wins:
– Put a rug or blanket under and near your desk.
– Hang a curtain or thick fabric behind the mic.
– Add a bookshelf beside the mic to diffuse reflections.
– Turn off fans and noisy devices during recording.
These small changes reduce echo and background noise. To keep sound consistent, avoid the common mistakes that most users make when setting up Blue Yeti.
Common Mistakes to Avoid When Setting Up a Blue Yeti
Avoid these traps:
– Speaking into the top of the Yeti; it is side-address.
– Pushing gain too high, which causes clipping and harshness.
– Relying on OS enhancements that pump levels and add artifacts.
– Using long, cheap USB cables or unpowered hubs that cause dropouts.
– Sitting too far from the mic, which raises noise and reduces clarity.
Double-check your pattern before recording. If your sound changes randomly, auto-gain might be enabled in an app. Turn it off and set levels manually. With mistakes avoided, use the troubleshooting section to fix issues quickly when they appear.
Troubleshooting Basics: Detection, Noise, Distortion, Latency
When problems arise, work through a simple flow:
1) No detection: Try a different USB port and cable. Restart the app. On Windows, check Privacy > Microphone access. On macOS, grant mic access in app permissions.
2) Low level or clipping: Lower OS input level and raise mic gain slightly. Aim for peaks at -12 dBFS. Use a limiter to catch loud transients.
3) Crackle or dropouts: Avoid hubs; use a short cable. Close other audio apps. Match sample rates between OS and app.
4) Latency: Monitor from the Yeti’s headphone jack. Turn off software monitoring. In DAWs, lower buffer size if you need tight latency.
If problems persist, unplug and replug the mic, remove and re-add the device in OS settings, and reboot. Once the core issues are solved, keep your microphone clean and store it properly to protect the capsule.
Care and Maintenance: Cleaning, Storage, Long-Term Reliability
A little care maintains performance. Dust the grille with a soft brush. Do not use harsh cleaners. Keep liquids away. Store the mic in a dry place with a cover to prevent dust buildup. Avoid drops or strikes; condenser capsules are sensitive.
Best practices:
– Coil the USB cable loosely; avoid kinks.
– Keep the mic on a stable arm or stand.
– Unplug when not in use to reduce wear.
– Keep apps and OS updated to ensure a stable audio stack.
With consistent care, your Yeti remains reliable. Let’s recap the process and highlight the habits that keep your sound professional.
Conclusion
Setting up Blue Yeti is straightforward when you follow a clear process. Mount the mic well, choose the right pattern, and set conservative gain targets. Align OS settings at 48 kHz, disable heavy enhancements, and save app presets. Add basic filters in OBS, and use options like ‘Original Sound’ in conferencing apps to keep audio natural. Quick room tweaks, such as rugs and curtains, improve tone without extra software.
Keep your mouth 6–8 inches from the mic, speak slightly off-axis, and monitor through the Yeti’s headphone jack. Run a short test before every session, read meters, and adjust levels. If issues appear, check cables, ports, permissions, and sample rate alignment first. Maintain the mic and store it safely so your sound stays consistent.
By following these steps, you will get clear, professional audio from your Blue Yeti for podcasts, streams, calls, and voiceover. Save presets and repeat the routine to stay confident every time you hit record.
Frequently Asked Questions
Why is my Blue Yeti so quiet or clipping, and how do I fix the gain?
Quiet audio often means the OS input is too low, the mic is too far, or the room is noisy. Clipping means gain is too high. Set cardioid, place the mic 6–8 inches from your mouth, and aim peaks near -12 dBFS. Lower the OS input slider and raise the Yeti gain slowly while watching meters. Add a limiter at about -1 dB in OBS to catch peaks.
Which pickup pattern should I use on the Blue Yeti for podcasts or calls?
Use cardioid for solo voice to focus on the front and reject the back. Choose bidirectional for two-person interviews across a table. Use stereo for voice plus instrument or ambient content. Omnidirectional suits roundtables in treated, quiet rooms. For most users, cardioid delivers the clearest, most isolated voice.
How do I reduce background noise with a Blue Yeti without overprocessing?
Start with placement: get close (6–8 inches), use cardioid, and speak off-axis with a pop filter. Treat the room with soft materials like rugs and curtains. Turn off fans and move the mic away from noisy gear. In apps, add a gentle high-pass filter and light noise gate, and keep compression moderate to avoid pumping.