How Do You Know If Your Beats Are Charging? A Complete, Model-by-Model Guide
Introduction
Your Beats should make it simple to confirm they are charging, yet every model signals it a little differently. Some show a pulsing or solid LED on the case. Others use a multi‑bar fuel gauge on the earcup. Most also confirm charging on your phone through the Battery widget on iOS or the Beats app on Android. That mix of lights and software can feel confusing when you just want a clear answer.
This guide clears it up with fast checks, model cues, and reliable phone confirmations. You will see how to read LEDs, how to verify on iPhone and Android, and what to do when indicators do not match. You also get fixes when lights stay off and tips to protect battery health. Keep your cable nearby. We will start with quick checks you can do in seconds, then move into model-by-model details and practical troubleshooting.
The Quick Answer: Fast Ways to Confirm Your Beats Are Charging
Before diving into model specifics, try these rapid checks. They work for most Beats models and give instant clarity.
- Plug in, then look for a light:
- Earbuds with cases: the case LED should light for a few seconds when you connect power or open the lid.
- Over‑ear or on‑ear: the fuel gauge LEDs should light up or pulse when you plug in the cable.
- Check your phone:
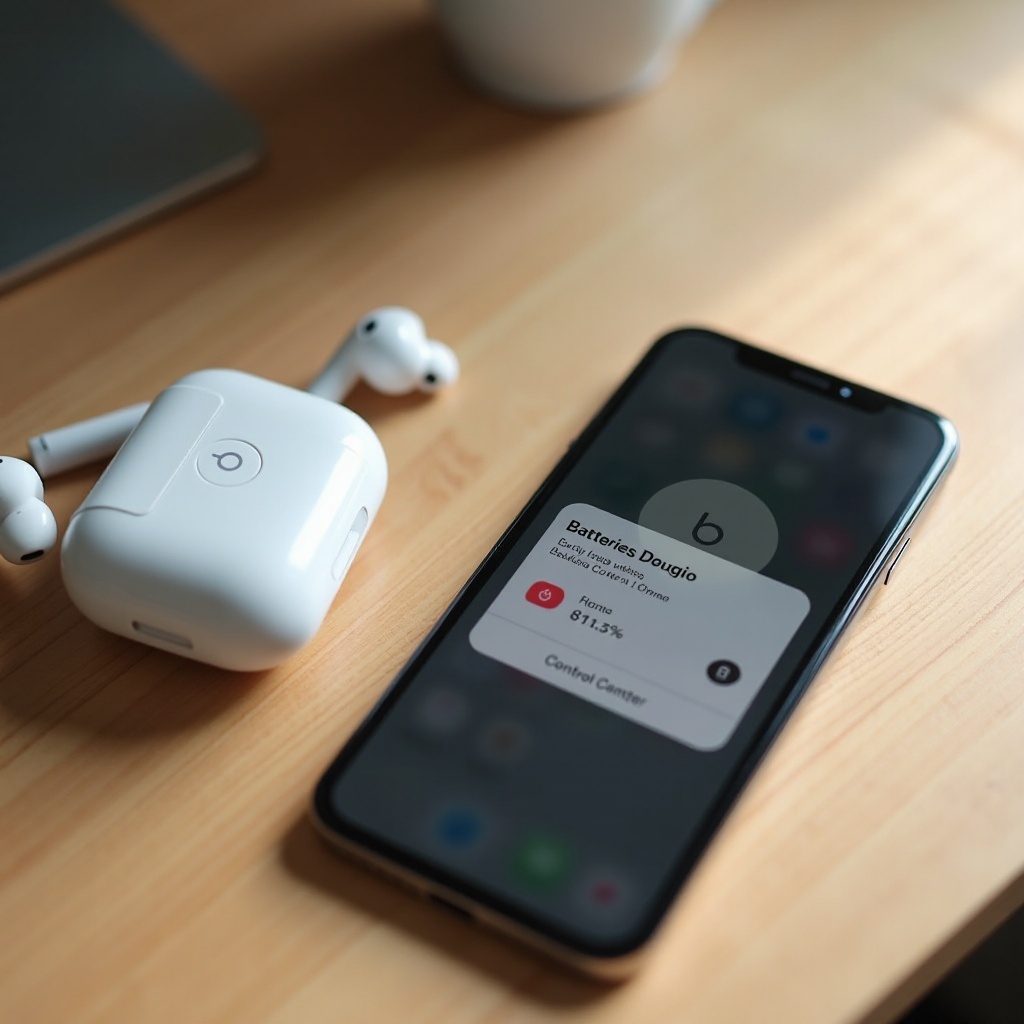
- iPhone: open the Battery widget or wait for the pop‑up card when you open the case near the phone.
- Android: open the Beats app or Bluetooth device details; look for a charging icon or the word charging.
- Watch for patterns:
- Solid or gradually filling lights usually mean active charging.
- A single brief white flash often means pairing, not charging.
- A red or amber light signals low battery; if it stays red while plugged in, it is likely charging from low.
- Trust software first: if the phone shows a charging icon or a rising percentage, it is charging even if the LED turns off after a few seconds.
You now have a quick way to check status almost anywhere. Next, let us decode what those lights and app indicators actually mean so you can read them at a glance.
What Charging Looks Like Across Beats: Lights, App Indicators, and Sounds
With the fast checks in mind, it helps to understand how Beats communicate charging across models. You will see LEDs, phone-based battery readouts, and sometimes tones.
- Case or earcup LEDs:
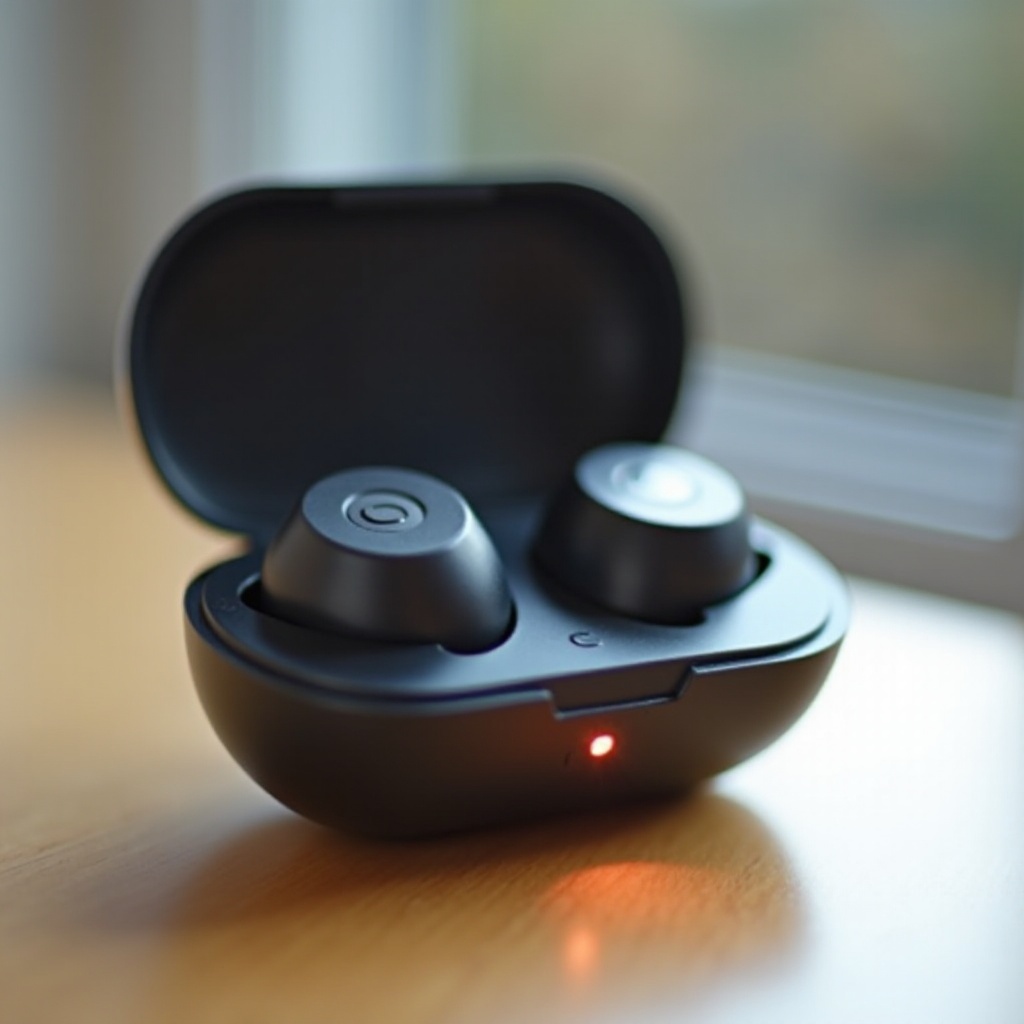
- Earbuds with cases have a single LED on the case. It lights for a few seconds when you connect power or open or close the lid. Colors and patterns vary by model. A steady light or a slow pulse often indicates charging. A red or amber light often means the battery is low and now receiving power.
- Over‑ear and on‑ear models have a fuel gauge with multiple LEDs. More lit bars mean more charge. While charging, you may see lights fill in sequence until they hold solid at full.
- Phone indicators:
- iPhone: the Battery widget shows each earbud and case percentage, often with a lightning bolt when charging. A pop‑up card appears when you bring the case near an unlocked iPhone and open the lid.
- Android: the Beats app shows earbud and case percentage and a charging icon when connected. Bluetooth device details may also show a battery icon and charging status.
- Sounds and vibrations:
- Some earbuds play a short tone when you seat them in the charging case. Do not rely on tones alone. Always check the case LED or your phone for confirmation.
If your LED turns off quickly, that is normal. Many models keep the LED on only for a few seconds to save power. Your phone remains the most reliable source of truth. With that in place, let us confirm step by step on iPhone and Android.
Confirm on an iPhone: Battery Widget, Pop-Up Cards, and Control Center
Once you know what to look for, iOS offers clear tools to verify charging. This gives you a software confirmation to back up what the LED shows.
- Battery widget:
- Add it: touch and hold the Home Screen, tap the plus button, search Batteries, and add the medium or large widget.
- Check it: connect your Beats to power. With the case near your iPhone, open the lid. The widget should show a lightning bolt or a rising percentage for the earbuds and, when applicable, the case.
- Pop‑up card:
- Open the case near your unlocked iPhone. You should see a card with earbud and case percentages. If it shows a lightning bolt for the earbuds or case, charging is active.
- Control Center:
- If your Beats are connected via Bluetooth, open Control Center and long-press the audio tile. Some models show battery percentage there. Use this as a secondary check.
- Tips:
- If the widget does not update, close the lid, count to five, and open it again near the iPhone.
- If the pop‑up does not appear, toggle Bluetooth off and on, or unpair and re-pair.
- When the case is plugged into power with earbuds inside, the widget usually shows the earbuds charging first. The case may charge in parallel or after the earbuds top up, depending on the model.
You can confirm status on iOS in seconds. Next, let us mirror those checks on Android so you can verify charging no matter which phone you use.
Confirm on Android: Beats App, Bluetooth Settings, and Notifications
After you confirm charging on iOS, the next step is learning the Android methods. The Beats app and system Bluetooth page provide comparable clarity.
- Beats app:
- Open the app with your Beats nearby. You should see each earbud’s percentage and, on earbud models, the case percentage. A charging icon or a Charging label confirms power flow.
- If you do not see the case percentage, open the lid or reseat the earbuds in the case.
- Bluetooth device details:
- Go to Settings > Bluetooth > your Beats. Many phones show a percentage and a charging indicator while the device is connected and charging.
- Notifications:
- Some phones show a quick banner when you open the case near the phone or plug in. Look for a lightning bolt or a charging label.
- Tips:
- If the app does not update, toggle Bluetooth, close and reopen the app, or reseat the earbuds.
- Update the Beats app for more reliable battery reporting.
- If the earbuds are not seated, the app may show Not charging even if the case is plugged in.
With confirmations on both mobile platforms, let us decode how earbuds with cases signal charge through their LEDs and the app.
Earbuds with Charging Cases: Reading the Case Light vs. Earbud Status
You now know how to check charging in software. Earbuds and cases also provide hardware cues. The case LED usually shows the case or earbud status for a few seconds. Your phone shows the complete picture. Always seat each earbud fully and close the lid firmly before you check.
Beats Studio Buds and Studio Buds+: Case LED Colors and When to Trust the App
- What you should see:
- Plug in the case: the front LED turns on briefly. A steady light or soft pulse indicates the case is receiving power. If earbuds are inside, the light may reflect their status for a few seconds when you open the lid.
- Open near your phone: you should see a pop‑up on iPhone or an app panel on Android with individual earbud percentages and the case percentage.
- Common confusions:
- Blinking white usually means pairing mode, not charging.
- A red light often means low battery. It can stay red while it begins to charge. Trust the app to confirm charging.
- Quick checks:
- Reseat each earbud: press down until magnets pull it into place.
- Clean pogo pins and contacts with a dry, soft brush if one side will not charge.
- Close the lid fully; partial latches can stop charging.
Beats Fit Pro: Proper Seating, Latch Checks, and LED Patterns
- What you should see:
- Plug in the case: the LED turns on briefly to confirm power. With earbuds inside, the case gives you a quick status when you open the lid.
- On your phone: the Battery widget or Beats app shows a charging icon next to each earbud when properly seated and the case is powered.
- Tips that matter:
- Ensure the wing tip does not lift the earbud off the charging pins. Press down until you feel a magnetic snap.
- If one side does not charge, swap sides for a moment to isolate the bud versus the bay.
- If the LED behavior seems off, reset the earbuds and check for a firmware update.
- When in doubt, rely on the phone’s battery panel over the brief LED.
Powerbeats Pro: Pogo Pin Contact and Independent Earbud Charging
- What you should see:
- Each earbud charges independently. You may see one earbud charging while the other reads full.
- The case LED lights for a few seconds when you connect power or open the lid.
- Phone panels on iPhone and Android show separate left and right percentages with charging icons.
- Key steps:
- Seat each ear hook so the bud lies flat against the pins. The ear hook can keep a bud from sitting fully.
- If a bud will not charge, clean the gold pins and the contact rings on the earbuds with a dry cotton swab.
- Close the lid until it clicks. A loose lid can stop the pins from making contact.
Over-Ear and On-Ear Models: Fuel Gauge LEDs and Cable Indicators
Earbuds with cases use a single LED, but over‑ear and on‑ear Beats rely on a fuel gauge. You will usually see multiple LEDs on the left earcup. As you charge, more bars light up and then hold solid when full. You can confirm progress on your phone, but the earcup lights give instant feedback even when the headphones are powered off.
Use the correct cable for your model, whether USB‑C, Lightning, or micro‑USB. A poor cable fit can prevent the fuel gauge from lighting. If you plug in and see no lights, try another cable or port and press the power button once to wake the fuel gauge. With that in mind, here is how the most common models behave.
Solo3 Wireless: Fuel Gauge Bars and Micro-USB Charging Signs
- Cable and lights:
- Use the included micro‑USB or a high‑quality replacement. Plug into a reliable USB power source.
- The fuel gauge shows charge level. While charging, you should see bars pulse or fill. At full, all bars hold steady.
- Quick checks:
- Press the power button to wake the gauge if it sleeps during charging.
- Try a different USB brick if the lights do not move after a few minutes.
Solo Pro: Lightning Cable Indicators and Full-Charge Signals
- Cable and lights:
- Use a certified Lightning cable. When connected, the fuel gauge lights up to show the current level and then animates while charging.
- Quick checks:
- If you see a single red or amber indicator for long periods, the battery started very low; give it time.
- Confirm in your phone’s battery panel if the LEDs confuse you.
Beats Studio Pro: USB-C LED States and Expected Charge Times
- Cable and lights:
- Use a USB‑C cable. The fuel gauge animates as charge increases. As you approach full, the final LED may blink until it holds steady.
- Quick checks:
- If nothing lights, try a different USB‑C cable and a wall adapter with known output.
- Confirm in your phone. You should see a charging icon when connected to power.
Beats Flex: Single-LED Behavior and In-Cable Charging Cues
- Cable and lights:
- Beats Flex charges over USB‑C. The single LED near the control module indicates status. A steady light while connected typically shows active charging; red usually means low battery.
- Quick checks:
- If the LED switches off quickly, let it sit for a few minutes and check your phone’s battery reading.
- Try a known-good USB‑C cable if the LED never lights.
Typical Charge Times by Model and What You Should See at Each Stage
After learning device-specific cues, it helps to set expectations for progress. Charge speeds vary by battery size and charger output, but the pattern is consistent.
- First 5 to 10 minutes:
- Most models accept a quick boost. You may see a fast bump in percentage. LEDs often show a brief animation.
- 10 to 60 minutes:
- LEDs continue to fill. Your phone should show steady percentage increases. If one earbud lags behind, reseat it and close the lid.
- Near full:
- The last bar takes longer. This is normal battery behavior as the device switches to a lower current. The final LED might blink until it holds steady at 100 percent.
- Full:
- LEDs stop animating and hold solid for a short time. Many case lights turn off after a few seconds. Your phone shows 100 percent with no charging icon.
If progress stalls for 10 to 15 minutes, swap cables or ports and reseat earbuds. Confirm with the phone before you troubleshoot deeper.
Charging vs. Fully Charged vs. Not Charging: How to Tell the Difference
Now that you know the stages, use a simple decision path to interpret what you see. This helps you act quickly and avoid guesswork.
- Charging:
- Phone shows a lightning bolt or a charging label.
- LEDs animate or hold steady in a charging color. Case lights turn on for a few seconds after you connect power or open the lid.
- Percentage rises over time in the app or the widget.
- Fully charged:
- Phone shows 100 percent without a charging icon.
- Fuel gauge lights hold steady; no more animation.
- Case LED may turn off completely after a few seconds. This is normal.
- Not charging:
- No light when you connect power or open the lid.
- Phone shows no charging icon and the percentage does not rise.
- Only one earbud charges or the case shows low battery continuously.
When the phone and LED disagree, trust the phone first. Software reports actual battery readings, while LEDs can time out or reflect a different component such as the case instead of the earbuds.
Troubleshooting No Lights or Confusing Indicators
If the signs still do not add up, a structured set of checks can solve most issues fast. Work through these steps in order, then recheck the phone indicators.
Power Source and Cable Checks
- Try a different wall adapter and a different cable of the correct type, such as USB‑C, Lightning, or micro‑USB.
- Avoid USB hubs at first. Use a direct wall charger or a known-good power bank.
- Check the cable fit. A loose connector can power intermittently and confuse the LEDs.
- If the power source is a computer, switch to a wall adapter for a stable output.
Clean Ports and Contacts Safely
- Earbuds: use a dry, soft brush or a dry cotton swab to clean the gold pins in the case and the contact rings on the buds.
- Headphones: gently clean the charging port to remove lint and debris. Shine a light to ensure nothing blocks the plug.
- Never use liquids, compressed air, or metal tools on contacts.
Reseat, Close, and Reset
- Reseat each earbud and close the lid until it clicks.
- For earbuds: if one side will not charge, swap sides briefly. If it then charges, clean and inspect the original bay.
- Reset the model per its instructions if indicators act oddly, then reconnect to your phone and recheck the widget or app.
Update Firmware and Reboot Your Phone
- Keep your Beats firmware current through your iPhone or the Beats app on Android. Updates can fix battery reporting and LED behavior.
- Reboot your phone to refresh Bluetooth and battery services. After restarting, open the app or widget and check again.
Temperature and Battery Health Considerations
- Charge at room temperature. Extreme heat or cold can slow or block charging and change LED behavior.
- If the battery drains fast or fails to charge after all steps, contact support for service. Batteries wear over time and may need replacement.
With most issues resolved by these steps, the last piece of the puzzle is keeping your batteries healthy so indicators remain predictable.
Safe Charging Practices to Protect Battery Health
Strong battery habits reduce confusion and extend device life. They also keep LEDs and app readouts consistent from session to session.
- Use quality, certified cables and adapters. Avoid ultra‑cheap bricks that fluctuate voltage.
- Do not cover the case or earcups while charging. Let heat dissipate.
- Unplug after full. Most models manage trickle charge, but long, repeated overnights add heat cycles.
- Store earbuds in the case when not in use. They will stay topped up and protected.
- If you will not use them for weeks, store around half charge and in a cool, dry place.
- Keep firmware updated. Indicator logic sometimes improves with updates.
These habits keep your charge times repeatable and your indicators accurate, reducing the need to troubleshoot.
Quick Reference Checklist You Can Screenshot
You now have the full picture. Here is a fast checklist you can run any time charging seems unclear.
- Plug in with a known-good cable and power adapter.
- Look for the brief LED: case light or fuel gauge should turn on.
- Open the lid near your phone; check the iOS Battery widget or Android Beats app.
- Reseat earbuds; ensure the lid clicks closed.
- Clean pins and ports with a dry brush or cotton swab.
- If stuck, reset the model and update firmware.
- Try a different cable and a direct wall outlet.
- Charge at room temperature and give it a few minutes from a very low battery.
Conclusion
You can confirm your Beats are charging in seconds. Check the brief case or fuel gauge light, then verify in your phone. The iOS Battery widget and Beats app show the most reliable status, including which earbud is charging and how the case is doing. If lights confuse you, trust the phone and look for a rising percentage or a charging icon. When you do not see clear signs, reseat the earbuds, clean the contacts, try another cable, and update firmware. Keep charging simple with a stable power source and sensible heat control. With these steps and model cues, you will always know whether your Beats are charging and how to fix it when they are not.
Frequently Asked Questions
Why does my Beats case light turn off after a few seconds—does charging stop?
No. Many cases light only briefly to save power. The case and earbuds keep charging even when the LED turns off. Confirm in your phone for the most accurate status.
Can I use a fast charger or power bank to charge my Beats safely?
Yes, if the charger and cable meet USB standards and come from reliable brands. Your Beats draw only what they need. Avoid hot, unbranded bricks and stick to quality 5W–20W chargers.
Why does the app show charging but the LED looks different?
LEDs can time out quickly, reflect the case instead of the earbuds, or indicate pairing. The app and iOS Battery widget read battery sensors and are more precise. Trust the phone indicator.