Blink Doorbell Camera Blinking Red: Meanings, Fixes, and Pro Tips
Introduction
Seeing your blink doorbell camera blinking red can feel alarming when you rely on it to watch your entryway. That red LED usually points to one of three causes: setup mode, a Wi‑Fi problem, or a power issue. The good news is that you can fix most cases in minutes with the right steps. This guide decodes each LED pattern, then walks you through fast fixes and deeper troubleshooting. You will learn how to confirm power health, improve 2.4 GHz Wi‑Fi, and resolve setup errors. We also cover Sync Module placement, hardwiring checks, and a clean reset procedure. Each section builds on the last so you can move from quick wins to advanced diagnostics without guesswork. Start with LED meanings, then apply the steps that match your situation.
Quick Answer: What blink doorbell camera blinking red actually means
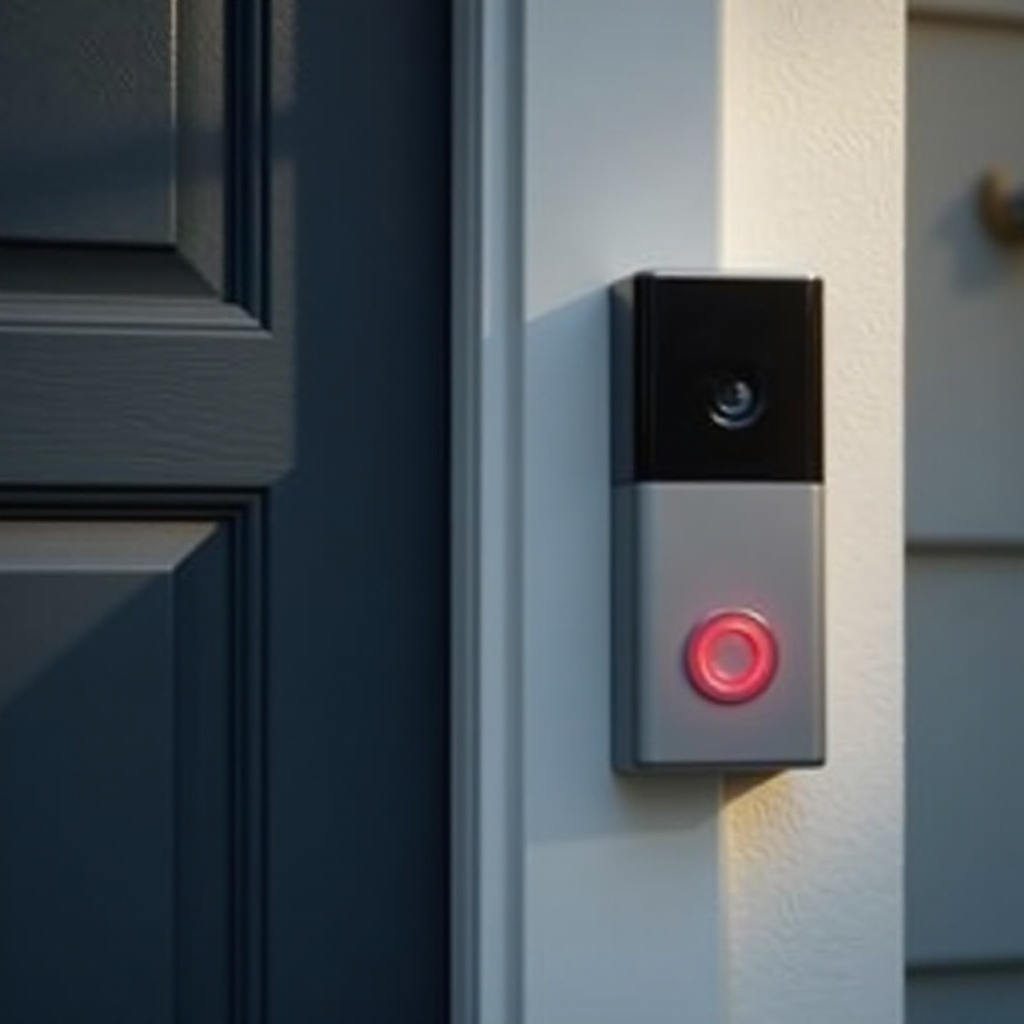
A blinking red LED on a Blink Video Doorbell usually indicates one of these states:
– Setup mode: The doorbell waits to receive Wi‑Fi credentials.
– Connection error: The doorbell cannot reach your Wi‑Fi or Blink services.
– Power issue: Low batteries, a weak transformer, or unstable wiring.
Try these quick actions first:
– Reseat the batteries and reboot the doorbell, wait 60 seconds, then test Live View.
– Stand close to your router and run setup again on a 2.4 GHz SSID.
– Confirm the Wi‑Fi password in the Blink app and verify your internet connection.
If the red LED persists, the next step is to read LED patterns and match them to likely causes.
Understand the LED patterns on Blink doorbells
The front LED gives fast clues about status:
– Slow red blink often signals setup mode or a Wi‑Fi join failure. You will see this when the doorbell waits for credentials or cannot authenticate on your SSID.
– Rapid red blink can point to repeated connection failures or a temporary service issue. It may appear after a router change or password update.
– Solid red usually indicates a power fault or critical setup error. Brief red during startup can be normal as the unit initializes.
– Solid blue means recording or Live View. A short blue pulse on a button press indicates a normal event.
Compare the LED with the Blink app status. If the app shows offline or reports weak RSSI, address Wi‑Fi. If the app appears ready but the LED blinks red during setup, check the SSID, password, and band. With LED basics covered, confirm your specific installation to choose the right path.
Before you start: identify your model and setup
Different configurations fail in different ways. Confirm whether your Blink Video Doorbell runs on batteries only or is hardwired to a transformer and chime. Note whether you use a Sync Module 2 for local storage and improved connectivity. Battery‑only installs depend fully on Wi‑Fi strength at the door. Hardwired installs still need batteries and add transformer and chime variables. A Sync Module adds another link: doorbell to Sync Module, and Sync Module to router. Knowing your setup narrows the fix list and keeps you from chasing the wrong problem. With your setup in mind, apply fast fixes that resolve the majority of red LED cases.
Fast fixes to try first (under 5 minutes)
Start with simple steps that clear transient faults:
1) Reseat batteries and reboot the doorbell
– Remove the cover.
– Pull both batteries for 30 seconds.
– Insert fresh, high quality lithium AA cells.
– Wait for the LED to complete its boot sequence.
2) Check Wi‑Fi signal and proximity
– Stand near your router with the doorbell during setup.
– Run Live View in the app. If it works near the router but fails when mounted, you likely have range or interference issues.
3) Toggle system state and test
– Arm, then Disarm your system.
– Start a Live View and save a short clip.
– Confirm the LED goes solid blue during Live View and stops blinking red afterward.
If the blink returns after these steps, verify that your power source is healthy before adjusting the network.
Power and battery troubleshooting
Unstable or weak power can trigger frequent reconnects and a red LED. Take these steps:
– Use approved batteries: Install quality, non‑rechargeable lithium AA cells. Avoid alkaline and most rechargeables; they sag under load and struggle in cold weather.
– Check temperature: Cold reduces battery output. Keep spare lithium batteries on hand in winter. In extreme heat, give the unit time to cool before repeated tests.
– Confirm battery status in the app: Open Device Settings to review battery level. If it shows low or unknown after reseating, replace with fresh lithium cells from a trusted brand.
– Hardwiring still needs batteries: Even when hardwired, the doorbell uses batteries for camera and network operations. Replace the batteries if you see a red blink.
– Reduce drain while testing: Lower motion sensitivity, limit Live View, and pause frequent clip uploads during troubleshooting.
If power checks pass but your blink doorbell camera is still blinking red, focus on Wi‑Fi configuration and signal strength.
Wi‑Fi and network fixes when your blink doorbell camera is blinking red
Doorbells connect on 2.4 GHz Wi‑Fi. The wrong band, poor signal, or restrictive features can block setup and reconnection.
– Use 2.4 GHz only: Many routers band‑steer 2.4 and 5 GHz under one name. If setup fails, split SSIDs or create a dedicated 2.4 GHz SSID and connect the doorbell to it.
– Improve RSSI: Aim for better than about −65 dBm at the door. Move the router closer, elevate it, or shift the Sync Module. Avoid placing the router in a cabinet or behind metal.
– Channel planning: Use channels 1, 6, or 11 at 20 MHz width for stable overlap management.
– Disable blocking features: Turn off AP isolation, client isolation, and MAC filtering for your IoT SSID. Avoid captive portals and enterprise authentication.
– Mesh or extenders: Place a mesh node within one or two rooms of the doorbell. Do not hide it behind brick or metal. Prefer wired backhaul when available.
– DHCP and IP habits: Leave DHCP on. If you reserve an IP for the doorbell, choose an address with a long lease and outside quick‑assignment ranges.
– Confirm internet access: Test the same SSID on your phone. If you changed your Wi‑Fi password or router, update credentials in the Blink app.
After you fix the network, test Live View. If red blinking happens only when you use a Sync Module, check placement and resync before repeating setup.
Sync Module: placement, storage, and re‑sync steps
A well placed Sync Module reduces Wi‑Fi load on the doorbell and can stabilize connections.
– Place it smartly: Position the Sync Module midway between the router and doorbell, off the floor and away from dense walls. Keep it a few feet from the router to reduce interference.
– Reboot, then re‑add if needed: Unplug the Sync Module for 30 seconds and plug it back in. If issues persist, remove it in the app, add it again, and relink the doorbell.
– Check local storage: If you use a USB drive with Sync Module 2, verify it is healthy and formatted correctly. A failing drive can cause odd delays when saving clips.
If a red LED appears during first time setup rather than normal use, work through setup‑mode recovery next.
Setup‑mode errors and how to recover
Setup fails when the device cannot join your network or authenticate.
– SSID and password accuracy: Re‑enter your 2.4 GHz SSID and password. Avoid unusual characters that some routers mishandle. Confirm caps and spacing.
– Avoid captive portals and enterprise SSIDs: Blink devices do not support web sign‑in or enterprise auth. Use WPA2 or WPA3 Personal on a home SSID.
– Enter setup mode correctly: Follow the app steps to place the doorbell into setup mode. Scan the QR code in good light. If scanning fails, clean the code area and try again.
– Allow router time: Some routers take a moment to admit new clients. After submitting credentials, wait up to a minute before retrying.
If setup works but the red LED returns later, check for software and firmware updates that address stability.
Firmware and app maintenance
Outdated software can cause intermittent offline states and LED errors.
– Update the Blink app: Install the latest version from your app store. Sign out, then sign back in to refresh permissions.
– Confirm firmware: Open Device Settings to view firmware. Leave the doorbell connected for several minutes to auto‑update. Do not remove power during updates.
– Clear app conflicts: Force‑close the app. On Android, clear cache. Relaunch and test Live View.
– Reinstall as a last step: If the app still misbehaves after updates, uninstall, reinstall, and log back in.
If you still see a red LED, consider that some red glows in video are benign and come from IR lighting, not error states.
Motion, IR, and false red indicators
Not every red hue means trouble.
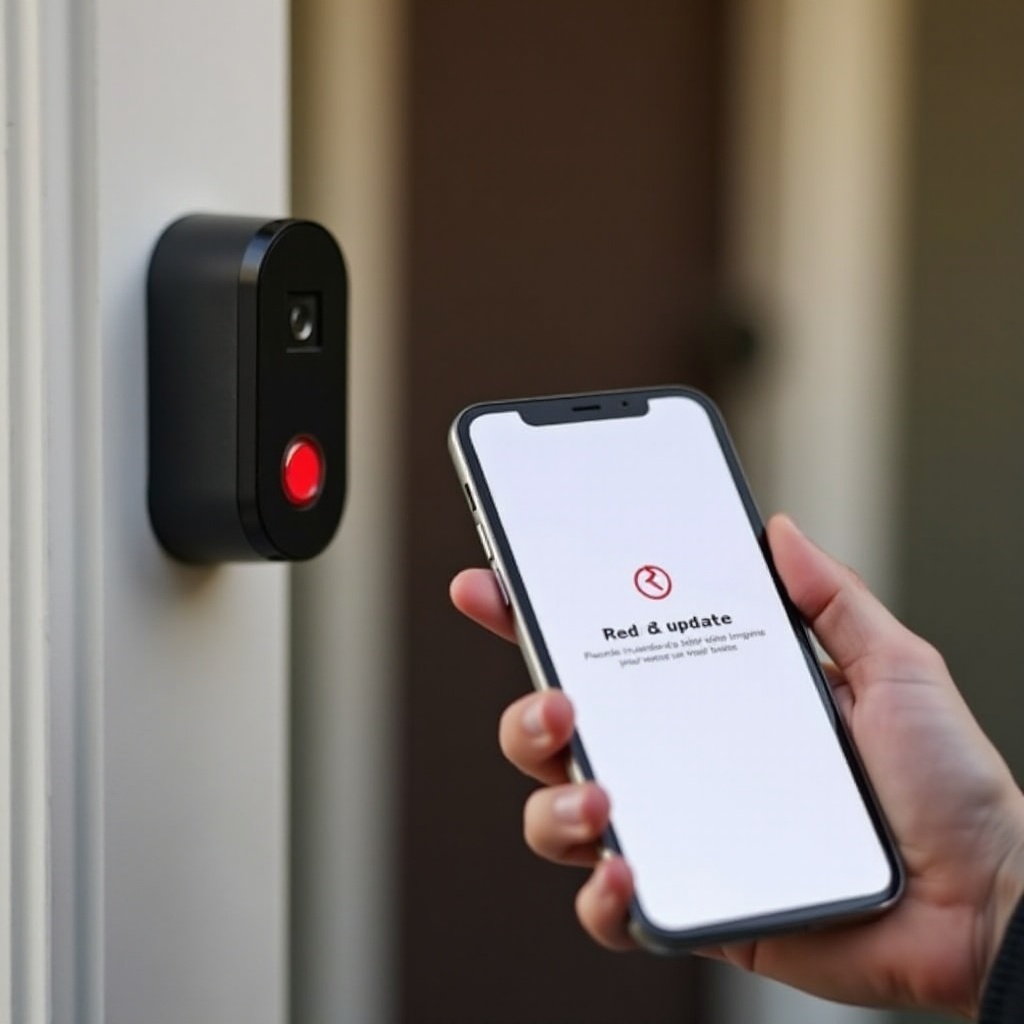
– IR illuminators: A faint red glow in reflections at night often comes from IR sources, not the status LED. That glow is normal in dark scenes.
– Trim motion noise: Excess motion triggers drain batteries and increase reconnects. Use motion zones to exclude roads, windows, or trees. Lower sensitivity and increase retrigger time during testing.
If you hardwired your doorbell to a chime and transformer, confirm those parts next to remove electrical noise and power dips from the equation.
Hardwiring checks and doorbell chime compatibility
Wiring and power components can introduce instability.
– Verify transformer specs: Ensure your transformer meets supported voltage and VA. Low, high, or noisy voltage can cause reboots and red LEDs.
– Confirm chime type: Mechanical and digital chimes behave differently. Use the correct chime setting and any required adapter. A mismatched chime can load the circuit.
– Isolate the wiring: Temporarily disconnect from the chime and run on batteries only. If the red blink disappears, inspect transformer output, chime wiring, and any adapters.
Once power paths and wiring check out, consider environmental and mounting factors that may impair signal and encourage false triggers.
Environmental and installation factors
Placement and weather influence both RF performance and device health.
– Weather proofing: Seat the gasket correctly and tighten the cover. Dry the unit if rain or condensation reaches contacts.
– Temperature extremes: Shade the device in hot sun and avoid mounting near heat sources. In cold climates, expect reduced battery life and plan earlier replacements.
– Mounting quality: Use wedge mounts to angle away from direct sun and busy roads. Tighten the mount to reduce vibration that can falsely trigger wake events.
If conditions are solid and the red LED persists, capture measurements and refine your network using the advanced checks below.
Advanced diagnostics for persistent red blinks
A structured approach reveals deeper causes:
– Measure RSSI: In the app, aim for better than −65 dBm. If you see worse than −70 dBm, move your router or add a closer access point.
– Test latency and jitter: From a device on the same Wi‑Fi, ping your router and a public DNS. High latency or wide swings indicate congestion or interference.
– Reserve an IP: Create a DHCP reservation for your doorbell. A stable address speeds reconnects after router reboots.
– Create an IoT SSID: On capable routers, use a separate 2.4 GHz SSID for IoT with WPA2 or WPA3 Personal. Disable client isolation so your phone and doorbell can reach each other if needed.
If advanced checks still point to intermittent issues, remove stale configs with a clean reset and add the device back in a controlled way.
Safe reset and clean re‑add procedure
Follow a strict order to avoid partial configs:
1) Back up
– If you use local storage with Sync Module 2, safely eject the USB drive and copy your clips. Note device names and motion zones.
2) Remove in app
– Delete the doorbell from the Blink app. If problems look tied to the Sync Module, remove it as well.
3) Factory reset
– Follow the device steps to enter reset mode. Do not power cycle during the reset.
4) Re‑provision in the right order
– Add the Sync Module first and confirm it is online. Then add the doorbell while standing near your router. Use your 2.4 GHz SSID and correct password.
5) Verify end to end
– Test Live View, motion alerts, and button press. Confirm a solid blue LED in Live View and that the red blink is gone.
If the device still shows a red LED after a clean reset, gather data and contact support for warranty options or hardware diagnostics.
When to contact Blink Support
Prepare details to speed help and avoid repeat steps:
– Device info: Serial numbers, install type, and firmware versions.
– Network info: Router model, SSID band, RSSI, channel width, and whether you use mesh or extenders.
– Repro steps: When the red LED appears, what the app reports, and any recent changes such as router swaps or ISP outages.
– Visuals: Short videos or photos of the LED pattern and wiring.
With this information, support can confirm whether you face a configuration issue or a hardware fault and advise on repair or replacement.
Preventative best practices to avoid future red blinks
Keep your system stable with simple routines:
– Network hygiene: Place the router in open air and plan channels to reduce overlap. Recheck RSSI after moving large furniture or appliances.
– Power upkeep: Replace lithium AA batteries before they read low in winter. For hardwired setups, verify transformer output yearly and retighten terminals.
– Software care: Update the Blink app and firmware regularly. Reboot your router if it degrades over time or after big ISP changes.
– Install checks: Inspect gaskets, mounts, and wire terminations every few months. Confirm that motion zones still fit your porch and street.
Conclusion
A blink doorbell camera blinking red usually traces to setup, Wi‑Fi, or power. Start with a battery reseat and a 2.4 GHz connection test. Improve RSSI and remove router features that block IoT devices. Confirm transformers and chimes for hardwired installs. Keep your app and firmware current. If needed, perform a clean reset and re‑add in the right order. With healthy power, a strong 2.4 GHz link, and routine maintenance, your doorbell will stay connected and record when it matters.
Frequently Asked Questions
Why does my Blink doorbell camera blink red right after installation?
The doorbell is likely in setup mode or it cannot join your Wi‑Fi. Connect to a 2.4 GHz SSID, enter the correct password, and stand near the router for the first join.
Can a weak Wi‑Fi signal cause my Blink doorbell camera to keep blinking red?
Yes. Poor 2.4 GHz signal triggers reconnect loops and red LEDs. Aim for RSSI better than −65 dBm, move the router closer, or add a mesh node or Sync Module.
Do I need a Sync Module to stop the red blinking on my Blink doorbell?
You can run without it, but a Sync Module often improves reliability and clip access. Place it midway between the router and doorbell to strengthen the link.