Skullcandy Earbuds Not Charging? Fix the skull candy earbuds not charging Problem Fast
Introduction
Your Skullcandy earbuds refuse to charge, the case LEDs flash oddly, or one bud keeps dying early. You want a fast fix that works. This guide tackles the skull candy earbuds not charging problem with practical steps you can try at home. You will test the power source, clean and reseat the buds, run precise resets by model, and update firmware when available. You will also learn to read case LED behavior, rule out charger and cable faults, and spot moisture or temperature lockouts. If hardware needs attention, you will know how to inspect pins, ports, and magnets without causing damage. When repairs do not take, you will see what to replace first and how to reach support with the right proof.
Start with simple checks that restore charging in minutes, then move step by step into deeper diagnosis. Each section builds on the last and contains clear actions. Read through, follow the order, and test after each step. If a quick fix does not help, move to diagnosis to identify the weak link and save time.
Quick Fixes Checklist: What to Try in the First 2 Minutes
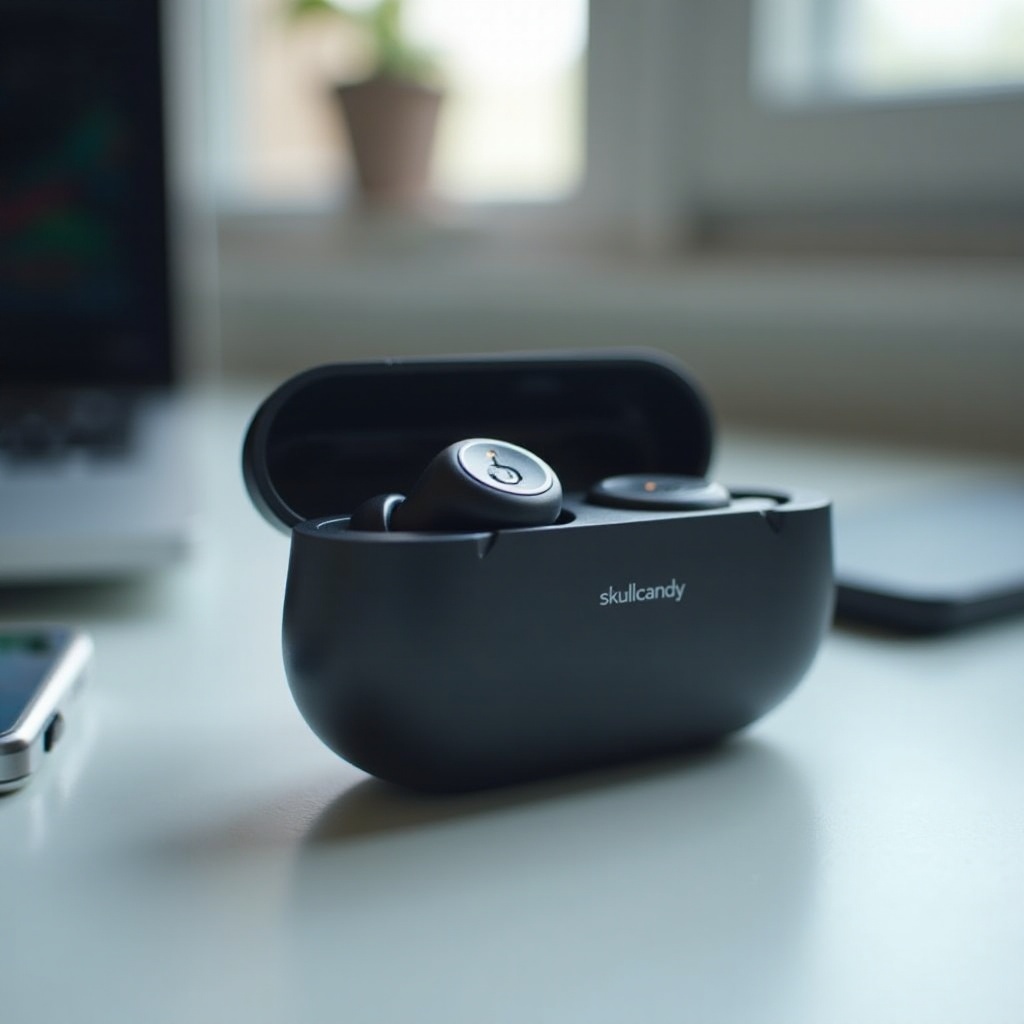
Small actions often solve charging issues fast. Run this list before you open tools or apps:
– Reseat both earbuds in the case. Press down so magnets pull and contacts touch.
– Close the lid for 10 seconds, open it, and check LEDs.
– Try a different USB-C cable and a basic 5V wall charger.
– Use a wall outlet instead of a laptop port, hub, TV, or car charger.
– Wipe earbud contacts with a dry microfiber cloth.
– Plug the case in for 10 minutes to wake a low battery.
– Swap earbuds left and right to see if the fault follows one bud.
– Restart your phone to refresh Bluetooth roles and timing.
If the problem persists, a quick diagnosis will show whether the buds, the case, or the power gear cause the failure. That direction shapes your next move.
Diagnose the Problem: Earbuds vs. Case vs. Charger
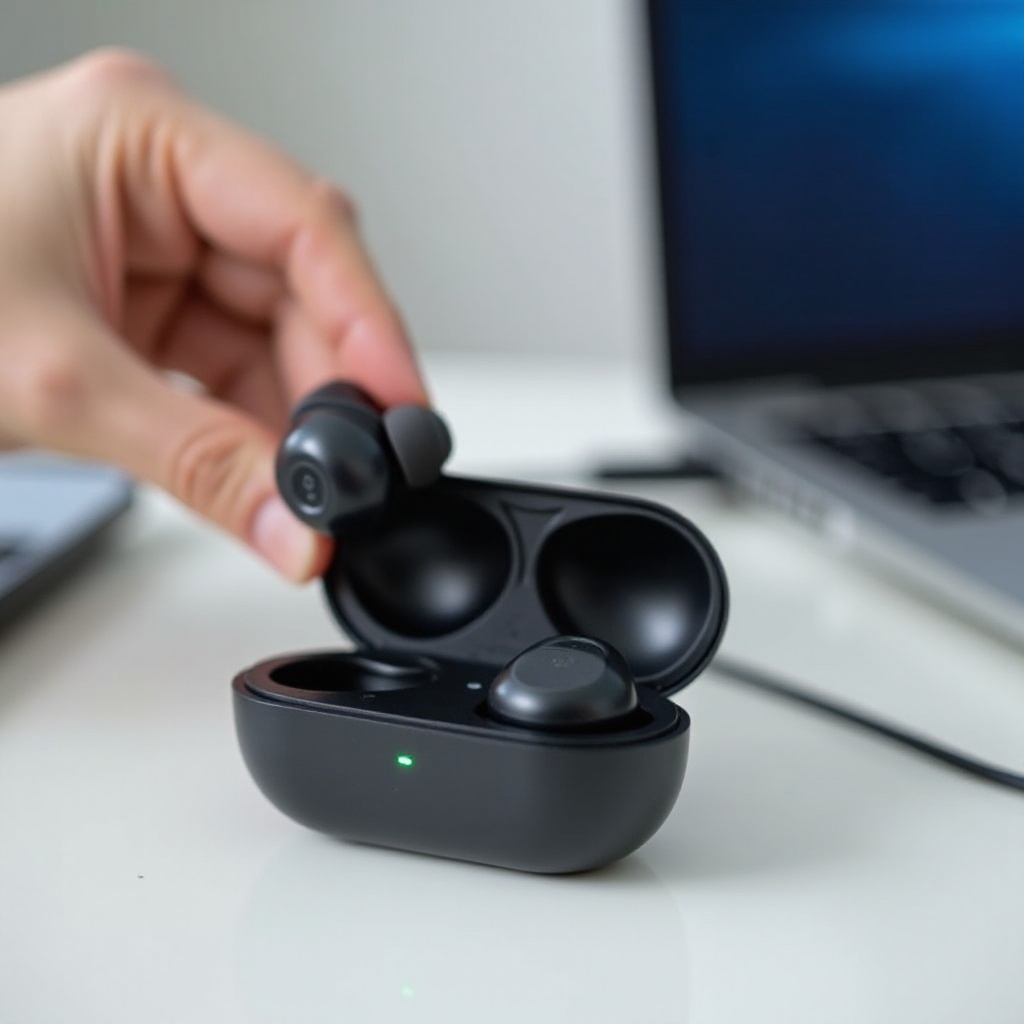
You fix faster when you know which link failed. Check these signals:
– Case LEDs while plugged in: active lights suggest power reaches the case; no lights suggest a bad cable, charger, outlet, or clogged port.
– Single-bud test: insert only the left bud and watch for a charge light, then test the right bud. If only one side never lights, that earbud or that slot is suspect.
– Power swap: try another cable and wall charger. If LEDs wake up, the original power gear failed.
– Hold charge test: plug the case for 15 minutes, unplug, and try charging the buds. If the case cannot charge buds off the cable, its battery may not hold power.
With a likely culprit in mind, confirm your power gear meets safe specs. Stable power keeps every other test honest.
Power Basics: Cables, Chargers, and Safe Charging Specs
Skullcandy cases expect a steady 5V input. Follow these tips to rule out power issues:
– Use a simple 5V, 1A to 2A wall adapter from a trusted brand.
– Try a short, quality USB-C cable with snug connectors.
– Avoid chargers locked to higher voltages without 5V fallback.
– Skip hubs, car ports, and TV ports during testing; they often deliver unstable current.
– Confirm the outlet works by charging another small device.
When power checks out, the next most common cause is poor contact between the buds and the case. Cleaning and proper seating restore that path.
Clean and Align: Contacts, Pins, Magnets, and Proper Seating
Sweat salts, pocket lint, and skin oils block current at tiny metal pads. Clean both sides of the connection.
– Power off the case and remove the earbuds.
– Brush lint from the case wells and spring pins with a dry, soft brush.
– If contacts look grimy, lightly dampen a cotton swab with 70 percent isopropyl alcohol. Wipe earbud rings and case pins. Let dry for 5 minutes.
– Check spring action: each pin should move and bounce back. If a pin sticks, gently nudge it up with a wooden toothpick. Do not force it.
– Inspect ear tips; make sure silicone does not overlap the metal rings.
– Reseat each bud. You should feel magnetic pull and a firm fit.
If cleaning and seating do not restore charging, a reset often clears charge logic or pairing state that blocks the process. Use the steps that match your model.
Model-Specific Resets: Indy, Indy Evo or ANC, Sesh or Sesh Evo, Jib True, Push or Push Active, Dime
A proper reset clears pairing roles, sync conflicts, and charge logic. Do this with power nearby and time to complete the sequence.
– Indy, Indy Evo, Indy ANC: Forget the earbuds on your phone. Place both buds in the case until LEDs turn red. Remove both. Tap each bud touch panel 4 times quickly. LEDs flash to confirm. Return both to the case, close the lid for 10 seconds, then reopen and re-pair.
– Sesh, Sesh Evo: Forget them on your phone. Place both buds in the case, wait for LEDs, then remove. Tap each bud 4 times. Return to the case, close 10 seconds, then reopen and re-pair.
– Jib True: Forget on your phone. With buds out, press and hold both buttons for about 10 seconds to power off and reset. Put them back in the case for 10 seconds. Re-pair when they wake.
– Push, Push Active: Forget on the phone. With buds out, press and hold both buds for 6 to 10 seconds until LEDs indicate reset or power cycle. Return to case, close 10 seconds, then reopen and re-pair.
– Dime: Forget on the phone. With buds out, hold both buttons for about 10 seconds to reset. Return to the case, close, wait 10 seconds, then reopen and re-pair.
LED patterns differ by release, so rely on actions and timing rather than exact blinks. After a reset, firmware updates can stabilize behavior if your model supports them.
Update Firmware with the Skullcandy App
Some Skullcandy models support firmware updates that fix charging bugs, improve battery reporting, or refine case communication.
– Install the Skullcandy app on your phone.
– Charge the case to at least half. Keep the buds in the case with the lid open.
– Pair the earbuds and check the app for available updates.
– Start the update on a stable charger with a reliable Bluetooth connection.
– Do not close the case or leave range until the app reports success.
– When done, reseat the buds in the case for 10 seconds to reboot.
If you still face the skull candy earbuds not charging problem, isolate whether the fault affects one earbud or both. That choice determines the next set of steps.
One Earbud Not Charging vs. Both Not Charging: Isolate the Fault
Targeted isolation saves time and parts.
– Swap test: put the left bud in the right slot and the right bud in the left slot.
1. If the problem follows the earbud, that earbud likely has contact, battery, or internal connection faults.
2. If the issue stays with the slot, the case pins or that side of the case need attention.
– Single-side reset: if your model allows, reset only the failing bud, then reseat.
– Battery rebalance: fully drain both buds during a call or music, then charge together in the case for 2 hours without interruption.
When both buds fail to charge, focus on the case and its LEDs. Those patterns point to the next fix.
Case Not Charging the Earbuds or Itself: LED Patterns and Meanings
The case tells you what is happening if you know how to read it.
– No LEDs while plugged in: suspect the cable, wall adapter, outlet, or a clogged USB-C port. Clean the port and retry with a known-good charger and cable.
– A single LED that never climbs or slow blinking for a long time: the case may be deeply discharged. Leave it on a stable 5V, 2A charger for 30 to 60 minutes.
– LEDs cycle but the buds never show charge: reseat the buds, clean contacts again, and confirm the lid closes fully. Some cases rely on lid sensors to start charging.
– Intermittent lights or random drops: test the cable for a loose fit and inspect the port for wear. Hold the plug straight to see if the connection stabilizes.
Moisture and temperature can also stop charging even when LEDs look fine. Clear those conditions before you change parts.
Moisture, Sweat, and Temperature: Charge-Inhibit Behaviors and Safe Drying
Liquid and heat trigger safety lockouts that mimic failure.
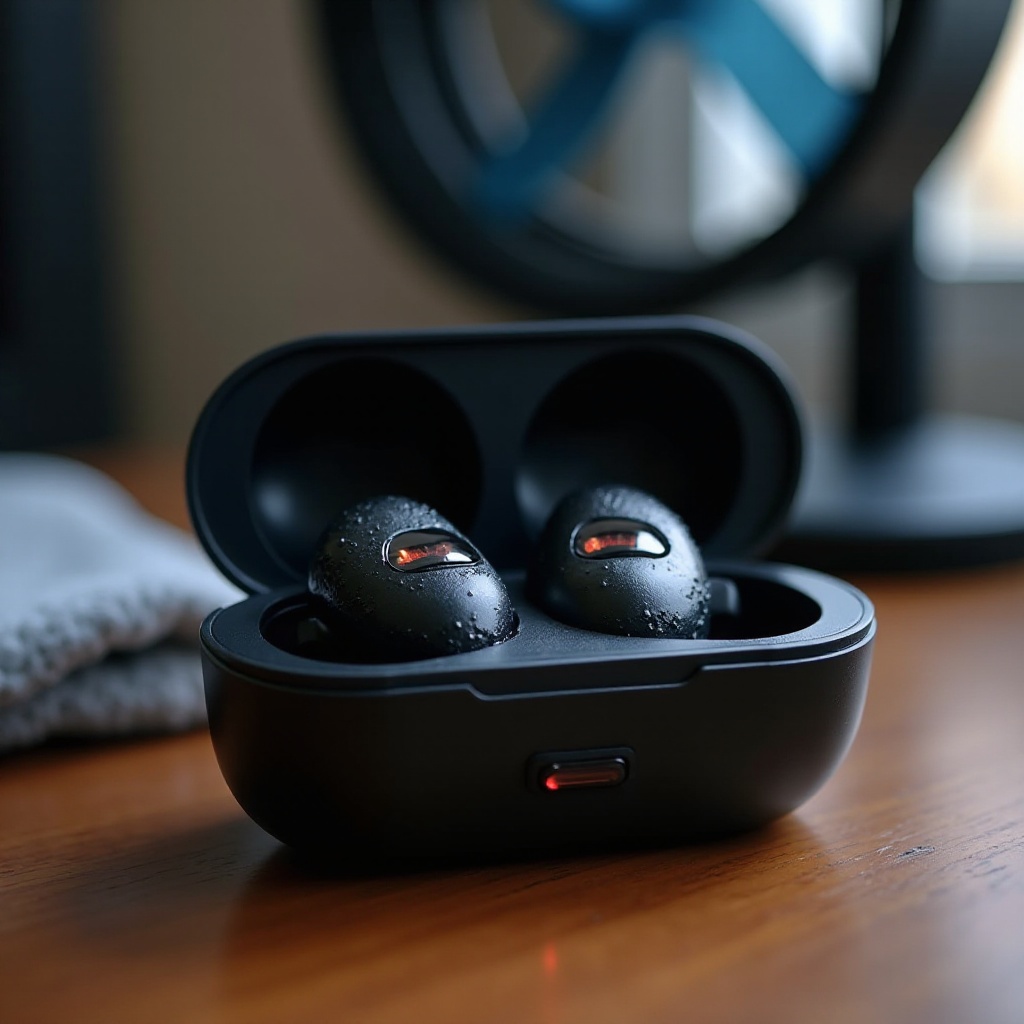
– Do not charge wet earbuds or a wet case.
– Remove ear gels, pat the buds and the case dry with a lint-free cloth, and open the case to air dry.
– Air dry for at least 24 hours in a dry room. Use silica gel packs if you have them. Avoid hair dryers, ovens, and direct sun.
– After drying, wipe contacts with a dry swab, reseat the buds, and test on a basic 5V charger.
– Respect temperature: charge best between roughly 10 C and 35 C. Let cold or hot gear come to room temperature for an hour before charging.
If the environment is stable and moisture free, verify wireless charging behavior if your case supports Qi. Misalignment can look like a fault.
Wireless Charging Tips: Pad Alignment, Case Compatibility, Indicators
Wireless pads work well when parts line up.
– Place the case centered on the pad. The charging coil usually sits in the back half of the case.
– Remove magnets, metal plates, or thick covers between the pad and the case.
– Use a reputable 5W to 10W Qi pad powered by a stable wall adapter.
– Watch for the case LED to confirm charging and for the pad LED to remain steady.
– If the pad stops or the case LED blinks, rotate or shift the case a few millimeters. If trouble continues, test with wired charging to rule out the pad.
If power delivery is correct but behavior seems odd, battery protections may be the reason rather than a fault.
Battery Protection Features that Look Like Not Charging
Smart protections can imitate a problem. Know what is normal.
– Trickle and top off: as charge nears full, current drops and LEDs may turn off. That is normal.
– Thermal cutoff: charging pauses if the case or buds get too hot or cold. Let them rest at room temperature.
– Deep discharge lockout: a case left empty for weeks may need 30 to 60 minutes on a stable charger before LEDs wake.
– Calibration drift: if percentages look wrong, run one full discharge and then a single uninterrupted full charge to recalibrate.
If protections do not explain the issue, inspect the hardware closely. Small defects cause big symptoms.
Advanced Hardware Checks: Port Lint, Bent Pins, Spring Tension, Lid Sensors
Careful inspection often finds the blocker.
– USB-C port debris: shine a light into the port. Remove lint with a wooden toothpick. Avoid metal tools.
– Oxidation or residue: if contacts look dull or greenish, touch up with a swab very lightly dampened with 70 percent isopropyl alcohol. Let everything dry fully.
– Spring pins: press each pin gently; it should rebound. If a pin sits low, nudge carefully without bending the mechanism.
– Earbud contact rings: ensure ear tips do not overlap the rings and that the rings are clean.
– Lid closure and magnets: confirm the lid closes flush and magnets pull the buds into place. Debris at the rim or hinge can block the lid sensor.
If you still see the skull candy earbuds not charging problem after these checks, consider strategic replacements starting with the cheapest parts.
When to Replace a Cable, Brick, Case, or a Single Earbud
Replace the least expensive, most likely part first.
– Cable: replace immediately if it feels loose, shows kinks, or charges intermittently.
– Wall charger: use a simple 5V, 1A to 2A adapter from a known brand.
– Case: if one slot never charges despite cleaning and resets, the case charging assembly may be faulty.
– Single earbud: if the fault follows the bud during swap tests and survives resets, the bud battery or internal contact may have failed.
Compare the cost of parts to a new set. If parts add up, a full replacement may be smarter. If you remain in warranty, contact support before you buy.
Warranty, Support, and RMA: What to Prepare Before Contacting Skullcandy
Arrive prepared and you move through support faster.
– Gather the model name and serial number from the case or inside the lid.
– Keep proof of purchase and the purchase date.
– Write a concise timeline of symptoms and every fix you tried.
– Record a short video that shows LED behavior and the issue.
Reach Skullcandy support via the official site and ask about single-bud or case replacements. If water exposure occurred, disclose it. Policies vary by model and region. Recycle any failed parts at an e-waste center. While you wait, adopt the care tips below to prevent repeat failures.
Prevention and Care: Storage, Cleaning Routine, and Battery Health Habits
Good habits keep charging reliable and extend life.
– Weekly contact care: brush case wells and pins, then swipe earbud rings with a dry swab.
– Post-workout routine: remove ear gels, wipe moisture, and air the open case for 30 minutes before charging.
– Clean storage: keep buds in the case when not in use. Avoid dusty pockets and backpacks.
– Temperature sense: never leave the case in hot cars, near heaters, or in freezing conditions.
– Battery practice: every few weeks, discharge to about 20 to 30 percent and charge to full in one go. Avoid leaving the case plugged in for days.
– Cable handling: coil loosely and avoid sharp bends to prevent internal breaks.
These habits reduce contact corrosion, keep sensors accurate, and stabilize charge logic. They also make future troubleshooting faster because you can trust the basics.
Conclusion
You now have a clear path to solve skull candy earbuds not charging issues. Start with quick checks, verify stable power, and clean and reseat the buds. Run a proper reset for your model and update firmware when available. Separate single-earbud faults from full-case faults, then read case LEDs to choose the next step. Clear moisture and temperature problems, inspect ports and pins, and replace the cheapest likely part first. If needed, reach support with proof in hand and ask about single-bud or case replacements. With steady care and the steps above, you will restore reliable charging and extend the life of your earbuds.
Frequently Asked Questions
Why are my Skullcandy earbuds not charging even though the lights turn on?
LEDs can glow while charging stalls. Clean the contacts on buds and case, reseat firmly, and try a basic 5V, 1 to 2A wall charger with a known-good USB-C cable. Let a warm case cool, and leave it on charge for 30 minutes to wake from deep discharge. If one slot still fails, reset the buds and check the case pins for smooth spring action.
How do I fix one Skullcandy earbud not charging while the other works?
Run the swap test by placing the failing bud in the other slot. If the problem follows the bud, clean its contact rings, dry it, and perform a single-bud reset if your model supports it. If the slot is the issue, clean the case, verify pin spring tension, and press the bud down so magnets align. Rebalance by fully draining both buds, then charging together for two hours. If it still fails, the earbud cell or the case slot may be defective.
Can moisture make Skullcandy earbuds stop charging, and how do I dry them safely?
Yes. Moisture can trigger a safety lockout or corrode contacts. Do not charge wet gear. Remove ear gels, pat dry, and air-dry the buds and the open case for 24 hours. Use silica gel packs if available. Avoid heat sources. After drying, clean contacts, reseat the buds, and test with a stable 5V charger. If corrosion or failure persists, contact support for repair or replacement.