How Do You Set Up Nest Camera? The Complete Step-by-Step Guide
Introduction
You bought a Nest Cam to watch your home, pets, or packages. Now you want a quick, reliable setup that serves crisp video and useful alerts without constant noise. This guide shows you every step, in order, so you avoid guesswork and fix issues before they start. You will prepare your account and network, add the camera in the Google Home app, mount it the right way, tune detection, and set up smart automations. You will also learn how to view footage on smart displays, manage multiple cameras, protect your privacy, and keep the system running well over time. We begin with the tools and settings you need, then we move into choosing the right model for your space.
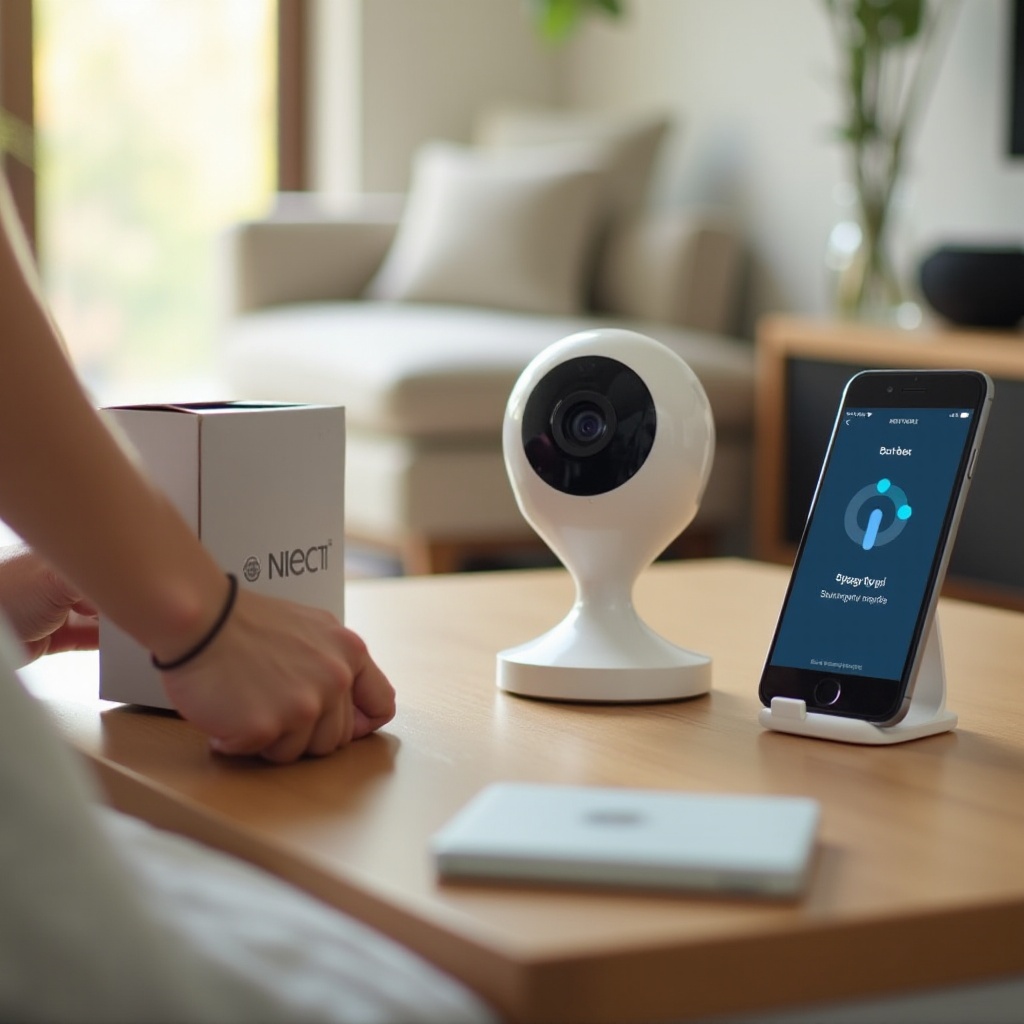
What You Need Before You Start (Google Account, Google Home App, Wi‑Fi)
Get these items ready so the setup flows smoothly:
– A Google Account with 2‑Step Verification on, so your camera stays secure.
– The Google Home app on iOS or Android, signed in with the same Google Account.
– Your Wi‑Fi name and password, plus a stable internet connection with good upload speed.
– A phone with Bluetooth and Location services enabled during pairing.
– Power for the camera: a charged battery for battery models or a nearby outlet for wired models.
– A step stool or ladder if you plan to mount the camera higher than eye level.
Check that your phone can stay near the camera and router during setup. If you use a mesh system or a dual‑band router with band steering, be ready to stand close to the nearest node. With the basics covered, it is time to pick the Nest Cam model that fits your scene.
Choose the Right Nest Cam Model (Battery, Wired, Floodlight, Indoor/Outdoor)
Choose a camera that matches your location and power options:
– Nest Cam Battery: flexible placement indoors or outdoors, simple to move, no outlet required.
– Nest Cam Wired: steady power and a reliable connection, best for long indoor coverage.
– Nest Cam with Floodlight: outdoor security camera plus motion‑activated lighting for yards and driveways.
– Nest Cam Indoor Wired: compact design for rooms, nurseries, or home offices.
Consider weather exposure, mounting height, access to power, and how often you want to recharge or never recharge at all. Outdoor installs call for weather resistance and secure mounts. Indoor installs favor wired power and a discreet profile. Once you choose the model, you can unbox and power it up for pairing.
Unbox and Power Up: Charging, Adapters, and LED Meanings
Open the box and verify you have the camera, mount, screws, anchors, and a cable or adapter. For battery models, charge to at least eighty percent before you mount. Use the included USB‑C cable and adapter to reach a solid charge. For wired models, plug the adapter into a stable outlet and confirm the cable length reaches your planned mount.
Watch the status light. A pulsing white LED usually means the camera is ready to pair. A solid white LED typically means connected. A blinking yellow or red often indicates an error or low battery, so charge or reseat the cable as needed. Keep the camera within a few feet of your router or mesh node for initial pairing. With power stable and the LED in a ready state, it is time to add the device in the Google Home app.
Install the Google Home App and Add Your Device (QR Code vs Setup Code)
Open Google Home, sign in, and create or select your Home. Then follow these steps:
1) Tap the plus icon, choose Set up device, then New device.
2) Pick your Home location, then scan the QR code on the camera or inside the box.
3) If the QR code will not scan, choose the option to continue without scanning and enter the setup code printed on the device or packaging.
4) Allow Bluetooth, Nearby Devices, and Location permissions so the app can find and link the camera.
5) Select your Wi‑Fi network, enter the password, and wait while the camera pairs.
If you see more than one Home in the app, double‑check you are adding the camera to the correct one. After pairing, confirm you can see a live view. The next step locks in a stable connection so the video stays smooth.
Optimize Your Wi‑Fi for Nest Cams (2.4 GHz vs 5 GHz, Mesh, Distance)
A reliable network keeps your streams clear and your alerts on time. Use these tips:
– Pick 2.4 GHz for longer range and better wall penetration; pick 5 GHz for higher throughput at shorter ranges.
– On mesh systems, place a node near the camera location to reduce hop distance.
– If the camera fails to join, temporarily disable band steering or separate SSIDs by band.
– Use WPA2 or WPA3 security and avoid hidden SSIDs and captive portals.
– Reduce interference by keeping routers away from thick metal, microwaves, and dense wiring.
Run a quick speed test near the planned mount point. Aim for at least five megabits per second of upload per camera for high quality. Once the signal and speeds look consistent, you are ready to place and mount the camera.
Best Placement and Mounting Tips (Height, Angle, Privacy, Weather)
Placement shapes how well the camera detects and identifies subjects. Follow these guidelines:
– Height: outdoors, mount around six to eight feet high; indoors, mount slightly above door frames or place on a stable shelf.
– Angle: tilt so faces and entry points sit near the center of the frame; avoid too much sky that can cause exposure issues.
– Distance: frame the scene so a person fills about a quarter of the picture for accurate detection.
– Lighting: avoid direct sun or bright windows; use shade or indirect light for consistent exposure.
– Privacy: do not aim into neighbor windows or shared areas; follow local laws on audio recording.
– Weather: for outdoor wired runs, seal cable entry points and angle the camera slightly downward so rain sheds off.
Dry‑fit the mount before drilling. Use the included template and anchors for solid attachment. After you mount, return to the app and continue with core settings so the camera is easy to find and manage.
Configure Core Settings in Google Home (Room, Name, Notifications)
Open your camera tile in Google Home and set the basics:
– Name and Room: choose clear labels like Front Door Cam or Living Room Cam.
– Camera On or Off: confirm the camera is on and streaming.
– Notifications: start with people events only to reduce noise, then add other types as needed.
– Microphone and audio: enable these if you want sound alerts or two‑way talk.
– Status light: decide whether you prefer visibility for deterrence or discretion for aesthetics.
– Favorites: add the camera to Favorites for faster access in the Home feed.
Watch the live view for a minute. If faces look dark or washed out, adjust the mount angle or add indirect light. With the basics in place, the next tuning step focuses on activity zones and event types for precise alerts.
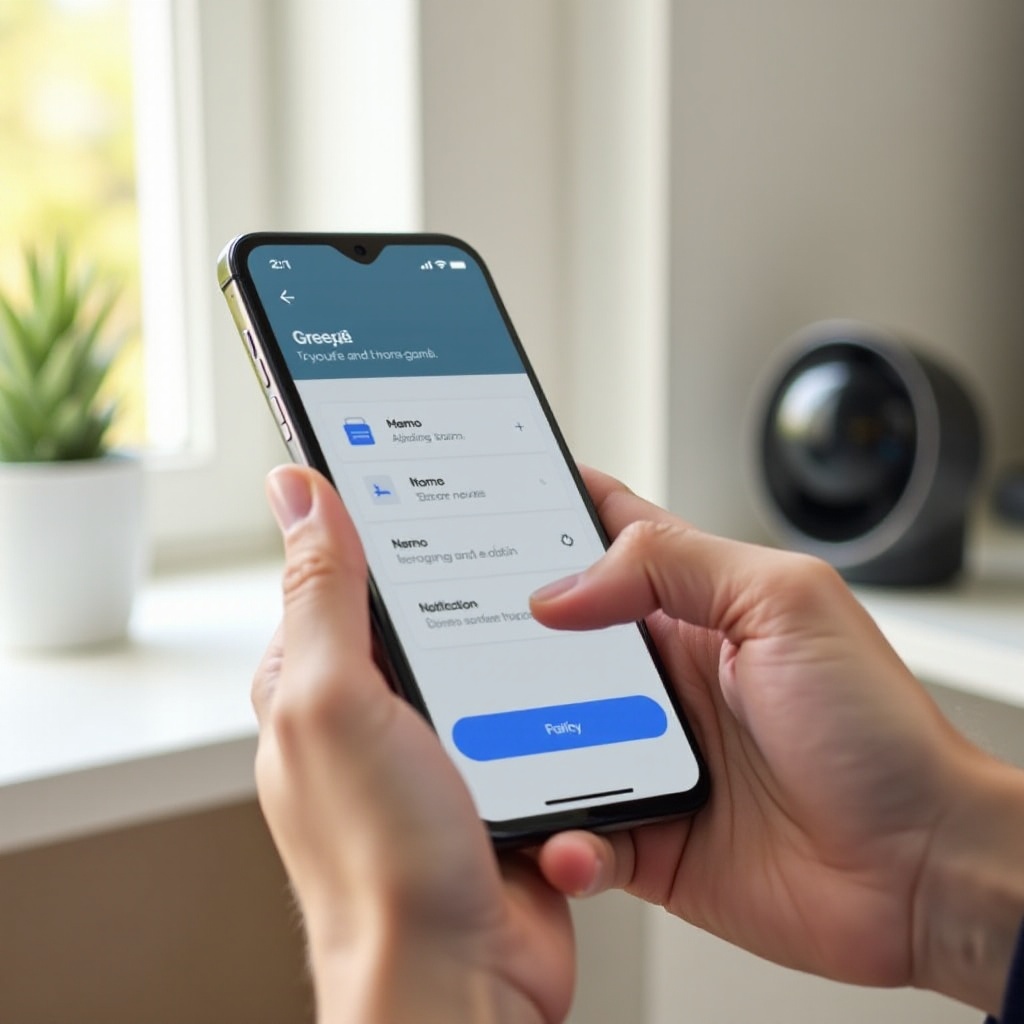
Dial In Activity Zones and Event Detection (People, Vehicles, Packages)
Zones help the camera track what matters and ignore what does not. In the app:
1) Draw zones around doors, walkways, and driveways.
2) Exclude areas with moving trees, busy roads, or reflective surfaces.
3) Turn on detection types like people, vehicles, animals, and packages based on your needs and camera model.
4) Adjust sensitivity in small steps and test for a full day.
If alerts fire too often, shrink the zone or lower sensitivity. For package detection, angle the view to include the doorstep and not just the path. Once zones work as intended, fine‑tune how and when you receive notifications.
Smart Notifications That Help (Filters, Schedules, Do Not Disturb)
Useful alerts keep you informed without overwhelming you. Try this approach:
– Filters: start with people and packages; add vehicles only if you need them.
– Schedules: quiet alerts when you know there is regular movement, such as weekday afternoons on a busy street.
– Do Not Disturb: mute late‑night pings while still saving recordings for review in the morning.
– Rich previews: enable image previews in notifications so you can judge urgency at a glance.
After a few days, review your alert pattern. If it still feels noisy, tighten zones or lower sensitivity. With notifications under control, you can optimize image settings for clarity and bandwidth balance.
Video Quality, HDR, Night Vision, and Bandwidth Usage
Open video settings and tune for your conditions:
– Resolution: use High for best detail; use Auto if your network fluctuates.
– HDR: enable HDR to preserve detail in mixed light or backlit scenes.
– Night vision: set to Auto; consider adding a soft light to improve face clarity at night.
– Bandwidth: if upload is limited, lower quality or avoid continuous streaming on shared connections.
Record a short clip during the day and night to validate legible faces and plates. If the stream stutters, revisit Wi‑Fi placement or reduce quality slightly. Once video looks good, set up viewing on smart displays and TVs for hands‑free access.
View on Smart Displays and TVs (Nest Hub, Chromecast, Android TV)
You can watch your camera on screens around your home. Use a Nest Hub or a TV with Chromecast or Google TV to pull up the live feed with a quick voice command or a tap in the app. Casting from the Google Home app to a compatible TV works well for quick checks. On the web, you can also view supported feeds in a browser when you prefer a larger monitor. If you notice lag on the TV, check that the TV or streaming device uses the 5 GHz band and sits near a mesh node. With viewing sorted, bring your camera feed into daily routines using automations.
Automations and Routines With Google Assistant (Lights on Motion, Home/Away)
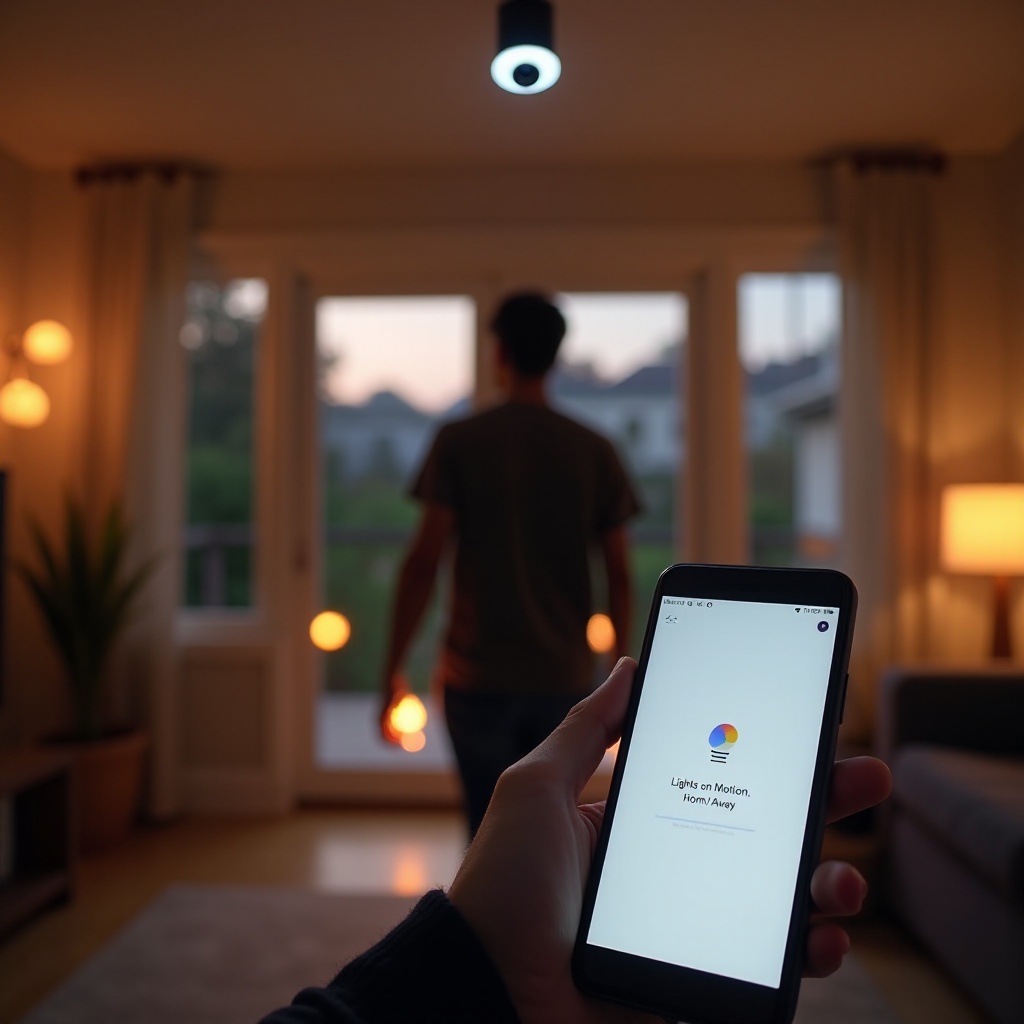
Automations can simplify your day and add deterrence. Use presence sensing to turn indoor cameras off when you arrive and on when you leave. Link a porch light to camera motion at night to illuminate visitors and improve video quality. Ask a smart display to announce package detection so you do not miss deliveries. Create scenes like Goodnight that lock doors, dim lights, and arm cameras as you head to bed. Test each routine and watch for false triggers. If a light flickers too often, narrow the zone or lower motion sensitivity. With automation in place, scaling to more cameras becomes straightforward.
Manage Multiple Cameras and Doorbells in One Home (Groups, Favorites)
Stay organized as you add more devices. Use precise names and room assignments so everyone in the household can find the right feed quickly. Add frequently used cameras to Favorites so they appear at the top of your Home app. Give household members the right level of access so they can view clips without changing critical settings. Align detection and alert settings between a doorbell and a nearby camera to avoid duplicate pings. As your system grows, a tidy structure makes review and troubleshooting simpler. Speaking of review, let us look at your video history options and subscriptions.
Video History and Subscriptions (Free Tier vs Nest Aware and Aware Plus)
You can start with free event history on many camera models. This gives you recent clips when people or other events occur. Nest Aware extends event history, unlocks features like familiar faces on supported devices, and adds helpful sound detection such as smoke or carbon monoxide alerts on eligible models. Nest Aware Plus goes further with longer history and, on some wired cameras, continuous video recording for constant coverage. Match the plan to your goals, budget, and the locations that need deeper review. After you decide on history, secure your account and protect private spaces.
Privacy and Security Essentials (2‑Step Verification, Home/Away, Masking)
Privacy and security keep your system safe and respectful. Enable 2‑Step Verification or passkeys for your Google Account. Review devices that have account access and remove old phones or tablets. Use video masking to block recording in sensitive areas like a neighbor yard or a private window. Set Home and Away rules to disable indoor cameras when you are home while keeping outdoor coverage active. Share access only with trusted people by adding them to your household rather than sharing your password. Check local rules on audio and signage so you comply with regulations. Even with strong security, issues can arise, so prepare common fixes now.
Troubleshooting Common Setup Problems (Pairing, Offline, Poor Signal)
If pairing fails, reboot the camera and your router, keep Bluetooth on, and stand within a few feet of the camera. Use the setup code if the QR method fails. If the camera goes offline later, move it closer to a router or mesh point, lock it to 2.4 GHz for distance or 5 GHz for speed, and update router firmware. Avoid DFS channels if your camera struggles to keep a connection. If video stutters or drops frames, reduce quality slightly, limit other heavy uploads, or improve Wi‑Fi placement. If problems persist, remove and re‑add the camera in Google Home. The last resort is a factory reset. Once stable, a little maintenance keeps everything healthy.
Maintenance and Updates (Firmware, Cleaning, Battery Care)
Keep the system in top shape with small habits:
– Firmware: leave the camera powered and online so updates install automatically.
– Cleaning: wipe the lens with a microfiber cloth; do not use harsh cleaners.
– Battery: on battery models, avoid full discharges; top up before trips or storms.
– Mount check: tighten screws and inspect outdoor seals twice a year.
Set a quarterly reminder to review detection zones, schedules, and alert volume. Update household access when someone moves or gets a new phone. If you plan to move or transfer the camera, follow the proper reset and removal steps so the next owner can add it without issues.
Reset, Remove, or Transfer Ownership of Your Nest Cam
When you move homes or sell a camera, remove it from your Google Home first. Then perform a factory reset by holding the hardware button until the LED signals a reset, following the device manual for the exact pattern. Unmount carefully, gather the mount, screws, and cables, and pack everything together. The new owner can add the camera with their account using the QR code or setup code. If you change your Wi‑Fi name or password, re‑add the device in the app so it joins the new network. With setup, care, and transfer steps covered, you can wrap up with a quick recap.
Conclusion
You set up your Nest Cam by preparing your account and network, adding the device in the Google Home app, and choosing smart placement for clear, reliable footage. You tuned zones, notifications, and video quality to focus on what matters and cut noise. You learned how to view feeds on smart displays and TVs, build routines that act on motion or presence, and manage a growing system with tidy names and roles. You explored history options and secured your account with best practices and privacy masks. With a stable network and simple maintenance, your Nest Cam delivers timely alerts and useful recordings when they matter most.
Frequently Asked Questions
Can I set up a Nest Cam without scanning the QR code?
Yes. In Google Home, tap the plus icon, choose Set up device, then New device. Select continue without scanning and enter the setup code printed on the camera or box. Keep Bluetooth and Location on and stand close to the camera for discovery.
Do Nest Cams work better on 2.4 GHz or 5 GHz Wi‑Fi?
Both bands work. Use 2.4 GHz for longer range through walls and 5 GHz for higher throughput near a router or mesh node. If you see drops, move a mesh point closer and avoid DFS channels that some devices cannot use.
What is the difference between the free event history and Nest Aware?
The free tier offers recent event clips on many models. Nest Aware extends event history, adds features like familiar faces on supported cameras, and enables extra alerts. Nest Aware Plus adds longer history and, on select wired cams, continuous video recording.