How to Fix PS5 HDMI Port Not Working: Step-by-Step Troubleshooting and Repair Guide
Introduction
If your PS5 shows a black screen or the TV reads ‘No Signal’, the HDMI link has failed somewhere in the chain. You can fix most cases with clear steps and simple checks. This guide walks you through fast resets, cable inspections, Safe Mode tweaks, firmware updates, and repair choices. You start with easy wins, then move to deeper steps only if needed. That order saves time and shows you exactly where the failure occurs.
We keep each action short and focused. After you try a step, test the display. If you see a picture again, move on to prevention tips. If not, keep going. By the end, you will know whether a setting, cable, or the port itself caused the issue. Now let’s set expectations, gather tools, and learn what symptoms point to.
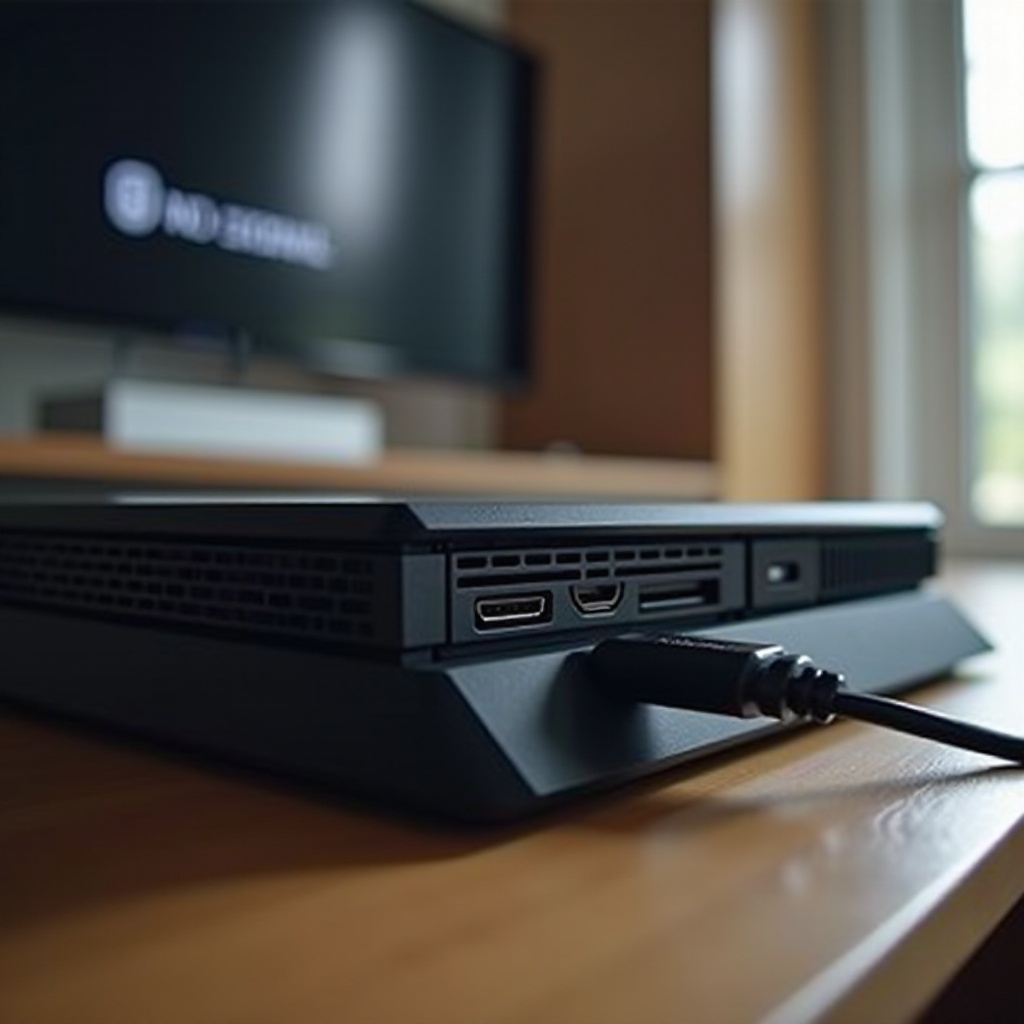
Before You Start: Symptoms, Causes, and What You Will Need
Common symptoms: no signal, black screen, flicker, audio-only
- No image at all and the TV shows ‘No Signal’ or a blank input tile.
- Black screen after the PS5 chime, even though the console powers on.
- Intermittent dropouts, flicker, or snow when you enable 4K, HDR, or 120 Hz.
- Audio from a soundbar or AVR without any video on the TV.
- Picture appears at 1080p but fails when you switch to 4K or 120 Hz.
Likely causes: cable faults, TV input settings, handshake issues, port damage
- A non-certified or damaged HDMI cable that cannot carry 4K HDR or 120 Hz.
- TV input not set to enhanced or HDMI 2.1 mode for that specific port.
- HDMI handshake conflicts such as HDCP, EDID misreads, VRR or ALLM bugs.
- AVRs, soundbars, or switches that do not pass full bandwidth or add timing issues.
- A loose or damaged PS5 HDMI port, or a board-level fault upstream of the port.
Tools and materials checklist for safe troubleshooting
- A certified Ultra High Speed HDMI cable with the QR label.
- A second short, known-good HDMI cable for control testing.
- Access to the TV menu to switch input modes and update firmware.
- Compressed air and a plastic toothpick to clear dust gently from the port.
- Optional: a second TV or monitor to isolate the console from the main TV.
You have a baseline. Next, take fast reset actions that often bring back video in minutes.
Quick Fixes First: Fast Resets That Solve Most ‘No Signal’ Issues
Power-cycle PS5 and TV correctly
1) Shut down the PS5. Hold the power button until you hear two beeps.
2) Unplug the PS5 and the TV from power for 60 seconds.
3) Press each power button once while unplugged to discharge.
4) Plug both back in. Turn on the TV first, then power on the PS5.
Confirm the right TV input and disable HDMI-CEC temporarily
- Select the exact HDMI port that the PS5 uses, not just a generic source.
- Disable HDMI-CEC and eARC for now to stop auto input switching.
- If the TV allows, rename the input to PS5 so you do not mix it up later.
Perform a hot-plug reset sequence
1) With the TV on the chosen input, unplug the HDMI from the PS5.
2) Wait 10 seconds. Plug it back in firmly until it clicks in.
3) If no image, move the cable to another HDMI input on the TV and retry.
If video does not return, the next step is to confirm your cable and check the PS5 port for physical issues.
Check the Cable and the Port: Rule Out Easy Hardware Problems
Use a certified Ultra High Speed HDMI cable
- Look for the Ultra High Speed label with a scannable QR code.
- Test with a short cable, ideally 2 meters or less.
- Remove any adapters, wall plates, or splitters during diagnosis.
Inspect the PS5 HDMI port for bent pins or looseness
- Shine a light into the port. The pins should be straight and evenly spaced.
- Insert the plug gently. It should feel snug, not loose or wobbly.
- Clear dust with short air bursts. Do not insert metal tools.
Test another TV or monitor and different HDMI ports
- Move the PS5 to a second display. If image returns, the first TV or its port is the issue.
- If it fails on multiple displays with a known-good cable, focus on the PS5 settings or port.
If cables and ports look good, remove any devices between the console and the TV to clean up the signal path.
Bypass AVRs, Soundbars, and HDMI Switches
Connect PS5 directly to the TV for video testing
- Plug the PS5 straight into a TV HDMI input.
- Leave out AVRs, soundbars, and switches until you confirm a stable image.
Use eARC or ARC for audio after video is stable
- Once picture is steady, send audio back to your sound system via eARC or ARC.
- Keep the video path direct to the TV to avoid bandwidth loss.
Common compatibility pitfalls to avoid
- Passive switches often fail at 4K 120 Hz, HDR, or VRR.
- Some AVRs require enhanced mode per input to pass 4K 120.
- Cables bundled with audio devices may not handle full HDMI 2.1 bandwidth.
With the signal path simplified, you can now force safe display settings in Safe Mode to bring back a picture.
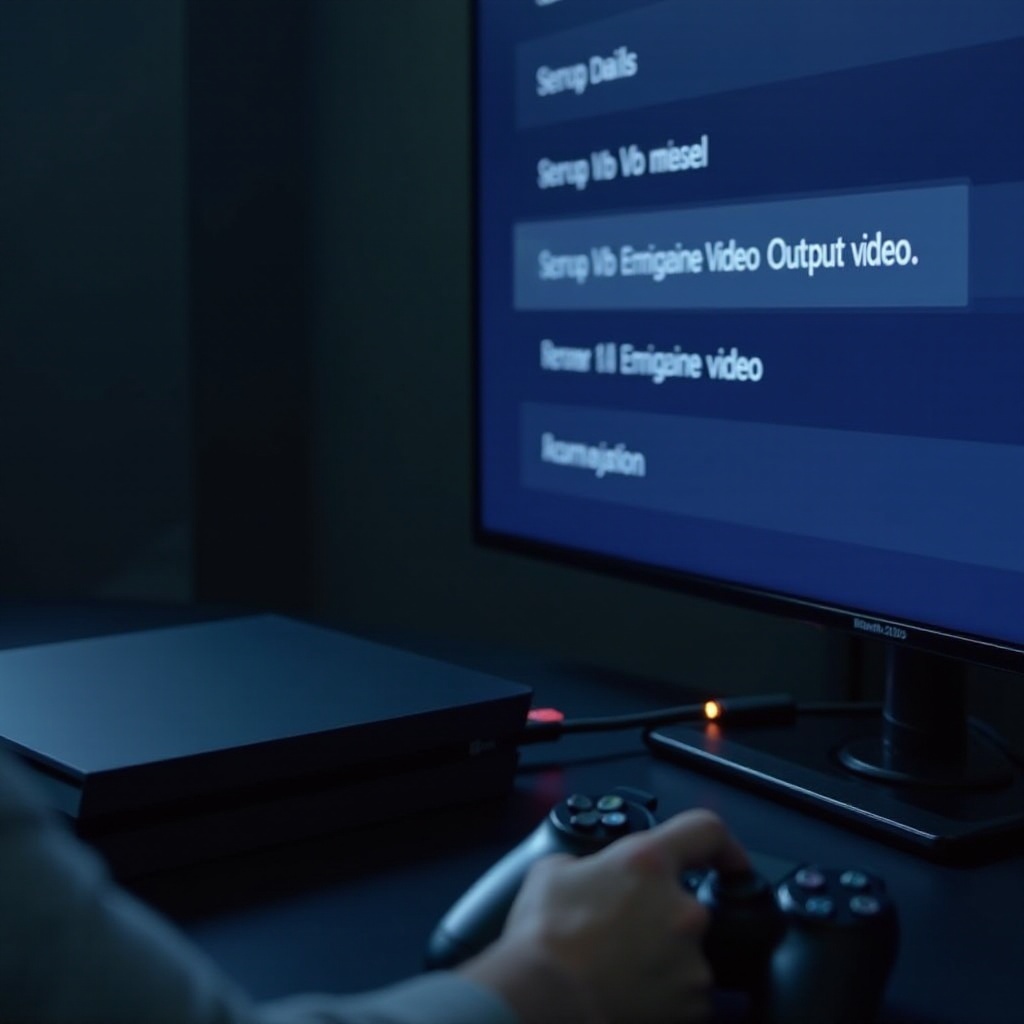
Boot in Safe Mode and Fix Video Output Settings
How to enter PS5 Safe Mode reliably
1) Power off the PS5 completely.
2) Hold the power button and release after the second beep.
3) Connect a controller with a USB cable and press the PS button.
4) The Safe Mode menu will appear.
Set 1080p, disable 120 Hz and VRR, and toggle HDR
- Select Change Video Output, then Change Resolution, and choose 1080p.
- Turn off 120 Hz and VRR for now. You can add them back later.
- Disable HDR to reduce bandwidth during testing.
Switch HDCP from Automatic to 1.4 for stubborn handshakes
- Go to Settings > Screen and Video > Video Output > HDCP.
- Set HDCP to 1.4 to suit older TVs and some AVRs.
- If the screen returns, restore features one by one: HDR, 4K, 120 Hz, then VRR.
If Safe Mode changes do not hold or you still see instability, ensure every device in the chain runs current firmware.
Update Firmware on PS5, TV, and Receivers for HDMI 2.1 Stability
Update PS5 system software with or without a visible screen
- If you have a picture, use Settings > System > System Software > Update and Restore.
- If the screen is blank, download the update on a PC, copy it to a USB drive as Sony directs, then update from Safe Mode.
Update TV or AVR firmware and enable enhanced ports
- Many TVs require you to enable an enhanced or 4K 120 mode on each HDMI port.
- Update your TV and AVR firmware to fix HDMI 2.1 bugs and improve pass through.
- Confirm that the exact port used by the PS5 is set to enhanced mode.
Restart all devices after updates
- Power-cycle the PS5, TV, and AVR after you update firmware.
- Test the PS5 directly to the TV first. Add audio gear only after video is stable.
With firmware current and a basic image restored, you can fine-tune advanced options to bring back 4K, HDR, 120 Hz, and VRR without dropouts.
Advanced Display Tweaks for 4K, 120 Hz, and VRR
Adjust 4K Transfer Rate and Color Format
- In PS5 Video Output, reduce 4K Transfer Rate if you see flicker or blackouts.
- Test Color Format. Try YUV 4:2:2 or 4:2:0 if RGB fails at 4K HDR.
- Leave Deep Color on only if the picture stays stable.
Turn off ALLM and VRR temporarily to isolate issues
- Some TVs mishandle Auto Low Latency Mode or VRR with certain firmware.
- Disable ALLM and VRR, confirm a stable picture, then re-enable one setting at a time.
- Watch for flicker or signal drops as you reintroduce features.
Test different cable lengths or types for FRL stability
- Very long copper cables often fail at 4K 120 Hz. Use short certified cables for testing.
- For long runs, active optical HDMI can help, but confirm stability with a short cable first.
- Avoid sharp bends and strain that can degrade high-bandwidth signals.
If problems persist after tweaks, clear cached display data and rebuild file structures that can cause odd display behavior.
Rebuild Database and Reset Video Settings
Rebuild Database from Safe Mode
- Enter Safe Mode and select Rebuild Database.
- This can fix corrupted entries that affect display handshakes or performance.
Reset Video Output and clear cached display data
- In Safe Mode, choose Change Video Output and Reset Video Output.
- The PS5 will boot at a safe resolution and renegotiate with your TV.
When to consider resetting PS5 while keeping games
- If nothing works, consider Reset PS5 while keeping your games and apps.
- Back up saves to cloud or USB before you do this.
- After reset, test with a short certified cable on an enhanced port.
If you still have no image, hardware may be at fault. Next, check for physical signs of damage and symptoms that point to board-level issues.
Diagnose Physical Damage vs Board-Level Faults
Wiggle test, debris cleaning, and port fitment check
- With the cable inserted, gently wiggle the plug. If image cuts in and out, the port or cable may be loose.
- Check for bent pins or scuffs inside the port.
- Use air to clear lint. Do not scrape or press on contacts.
Signs of retimer or IC failure versus port-only damage
- Port-only damage: visible bent pins, loose fit, or video returns when you hold the plug at an angle.
- Board or retimer issues: failure on multiple displays with multiple cables at 1080p, random snow or artifacts without movement, or no response to Safe Mode resets.
- If you suspect a board fault, stop. Further testing could worsen damage.
Back up saves before deeper repair attempts
- Use cloud saves if you have PS Plus, or copy saves to a USB drive.
- Protect your data before shipping the console or attempting repair.
Once you suspect hardware, you must pick a repair route that balances cost, speed, and risk.
Repair Options and Costs: Warranty, DIY, and Pro Services
Sony support and authorized repair paths
- Check warranty status in your PSN account or with your retailer.
- If covered, contact Sony for a repair or exchange.
- If out of warranty, ask Sony for a paid service quote and turnaround.
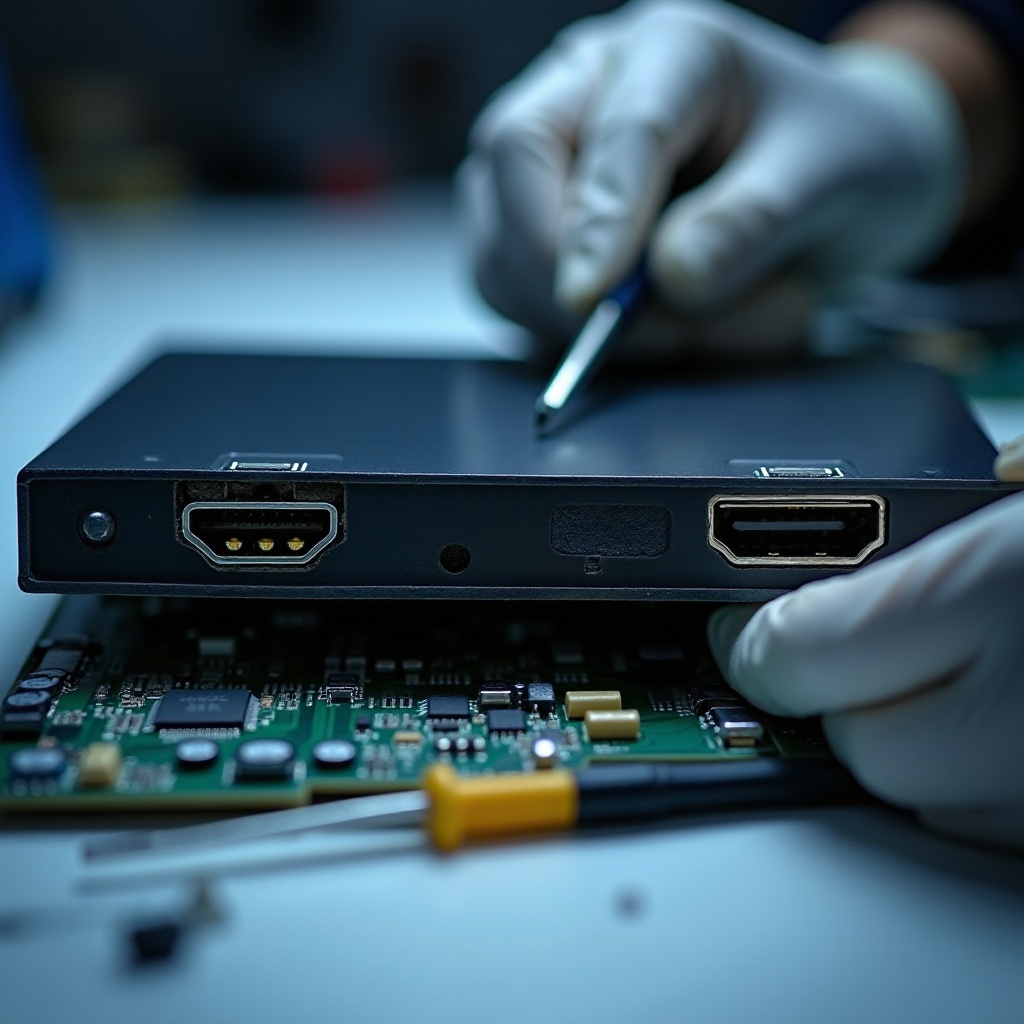
What DIY HDMI port replacement involves
- You need SMD soldering skills, hot air tools, flux, proper tips, and magnification.
- Risks include lifted pads, torn traces, and collateral heat damage.
- Attempt DIY only if you have the skills and accept the risk.
Choosing a reputable repair shop and typical pricing
- Look for a shop that does PS5 board work and offers a written warranty.
- Ask about part quality, turnaround time, and data handling.
- Prices vary by region and damage severity. Request a firm quote before you ship.
After you fix the issue, prevent the same problem from coming back with smart setup and protection.
Protect Your Fix: Cable Management and Power Safety
Strain relief, angled adapters, and dust caps
- Route cables with slack. Avoid tight bends behind the console.
- Use a quality right angle adapter if space is tight. Check that it is rated for 48 Gbps.
- Cover unused ports with caps to keep dust out.
Surge protection and safe shutdowns
- Use a surge protector or UPS to shield the PS5 and HDMI chain from power spikes.
- Always shut down the console properly before unplugging from power.
Setup tips that prevent future HDMI issues
- Keep the console on a stable shelf and avoid moving it while the cable is attached.
- Label the TV input and save your preferred picture mode for the PS5.
- Reseat cables every few months and check that TV ports remain set to enhanced mode.
Conclusion
Most PS5 HDMI problems come from simple causes like cables, TV input modes, or handshake settings. You fixed those first with power cycles, input checks, and a hot plug reset. You then confirmed the cable and port, bypassed extra devices, and used Safe Mode to force a stable 1080p signal. With firmware updated, you fine-tuned 4K, HDR, 120 Hz, and VRR. If problems persisted, you cleared cached display data and rebuilt the database. Where hardware signs appeared, you weighed warranty service, DIY risks, and professional repair. Finally, you secured the setup with clean cable routing and power protection. Follow this method and you will restore a stable picture and keep it that way for the long haul.
Frequently Asked Questions
Why does my PS5 say ‘No Signal’ even with a new HDMI cable?
A new cable may not be certified for full bandwidth. Use an Ultra High Speed HDMI cable and set the TV input to enhanced or HDMI 2.1 mode. Try another TV port and a second display. If 1080p works but 4K fails, reduce 4K transfer rate, change color format to YUV 4:2:2, or disable 120 Hz and VRR while you test.
Can I use a DisplayPort or USB-C adapter instead of HDMI on PS5?
No. PS5 outputs video over HDMI only. Passive adapters do not work. Some active converters exist, but they often fail with HDCP, HDR, or 120 Hz and can add lag. For best results, connect PS5 directly to the TV by HDMI and return audio to your sound system with eARC or ARC.
How do I tell if the PS5 HDMI port is damaged or if it is a software issue?
If the image returns when you press or angle the plug, or you see bent pins or a loose socket, suspect port damage. If multiple certified cables and displays fail even at 1080p with Safe Mode changes, a board or retimer fault is likely. Back up saves and seek a professional diagnosis if you are unsure.