How to Take SimpliSafe Doorbell Off Mounting Bracket: Step-by-Step Removal Without Damage
Introduction
You want your SimpliSafe doorbell off the mounting bracket without cracks, stripped screws, or dangling wires. This guide shows a simple, safe path from prep to clean removal and reinstallation. You will identify your doorbell and bracket type, cut power, release the locking mechanism, detach wedges, and manage wiring like a pro. You will also learn how to fix stuck screws, break paint bonds, and protect trim and siding. The steps use light force and common tools, so most DIYers can finish the job in minutes.
We will move in a clear order: prepare tools, confirm your release mechanism, make the device safe, and follow the exact technique that suits your bracket. Each section ends with a quick handoff to the next step so you keep momentum. With that plan in place, gather a small kit that covers every likely scenario before you start.
What You’ll Need: Tools, Bits, and Supplies
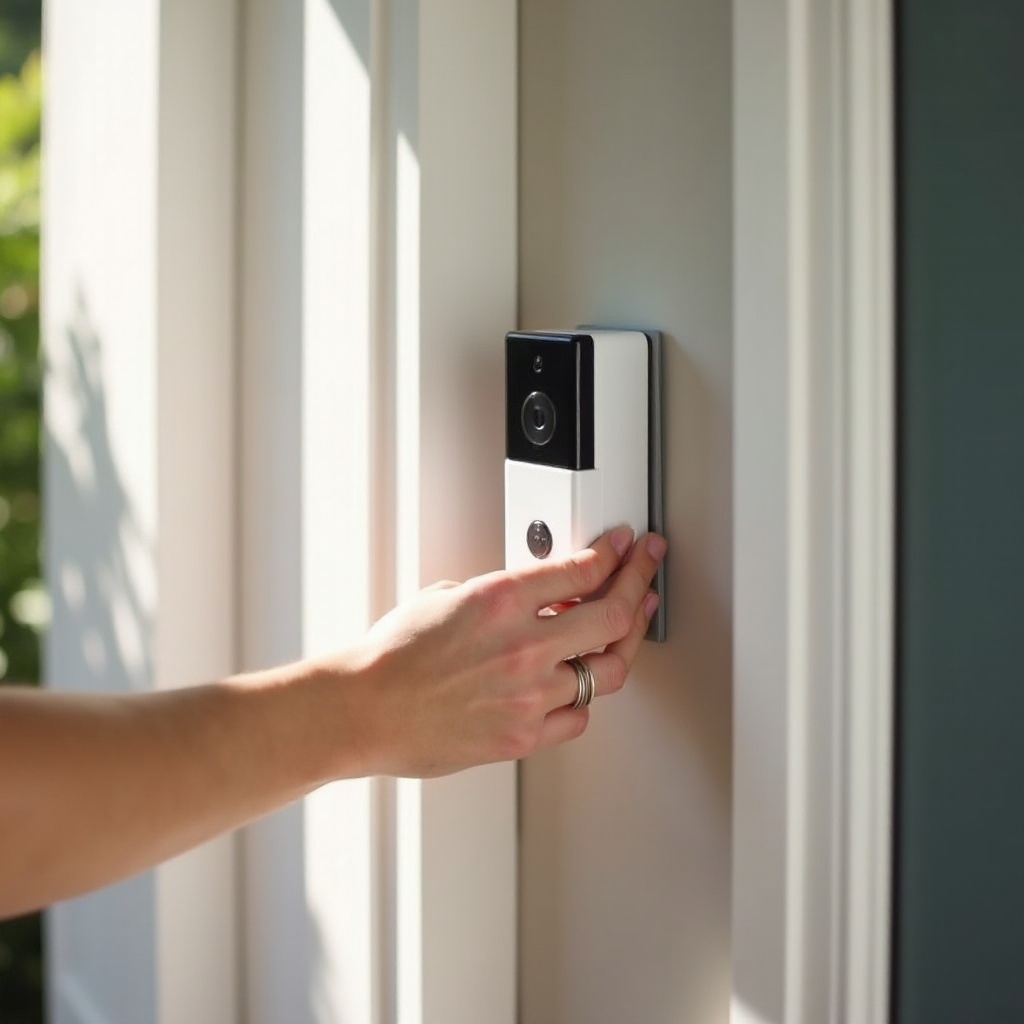
A small kit prevents damage, speeds removal, and keeps tiny parts from getting lost. Lay these out within reach:
– Precision screwdriver set: Phillips #0 and #00; add flathead micro bits
– Optional bits: small Torx or hex for third-party plates, if applicable
– Plastic pry card or an old gift card to protect finishes
– Painter’s tape, masking tape, and a fine-tip marker
– Needle-nose pliers for wire handling
– Utility knife with a fresh blade for scoring paint and caulk
– Non-marring spudger for delicate seams
– Microfiber cloth
– Flashlight or headlamp for low-light entries
– Hair dryer on low heat or a heat gun on the lowest setting
– Cotton swabs and isopropyl alcohol for residue
– Tiny drop of penetrating oil, canned air, or contact cleaner
– Magnet tray or a zip bag for screws and small parts
– Labels or small tape flags for wires
With tools ready, you can focus on understanding the parts in front of you. The next step is to identify the bracket style so you choose the right release method and avoid guesswork.
Identify Your SimpliSafe Doorbell and Mounting Bracket Type
Not all SimpliSafe doorbells latch the same way. A 60-second check saves time and prevents damage:
– Look for a small screw at the bottom of the doorbell housing. If you see one, you likely have a security-screw lock.
– Check for a tiny hole under the face or along one side. That often indicates a spring clip or release pin.
– Examine the seam where the doorbell meets the plate. Interlocking rails suggest a slide-on design that lifts or slides off.
– Note any wedge or corner kit between the plate and the wall. These can hide screws or add friction.
– Open the SimpliSafe app to confirm your model name and compare the product image to your hardware.
– Inspect the bracket material. Plastic plates flex slightly; metal plates feel thin and rigid. This detail guides how much force you should use.
Once you know the mechanism, you can make the device safe to handle. Power management comes next because it protects you and the doorbell as you loosen fasteners and wires.
Safety First: Power, Chime, and App Precautions
Treat the doorbell like any hardwired device and take a minute to eliminate risk:
– Turn off the breaker that feeds the doorbell transformer. Test by pressing the button; the chime should stay silent.
– If you cannot access the breaker, enable Do Not Disturb in the app, then work slowly and keep the two terminals from touching. Power off is still the safest option.
– Dry your hands and stand on stable ground. Wear safety glasses if you will cut paint or caulk.
– Support the doorbell with one hand as you loosen screws or clips so it does not drop.
– When wires are exposed, tape them to the wall so they cannot slip back inside the hole.
With safety handled, you can focus on how the device actually releases from the bracket. The next section gives you a quick overview to match your hardware to the right method.
Quick Overview of Release Mechanisms: Security Screw, Slide-Off, and Clip
Most SimpliSafe plates use one of three systems. Identify yours at a glance:
– Security screw: A small bottom screw locks the doorbell to the plate. Remove the screw, then slide the doorbell upward and lift it free.
– Slide-off rails: The doorbell rides on keyed rails. An upward push of about a quarter inch usually frees a bottom hook so you can tilt the top forward.
– Spring clip or release pin: A hidden latch holds the doorbell. Press a paperclip or pin into a small hole to depress the latch while sliding the unit up.
If a wedge or corner kit sits under the plate, it may add friction or hide hardware. We will address wedges after the main removal steps. First, follow the detailed process for the most common case: the bottom security screw lock.
Step-by-Step: Remove a SimpliSafe Doorbell with a Bottom Security Screw
Use this method when you see a small screw under the doorbell housing:
1) Power off and test. Verify the chime stays silent. The status light may turn off.
2) Protect the finish. Place painter’s tape below the doorbell to catch the screw and prevent scuffs.
3) Pick the right bit. Use a snug Phillips #0 or #00. Seat the bit fully and keep the driver straight.
4) Break static bond. Apply firm downward pressure and turn counterclockwise to crack the screw loose.
5) Remove the screw. Turn slowly and catch it in your palm, or let the tape grab it.
6) Support the unit. Place your non-dominant hand under the doorbell so it does not fall as the lock releases.
7) Slide upward. Push the doorbell up about a quarter to half an inch to clear the bottom hook.
8) Rock and lift. If it resists, rock gently side to side while maintaining upward pressure.
9) Tilt and remove. Pull the top edge slightly away from the wall and lift the unit free of the plate.
10) Inspect the plate. Confirm any wedge or corner kit remains on the wall and did not shift.
If the screw will not budge or strips, pause and jump to the troubleshooting section. If the screw came out but the unit still sticks, a paint or caulk bond likely holds the seam; we will address that soon. For now, let us cover the other common latch type: the spring clip or release pin.
Step-by-Step: Remove a SimpliSafe Doorbell with a Spring Clip or Release Pin
Clip-release plates secure the unit with a hidden latch. Follow these steps:
1) Power off and confirm the chime is silent.
2) Locate the release hole. Look under the face, along the bottom, or on one side for a small round or slot-shaped hole.
3) Insert a straightened paperclip or SIM tool. Gently push in until you feel a springy stop.
4) Press and hold. Maintain steady pressure to depress the latch.
5) Slide upward. With your free hand, push the doorbell up to unhook the bottom.
6) Tilt and lift. Ease the top forward and lift the unit off the plate.
7) If it binds, keep the pin depressed while you wiggle the housing lightly. Avoid metal tools near the camera lens or mic openings.
8) Check wedges. Confirm any wedge or corner kit did not move with the doorbell.
9) Store tiny parts. Keep any latch-related hardware in a small bag or tray.
If the latch feels stuck, a paint ridge or dirt in the seam can increase friction. Score the seam lightly and try again. Next, handle wedges and corner kits so you can access the terminals and remove the plate cleanly.
How to Detach Wedge and Corner Kits without Damage
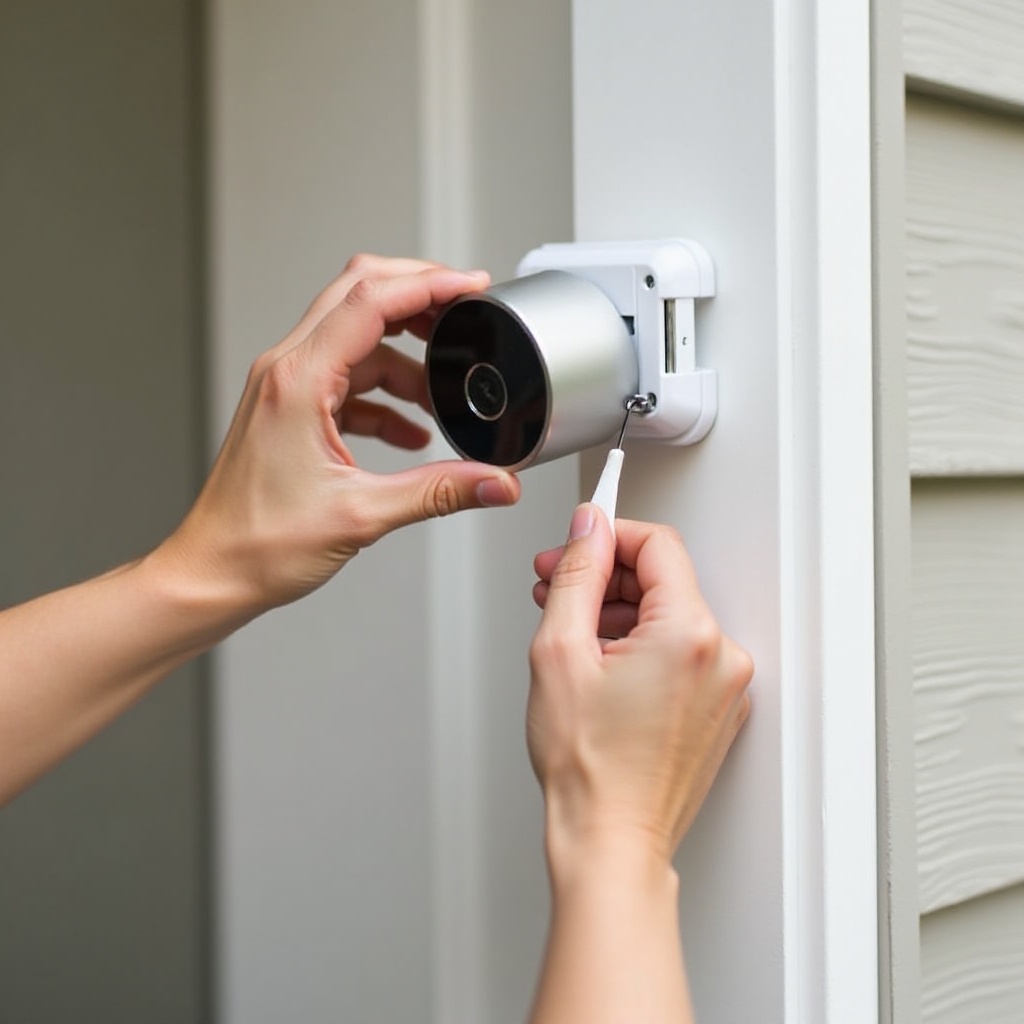
Wedges and corner kits improve camera angle but add layers to remove. Work slowly to protect siding and trim:
– Look for exposed screws. Most wedges use two to four screws through the plate. Remove them first.
– Score paint or caulk. Run a sharp blade around the wedge perimeter to break the seal.
– For adhesive-backed wedges, warm the surface on low heat for 30 to 60 seconds to soften tape.
– Use floss or fishing line. Saw behind the wedge to cut foam tape without prying against delicate surfaces.
– Lift with a plastic card. Work the edges in small steps to avoid dents, chips, or compression marks.
– Clean residue. Use isopropyl alcohol on a microfiber cloth to remove adhesive and grime.
Once the wedge is out of the way, you can fully reach the terminals and the bracket screws. The next section shows how to disconnect, label, and secure the wires so you do not lose them into the wall.
Disconnecting and Securing the Doorbell Wires
With the doorbell clear of the plate, manage the wiring carefully:
1) Take a quick photo. Capture the terminal layout and wire positions.
2) Label the leads. Wrap a small tape flag on each wire and mark them A and B or use color codes.
3) Loosen terminal screws. Use the correct bit and turn only two or three times to free the wires.
4) Remove the wires. Pull the bare copper straight out. Do not kink or sharply bend the conductors.
5) Prevent retraction. Tape the wires to the wall above the hole so they cannot slip inside.
6) Cap the ends. If any chance of live power exists, cap both leads separately or wrap with electrical tape.
7) Manage small parts. Bag terminal screws or reinstall them loosely in the plate so nothing goes missing.
If you need to remove the bracket itself, you can now unscrew it and patch holes as needed. If you only needed the doorbell off the plate, skip ahead to the troubleshooting section to solve common snags you might encounter.
Troubleshooting Stuck Units: Stripped Screws, Paint, Caulk, and Corrosion
When the unit refuses to move, a few proven fixes solve most problems:
– Stripped security screw:
– Reseat the driver with a fresh #0 or #00 Phillips and press harder.
– Place a flat rubber band between bit and screw for extra friction.
– Add a tiny drop of penetrating oil and wait five minutes.
– Use a left-hand drill bit turned by hand to bite and back it out.
– As a last resort, cut a shallow slot with a rotary tool and remove with a small flathead.
– Painted or caulked seams:
– Score the entire perimeter with a sharp blade before attempting to slide the unit up.
– Warm the seam to soften caulk, then work a plastic card around the edges.
– Corrosion or mineral buildup:
– Warm the bottom edge for 20 to 30 seconds, then try again.
– Alternate short bursts of warm air and canned air to create tiny expansion and contraction cycles.
– Stuck wedge or bracket:
– Use floss to cut through adhesive foam tape from behind.
– Insert thin wooden shims on both sides and lift evenly to avoid flex damage.
If you are removing the doorbell for a move or a lease requirement, a clean exit matters. The next section focuses on renter-friendly techniques that reduce patchwork and preserve your hardware.
Renter- and Move-Friendly Tips: Clean Removal and Reinstallation Prep
Protect your deposit and your device with a few simple habits:
– Ask first. Confirm removal is allowed and note any conditions. Take date-stamped photos of the starting state.
– Minimize holes. Reuse existing holes when possible and avoid enlarging them.
– Label and bag. Put all screws, anchors, wedges, and the security screw in a labeled zip bag.
– Patch neatly. Fill small holes with color-matched putty. Smooth with a damp cloth and feather the edges.
– Clean residue. Remove foam tape and grime with alcohol on a microfiber cloth.
– Pack for travel. Wrap the doorbell in bubble wrap. Tape the bag of small parts to the bracket so nothing gets lost.
– Keep records. Save your wiring photo and labels in your phone. They make reinstallation faster.
If you plan to reinstall, decide whether to keep the old bracket or start fresh. The next section helps you choose and then outlines a clean, reliable reinstall.
When to Replace the Bracket vs. Reuse It, and How to Reinstall Cleanly
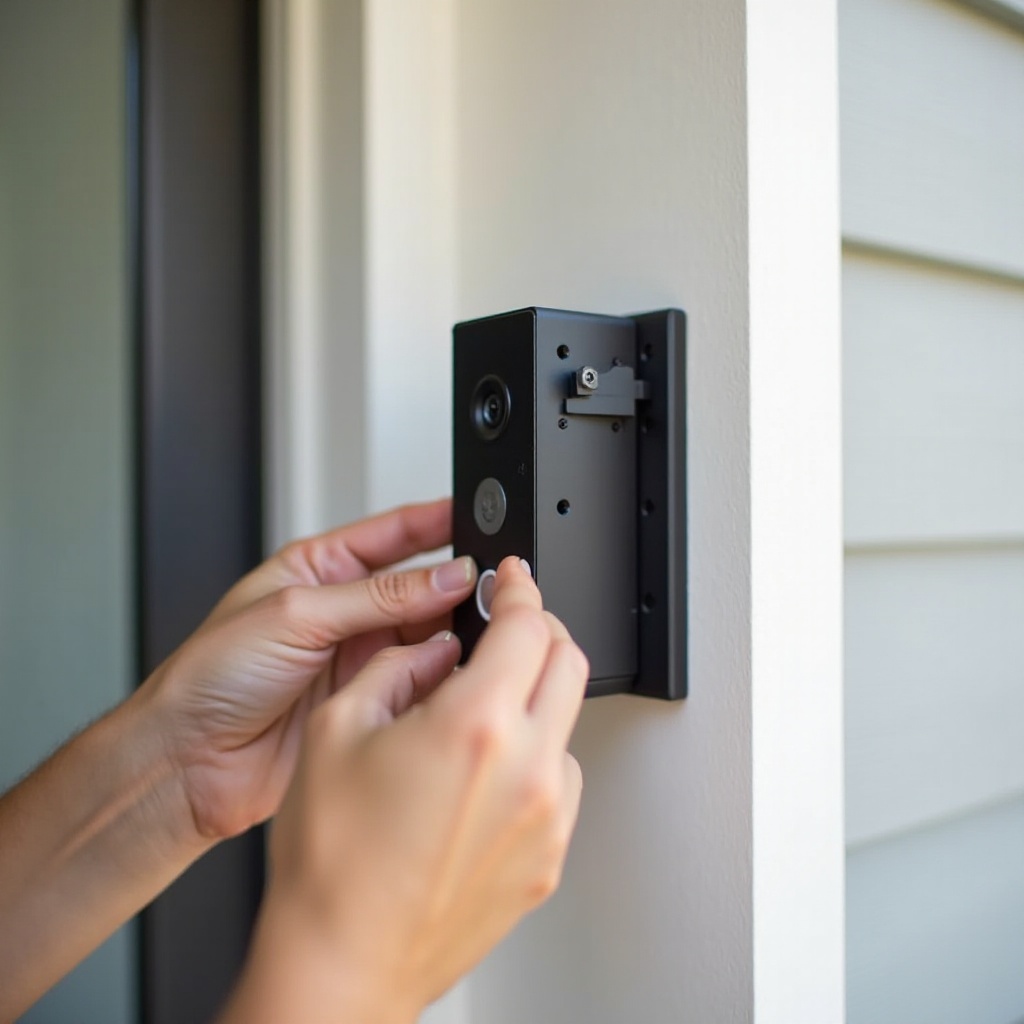
Reuse the bracket if it sits flat, the latch engages crisply, and screw holes still hold snug. Replace it if you see:
– Stripped or oversized screw holes
– Bent rails, a weak clip, or cracked plastic
– Warping, UV brittleness, or flaky corrosion
For a clean reinstall:
– Check the surface. If the wall is uneven, use a wedge or shim to eliminate wobble and glare.
– Use the right anchors. Choose masonry anchors for brick and new anchors for worn drywall holes.
– Do not overtighten. Snug screws stop plate flex without crushing soft siding.
– Prep the wires. Clean the copper and tighten terminal screws just until the wire cannot wiggle.
– Mount the unit. Seat the top hook, slide down until it stops, and secure the bottom screw or confirm the latch click.
– Restore power and test. Ring the chime, check live view, and verify notifications in the app.
With the hardware plan made, you can finish up. A short recap locks in the key habits that make removal safe, fast, and repeatable.
Conclusion
Taking a SimpliSafe doorbell off its mounting bracket comes down to three habits: identify the release, control the power, and use steady light force. Most units are held by a small security screw or a spring clip. The right driver and a short upward slide will free the housing without strain. If paint or caulk resists, score the seam and add light heat. Support the doorbell with one hand, label and secure the wires, and keep fasteners in a bag. Replace a tired bracket rather than fight worn clips or stripped holes.
Use this process when moving, swapping wedges, or troubleshooting. If any step fights you, slow down, switch techniques, and protect the finish with plastic tools and tape. A few minutes of setup prevents damage and makes reinstallation quick and clean.
Frequently Asked Questions
Do I need to turn off power before taking a SimpliSafe doorbell off the mounting bracket?
Yes. Turn off the breaker to the doorbell transformer and confirm the chime stays silent. If you cannot reach the breaker, keep the terminals apart and work slowly. Power off remains the safest option.
How do I remove the SimpliSafe doorbell if the security screw is stripped or stuck?
Use a fresh #0 or #00 Phillips and press firmly. Try a rubber band for grip, add a tiny drop of penetrating oil, or use a left-hand bit by hand. As a last resort, cut a shallow slot and remove with a flathead.
Can I reuse the same mounting bracket and wedge kit when reinstalling at a new home?
Yes, if they are intact. Inspect for bent rails, weak clips, stripped holes, or cracks. Replace worn parts for a tight fit. Use proper anchors, avoid overtightening, and confirm the doorbell clicks into place.