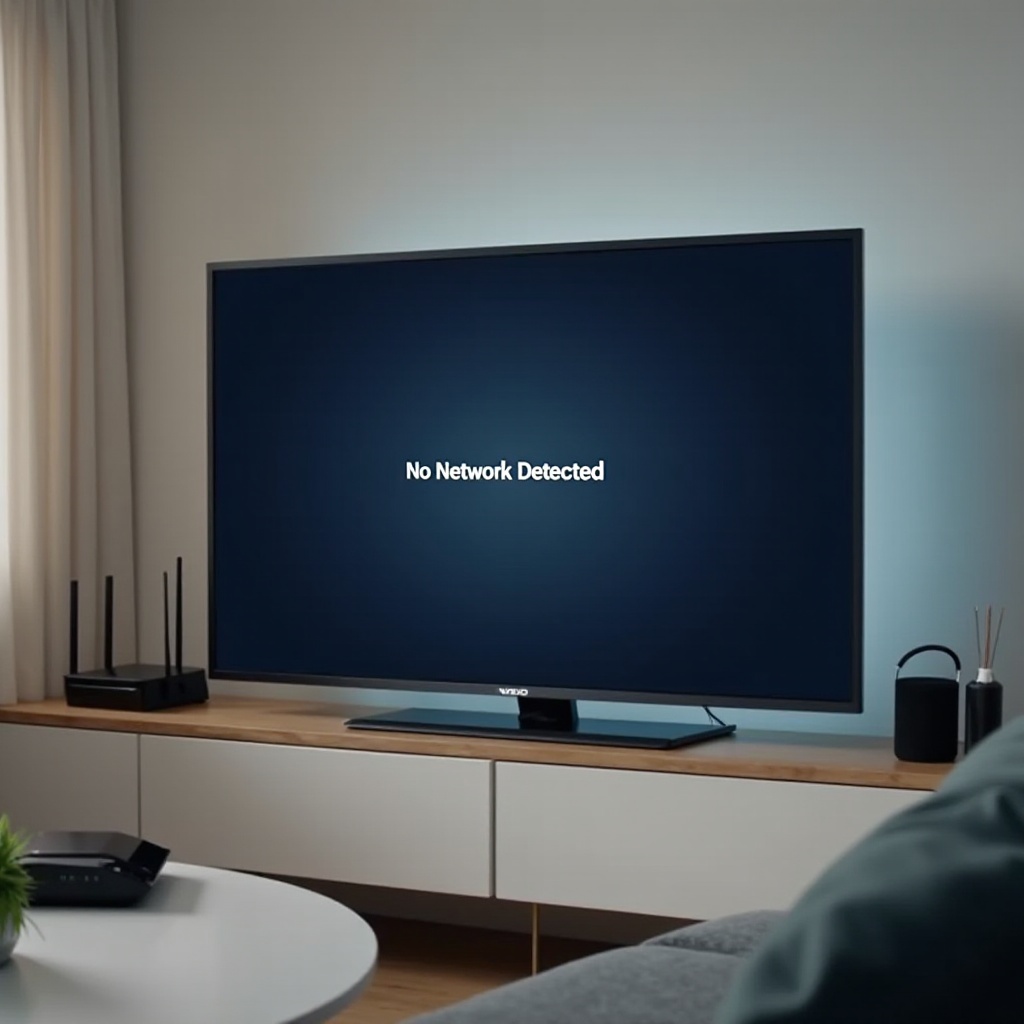
Vizio Sound Bar Not Working With Vizio TV? Fix HDMI ARC/eARC, Optical, and Bluetooth Issues
Introduction
Silence from a new sound bar setup frustrates anyone. If you see TV Speakers enabled, hear random dropouts, or get no audio over HDMI ARC or eARC, the cause usually comes from settings, the HDMI handshake, or cable quality. The good news: you can solve most issues at home with a clear order and a few menu tweaks.
This guide focuses on Vizio TV to Vizio sound bar connections across HDMI ARC/eARC, optical, and Bluetooth. You will start with quick triage, then follow exact steps for ARC handshakes, CEC control, audio formats, and firmware. When needed, you will fall back to optical or Bluetooth, isolate the fault, and stabilize your system. Start with the next section for fast wins, then go deeper as needed.
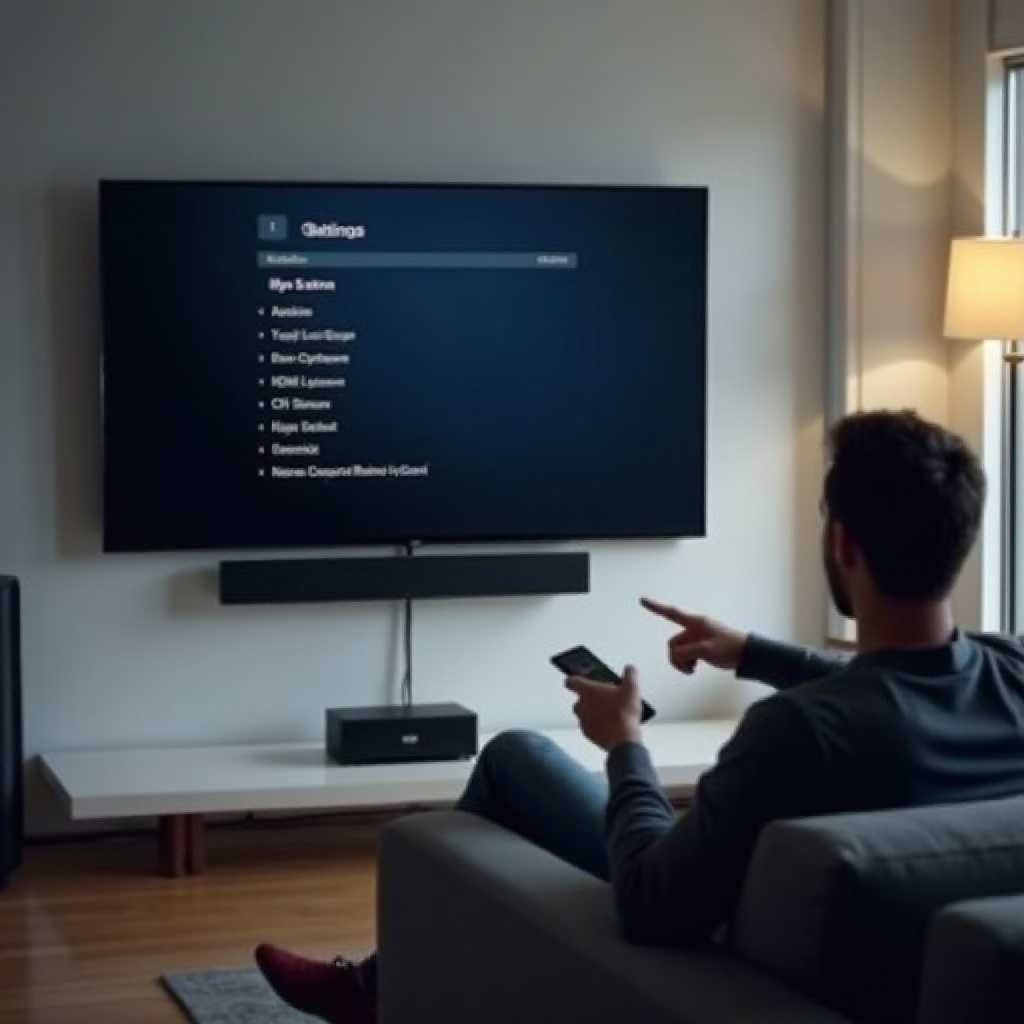
Quick Triage: Fast Fixes When Your Vizio Sound Bar Has No Sound
Before deep troubleshooting, confirm the basics. These steps often restore audio fast.
- Check power and volume:
1) Make sure the TV and sound bar power on and the bar LEDs light.
2) Raise volume on both the TV and the sound bar. Disable mute on both remotes. - Confirm the correct input:
1) For HDMI ARC or eARC, set the bar input to HDMI ARC or eARC.
2) For optical, set the bar input to Optical.
3) For Bluetooth, choose Bluetooth input on the bar. - Select the right TV audio output:
1) On the TV, set Audio > Speakers to Off or External.
2) Set Digital Audio Out to PCM to test, then try Bitstream or Auto. - Reseat cables:
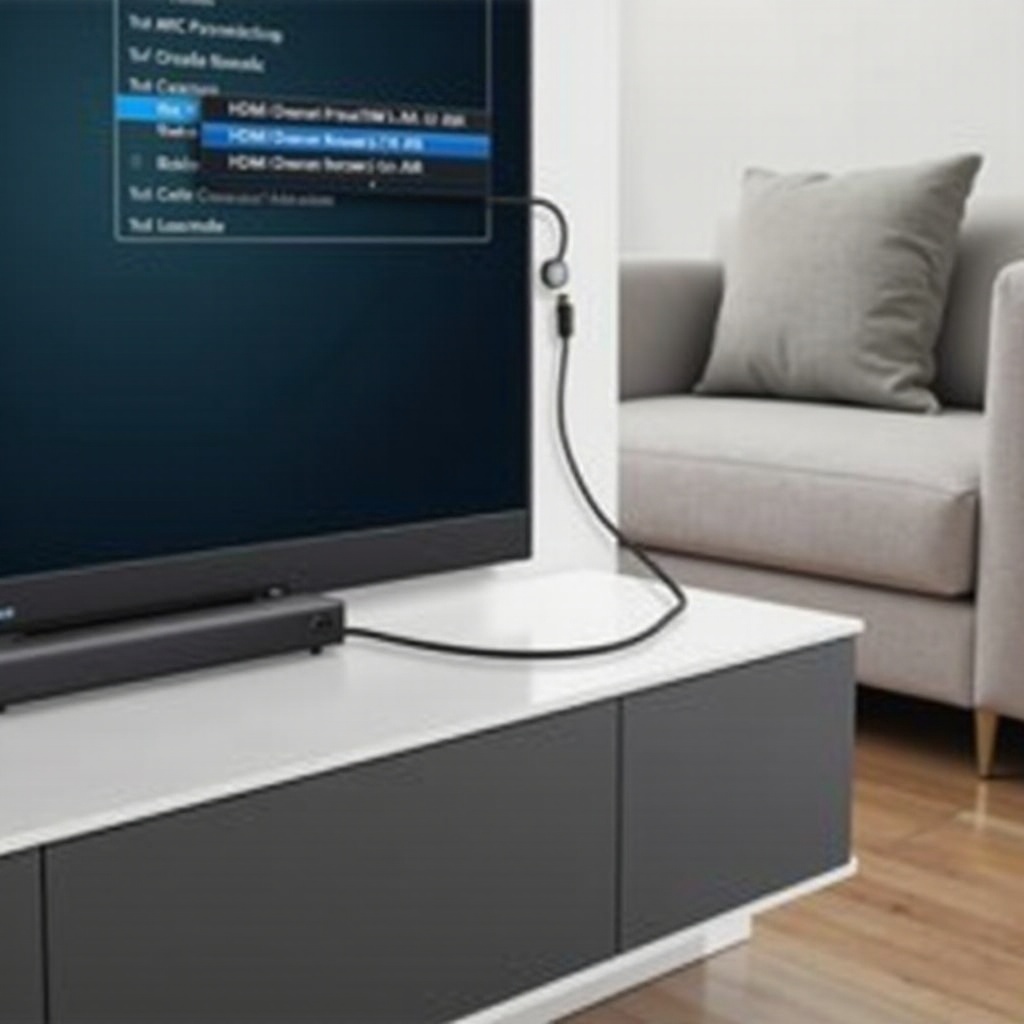
1) Unplug and firmly reconnect the HDMI ARC or eARC cable to the TV ARC or eARC port and the bar ARC or eARC port.
2) If optical, ensure the cable clicks into place and remove dust caps. - Power cycle:
1) Turn off TV and sound bar, unplug both for 60 seconds.
2) Plug back in and power on the TV first, then the sound bar.
If you get sound after triage but it drops later, keep going. The next section explains how ARC and eARC work so you can make stable choices.
How HDMI ARC/eARC Works Between Vizio TVs and Vizio Sound Bars
HDMI ARC and eARC send audio from your TV back to the sound bar over the same HDMI cable that can also carry video into the TV. The TV controls the sound bar through HDMI‑CEC. CEC lets devices power on together and switch audio routes automatically.
- ARC supports compressed formats such as Dolby Digital 5.1.
- eARC carries higher‑bitrate audio, including many Dolby Atmos streams, when both TV and sound bar support eARC.
For ARC or eARC to work reliably, you need the right cable, working CEC, and compatible audio format settings. If any piece fails, you will get no sound, dropouts, or erratic volume. With that in mind, lock down the basics in the next section.
Requirements Checklist: Ports, Cables, Firmware, and Settings to Confirm
You can avoid many problems by confirming these essentials first:
- Ports:
- TV: Use the HDMI port labeled ARC or eARC only.
- Sound bar: Use the HDMI port labeled ARC or eARC, not HDMI In used for sources.
- Cable:
- For ARC, a High Speed HDMI cable often works; for eARC, use an Ultra High Speed HDMI cable.
- Replace any damaged or unknown cables.
- Firmware:
- Update both TV and sound bar to the latest firmware via network or official tools.
- Settings:
- TV Speakers: Off or External.
- CEC: On.
- eARC: On or Auto if available.
- Digital Audio Out: Start with PCM to confirm sound, then try Bitstream or Auto.
With the basics set, you will perform a clean handshake to establish a stable ARC or eARC link.
The Proper ARC/eARC Handshake Reset Sequence (Step‑by‑Step)
A clean handshake often fixes issues like devices not detected or no sound.
1) Power everything down:
– Turn off the TV and the sound bar. Unplug both from power.
2) Disconnect HDMI:
– Remove the HDMI cable from both the TV ARC or eARC port and the bar ARC or eARC port.
3) Discharge:
– Wait 60–90 seconds to clear residual charge.
4) Reconnect HDMI:
– Plug the HDMI cable into the TV ARC or eARC port.
– Plug the other end into the sound bar ARC or eARC port.
5) Power on the TV only:
– Let the TV fully boot to its home screen.
6) Enable settings:
– On the TV, set CEC On, eARC On or Auto if available, and Speakers Off or External.
7) Power on the sound bar:
– Set the bar input to HDMI ARC or eARC. Wait 10–20 seconds for CEC to link.
8) Test audio:
– Play a built‑in app. Raise volume on the TV remote and sound bar remote.
9) If no sound:
– Toggle CEC Off, then On. Toggle eARC Off, then On. Retest.
If the handshake does not hold, confirm CEC and ARC settings on both devices in the next section.
Enable and Verify HDMI‑CEC and ARC/eARC on Your Vizio TV and Sound Bar
After a handshake reset, confirm that control and return audio are enabled.
On the TV:
– Open Settings > System > CEC and turn CEC On.
– If present, set eARC to On or Auto.
– Set Audio > Speakers to Off or External.
– Set Audio > Digital Audio Out to PCM for a clean test, then try Bitstream or Auto.
On the sound bar:
– Set input to HDMI ARC or eARC.
– Ensure CEC or HDMI Control is On in the bar menu or app.
– If eARC is an option, set it to Auto or On.
If CEC still acts up, the next section covers features that can interrupt ARC timing.
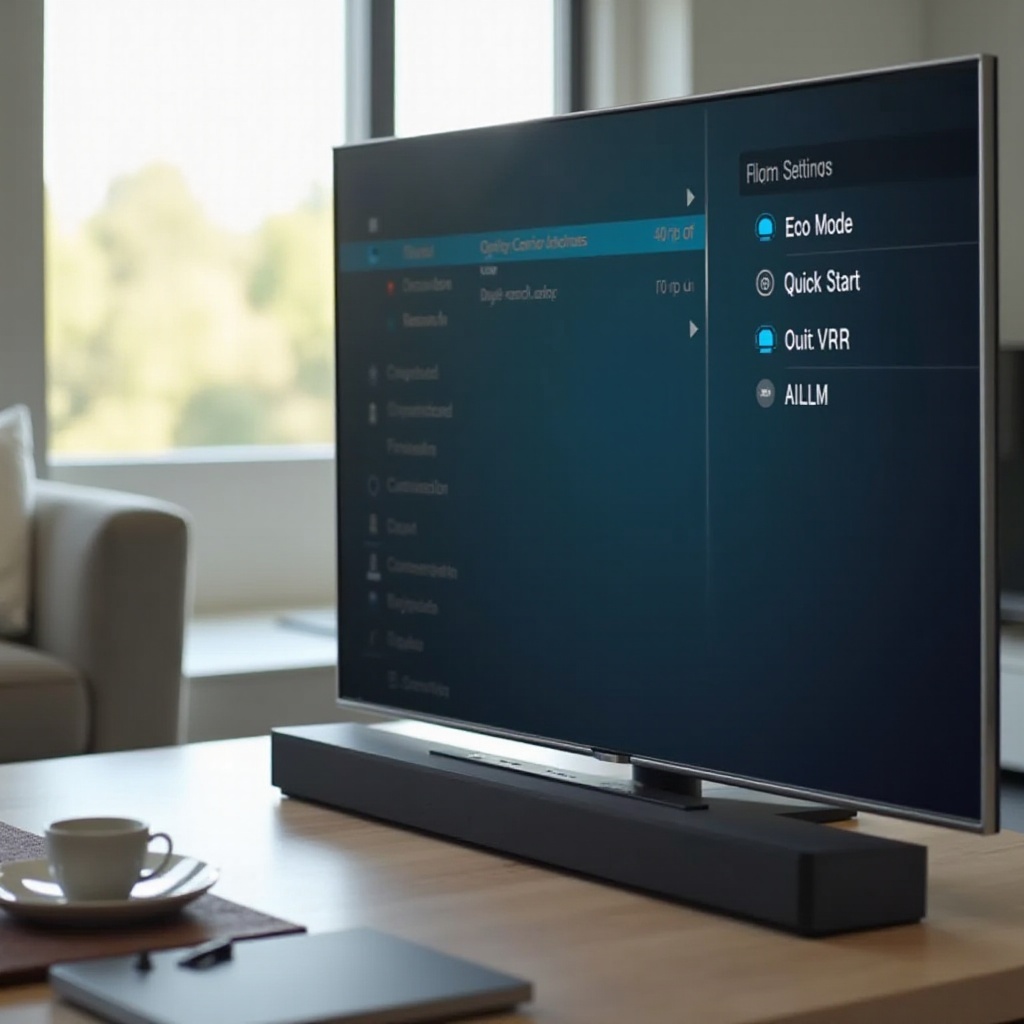
Turn Off Conflicting TV Features: Eco, Quick Start, VRR, and ALLM
Power‑saving and gaming features can disrupt HDMI handshakes or alter audio timing.
- Eco and Quick Start:
- Disable Quick Start or Low Power Standby in the TV System or Power settings.
- Turn off aggressive Eco modes or set them to a standard profile.
- VRR and ALLM:
- If you use a game console, disable Variable Refresh Rate and Auto Low Latency Mode during testing.
- Auto Power On for the bar:
- If the bar powers on too early or too late, toggle Auto Power On or Off and test both ways.
With conflicts reduced, set up audio formats so the bar decodes the signal you send next.
Audio Format Setup: PCM vs Bitstream, Dolby, Atmos, and Lip Sync
The wrong audio format can mute the bar or cause dropouts. Start simple and add features slowly.
- Start with PCM:
- Set Digital Audio Out to PCM. Verify steady sound and volume control.
- Move to Bitstream or Auto:
- For surround, switch to Bitstream or Auto. Confirm Dolby Digital 5.1 works.
- Dolby Atmos with eARC:
- To try Atmos, enable eARC on both devices, use a certified Ultra High Speed HDMI cable, and set Digital Audio Out to Auto or Passthrough.
- Lip Sync and Audio Delay:
- If voices lag behind video, adjust Lip Sync or Audio Delay in the TV or bar in small steps of 10–20 ms.
If high‑bitrate streams still glitch over eARC, apply the next eARC‑specific tips.
eARC‑Specific Tips: Cable Quality, Bandwidth, and High‑Bitrate Streams
eARC needs more bandwidth and tighter timing than ARC.
- Cable:
- Use an Ultra High Speed HDMI cable with official certification. Replace any suspect cable.
- TV output mode:
- Set Digital Audio Out to Passthrough when the bar handles the format well. Try Auto if Passthrough causes issues.
- Content testing:
- Test with a known Atmos title in a built‑in app. If dropouts occur, toggle eARC Off to see if ARC‑level audio stays stable.
If eARC remains unreliable, optical often fixes audio instantly. Learn how in the next section.
Use Optical (TOSLINK) as a Reliable Fallback: Setup and Trade‑Offs
Optical avoids CEC complexity and can stabilize audio quickly.
- Connect:
- Run a TOSLINK cable from the TV Optical Out to the bar Optical In. Remove tip protectors.
- TV settings:
- Set Speakers to Off or External.
- Set Digital Audio Out to PCM first. If your bar supports Dolby Digital 5.1 over optical, try Bitstream or Auto.
- Trade‑offs:
- No Dolby Atmos over optical.
- Volume control may differ; use the bar remote if the TV remote does not adjust optical volume.
If you prefer wireless convenience, Bluetooth can work with care. That is up next.
Bluetooth Setup and Troubleshooting: Pairing, Interference, and Lag
Bluetooth is quick but more prone to interference and delay.
- Pairing:
1) Put the bar in Bluetooth Pairing mode by holding the Bluetooth button until the LED blinks.
2) On the TV, choose Bluetooth > Add Device, then select the sound bar. - Stability:
- Reduce distance and keep a clear line of sight between TV and bar.
- Move Wi‑Fi routers, cordless phones, and microwaves away from the path.
- Lag:
- If audio lags behind video, adjust AV Sync on the bar or TV.
- For the most stable sound and minimal delay, prefer HDMI ARC or eARC, or optical.
With Bluetooth covered, make sure your source devices align with your connection plan.
Source Alignment: Streaming Sticks, Game Consoles, and Set‑Top Boxes
Misplaced sources can break ARC or confuse CEC. Match your wiring to your use case.
- If sources plug into the TV:
- Use the TV HDMI inputs for streaming sticks, consoles, and cable boxes. Ensure the TV outputs audio via ARC or eARC to the bar.
- On the TV, set Digital Audio Out to a compatible format: start with PCM, then Bitstream or Auto.
- If a source plugs into the bar:
- Use the bar HDMI In only if your model supports video passthrough. Set the bar input to HDMI In and enable ARC to return TV app audio.
- Avoid CEC conflicts:
- Disconnect extra HDMI devices temporarily. Test with only the TV and bar connected. Add devices back one by one to find any troublemaker.
Once sources line up, update firmware to clear known bugs and improve stability.
Update Firmware on Vizio TVs and Sound Bars: Methods and Pitfalls
Outdated firmware causes many ARC and CEC issues. Update both devices and retest.
- TV:
- Connect the TV to Wi‑Fi or Ethernet.
- Check Settings > System > Check for Updates or via SmartCast Home.
- Allow the TV to download and install. Do not power off during updates.
- Sound bar:
- Connect via Wi‑Fi and the Vizio app if supported, then check for updates.
- Some bars update via USB. Follow official instructions carefully.
- After updating:
- Power cycle both devices. Retest ARC or eARC with PCM, then Bitstream or Auto.
If problems persist after updates, a clean reset can clear corrupted settings.
Reset Procedures: Soft Reset, Factory Reset, and Fresh Setup
Resets help when settings conflict or firmware upgrades leave stale data.
- Soft reset:
1) Turn off TV and bar.
2) Unplug both for 60 seconds.
3) Press and hold the TV power button for 10–15 seconds while unplugged if accessible.
4) Reconnect power and retest. - Factory reset TV:
1) Back up Wi‑Fi passwords and app logins.
2) Go to Settings > System > Reset & Admin > Reset TV to Factory Defaults.
3) After reboot, set up Wi‑Fi, update firmware, then configure CEC, eARC, and audio settings again. - Factory reset sound bar:
- Follow your bar manual for the reset button combination. Re‑pair sub and rears if needed.
After resets, re‑run the handshake sequence. If issues continue, isolate the fault with controlled tests.
Isolate the Fault: Cable, Port, or Device? A Simple Test Matrix
Targeted swaps pinpoint the weak link fast.
- Cable:
- Replace the HDMI cable with a certified Ultra High Speed cable. Retest. If fixed, the old cable was bad.
- Port:
- Only one TV HDMI port supports ARC or eARC. Confirm you use that port. If your bar offers HDMI In for sources, test the cable in a non‑ARC port for video to confirm high‑speed function.
- Device:
- Test with optical. If optical works but ARC or eARC fails, the HDMI path or settings are at fault.
- Test another TV or another sound bar if available to identify which device misbehaves.
- Source:
- Try a built‑in TV app first. If that works but an external HDMI device fails, check the device audio output format and CEC settings.
With the main bar stable, fine‑tune wireless subwoofers and rear speakers next.
Subwoofer and Rear Speakers (2.1 or 5.1): Pairing and Balance Checks
When the main bar works but bass or surrounds fail, re‑pair and align levels.
- Pairing:
- Place the sub within a few feet of the bar for pairing. Press the pair button on the sub and the bar if required. Wait for a solid link light.
- For wireless rears, ensure they are powered and paired to the sub or bar per your model instructions.
- Placement:
- Keep sub and rears away from thick walls, metal racks, and Wi‑Fi routers to reduce interference.
- Balancing:
- Use the bar remote or app to adjust sub level, rear level, and center dialog enhancements.
- Play a test scene and tweak levels for clarity and even surround.
If you have tried every step and still struggle, gather proof and escalate with support.
When to Contact Vizio Support: What to Document and How to Escalate
If ARC or eARC still fails, escalate with a clear record. A tidy case speeds up solutions and RMAs.
- Document:
- TV and sound bar model numbers and serials.
- Current firmware versions for both devices.
- Connection type used and cable model.
- Steps tried: handshake reset, settings changes, firmware updates, resets.
- Symptoms: no sound, dropouts, CEC control failing, specific apps or sources.
- Provide evidence:
- Short video of the setup and menus helps support verify settings.
- Ask for next steps:
- Request advanced troubleshooting or warranty service if a hardware fault is likely.
Conclusion
You can fix most cases of a Vizio sound bar not working with a Vizio TV by following a clear order. Verify ports and cables, run a clean ARC or eARC handshake, enable CEC, and test PCM before Bitstream or Atmos. Disable features that disturb HDMI timing, keep firmware current, and use optical as a steady fallback when you need guaranteed audio. If you face rare hardware or firmware bugs, isolate the fault with simple swaps and bring detailed notes to support. With a methodical approach, you will restore clear, reliable sound and keep it stable for movies, games, and streaming.
Frequently Asked Questions
Why does my Vizio TV not recognize my Vizio sound bar over HDMI ARC or eARC?
ARC and eARC rely on CEC control and a clean HDMI handshake. Fix detection by using the TV ARC or eARC port only, replacing the cable with a certified Ultra High Speed model, enabling CEC and eARC on both devices, and running the full power down and reconnect sequence. Start with TV Speakers Off and Digital Audio Out set to PCM. If PCM works but Auto or Bitstream fails, you may have a format mismatch. Update firmware on the TV and sound bar, then try Bitstream again. If detection still fails, disable Quick Start and test without other HDMI devices to avoid CEC conflicts.
Can I get Dolby Atmos from my Vizio sound bar using optical on a Vizio TV?
No. Optical does not support Dolby Atmos or lossless formats. Optical handles PCM stereo and, on many setups, Dolby Digital 5.1. For Atmos, both the TV and sound bar must support eARC, and you must use a certified Ultra High Speed HDMI cable. Enable eARC on both devices, set Digital Audio Out to Auto or Passthrough, and play Atmos content from a supported app or device. If Atmos stutters, test with ARC level audio first to confirm stability, then re enable eARC and verify the cable and source.
The sound bar works, then randomly disconnects. How do I stop dropouts?
Random dropouts often come from CEC conflicts, power saving modes, or weak cables. Stabilize the link by replacing the HDMI cable with a certified Ultra High Speed cable, disabling Quick Start and aggressive Eco modes on the TV, and turning off VRR or ALLM while testing. Ensure the sound bar input is set to HDMI ARC or eARC and CEC is On. Update firmware on both devices. If issues persist, try eARC Off to fall back to ARC, or use optical to confirm stability. Add external HDMI devices back one at a time to find any source causing CEC conflicts.