Why Blink Camera Flashing Red: A 2026 Smart Home Troubleshooting Guide
Introduction
A flashing red light on a Blink camera signals trouble that you should address quickly. It often means a lost connection, a setup error, or a power problem. You want clear steps that solve the issue fast and keep your home monitoring intact. This guide explains the meaning of the red LED across Blink models, the most likely causes, and a practical workflow to fix them. You also get model specific tips for Blink Mini, Outdoor and Indoor, and the Video Doorbell, plus advanced network advice that locks in long term stability. The goal is simple. Read the indicators, apply proven fixes, and confirm the camera stays online with reliable motion clips and live view. Now, let us decode the red light so you can identify the root cause and move from quick tests to deep troubleshooting with confidence.
What the Blink Red Light Means Across Models
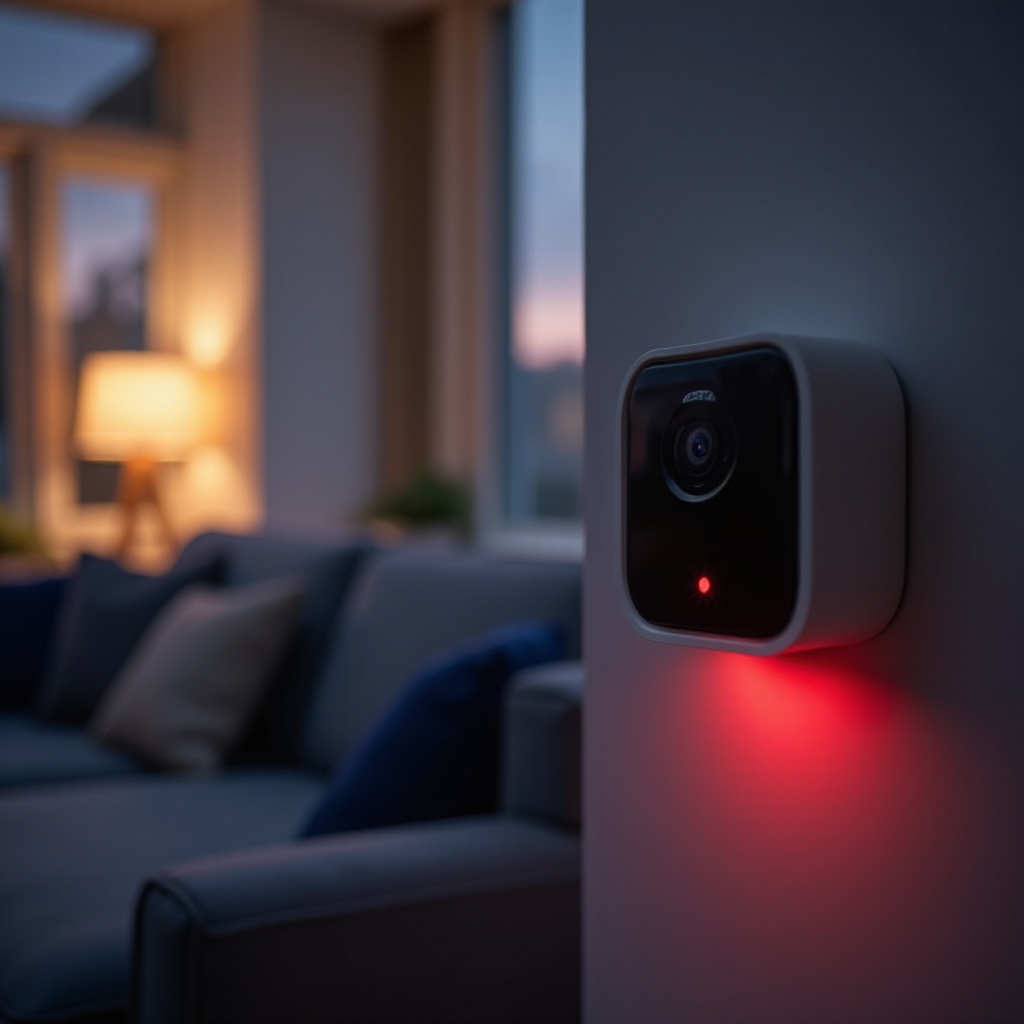
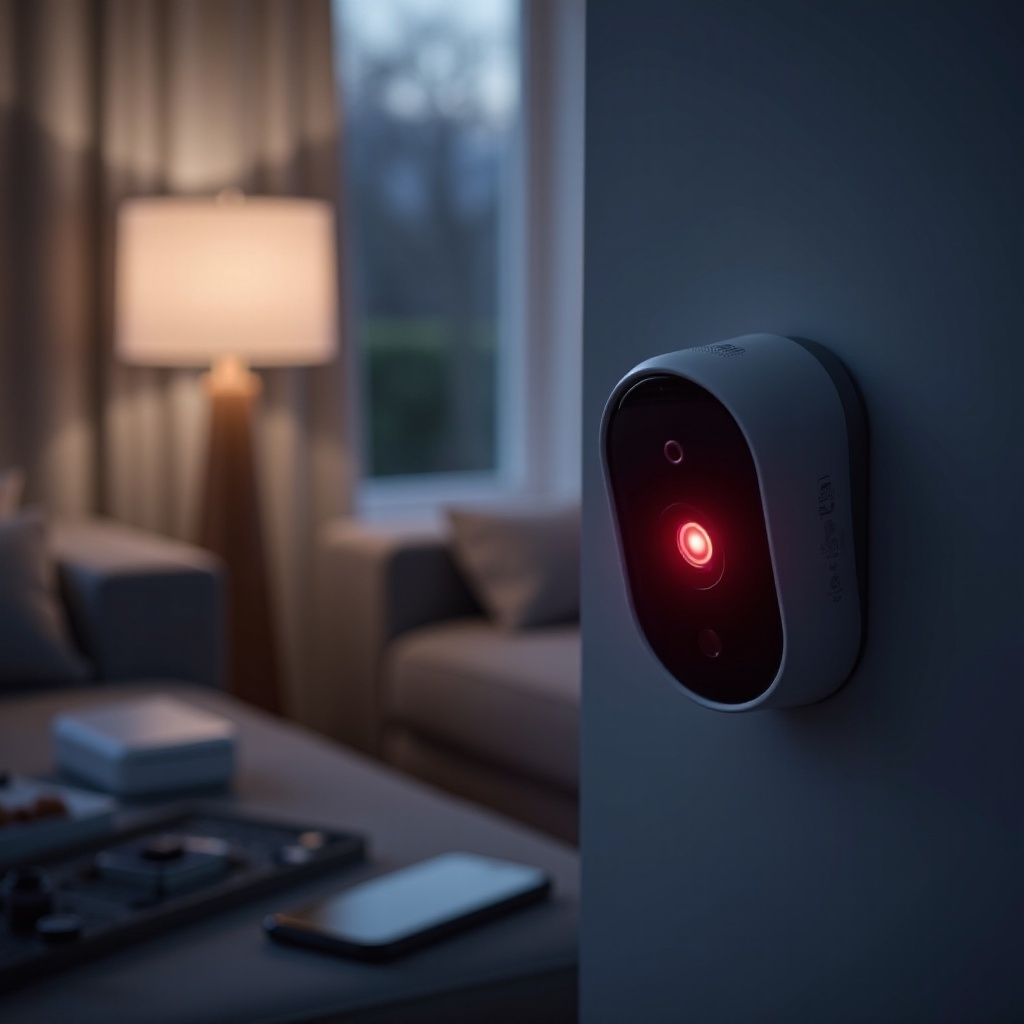
The red LED is a status signal that changes meaning based on context, timing, and model. During setup, a brief or rhythmic blink can be normal, showing the device is in provisioning mode. During normal operation, a persistent blink usually points to a connection issue with Wi Fi or the Sync Module. Ensure you match the camera LED with the Sync Module LED state so you do not chase the wrong fix.
LED indicators 101: Red vs blue vs IR glow
- Red typically indicates loss of connection, setup mode, or an error that needs attention.
- Blue may show active recording or live view on some models, which is expected behavior.
- IR glow is a faint red from infrared LEDs used for night vision and does not indicate an error by itself.
Normal vs error state behavior during setup and operation
- Setup behavior includes a red blink that signals the camera is ready to join the network through the app.
- Error behavior during operation includes repeated red flashing that means the camera cannot reach the Sync Module or the router.
How to read Sync Module LEDs alongside camera signals
- A solid green on the Sync Module means it is online and ready.
- A blinking green or any red on the Sync Module points to connection or power issues that also prevent cameras from staying online.
- Match camera and Sync Module LED states to decide if you have a camera level fault, a Sync Module issue, or a general network problem.
Understanding these indicators provides a fast way to judge whether you face a Wi Fi, power, or pairing problem. With that foundation, move into the most common causes behind a flashing red light.
Top Causes of a Flashing Red Light
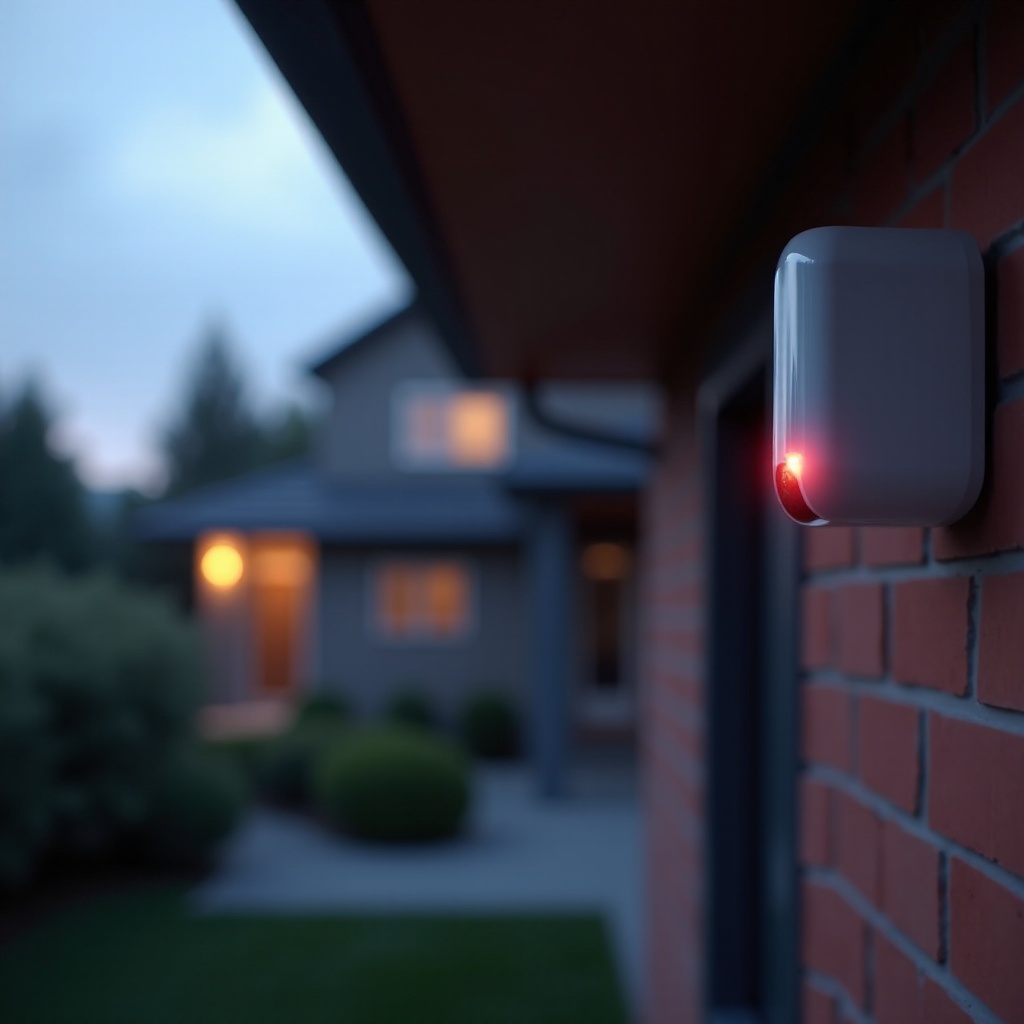
Many conditions can trigger the red flash. Most are easy to test and fix with simple steps. Focus on Wi Fi health, distance and interference around the Sync Module, and clean power.
Wi Fi drops or weak RSSI on 2.4 GHz
- Blink devices use 2.4 GHz Wi Fi. A weak signal or poor RSSI causes disconnects and red flashes.
- Thick walls, metal appliances, and busy apartment buildings with overlapping channels create congestion and packet loss.
- Router reboots, password changes, ISP outages, or new security settings can break the link until the camera reconnects.
Sync Module pairing or range problems
- Cameras rely on the Sync Module as their base station. Too much distance or heavy interference blocks communication.
- Moving the Sync Module to a central location off the floor often fixes intermittent disconnections that produce the red blink.
Power and battery issues by device type
- Battery powered models require non rechargeable lithium AA cells. Alkaline and rechargeable batteries sag under load, causing red flashes.
- Wired models like Blink Mini or a wired Video Doorbell can drop out due to a weak adapter, long USB runs, or worn cables.
When you understand the core causes, start with quick fixes. These simple actions resolve many cases in minutes without deeper resets.
Quick Fixes You Can Try First
Begin with basic steps that restore clean power and a stable network. These checks solve a high percentage of red light problems.
Power cycle modem, router, Sync Module, and camera
- Unplug the modem and router for 30 seconds. Plug in the modem first and wait for full sync. Then power the router.
- Unplug the Sync Module for 10 seconds and plug it back in. Wait for solid green.
- Remove and reinsert batteries on a battery camera, or unplug and replug a wired camera to clear minor faults.
Verify SSID, password, and split 2.4 and 5 GHz bands
- Confirm the camera connects to the correct 2.4 GHz SSID. Avoid band steering that pushes devices to 5 GHz.
- If your router merges both bands under one name, create a dedicated 2.4 GHz SSID during setup.
- Re enter the Wi Fi password in the app after any change to credentials.
Check app permissions and live view tests
- On iOS, allow Local Network access for the Blink app. On Android, confirm location and Bluetooth permissions if required by your setup.
- Open the Blink app, start live view, and watch the LED pattern. If live view works consistently, the connection likely stabilized.
- If the red blink persists, proceed to deeper diagnostics in the troubleshooting flow.
If quick fixes do not resolve the issue, follow a structured path. This method isolates the root cause and prevents random changes that make things worse.
Step by Step Troubleshooting Flow
Work through a consistent sequence from observation to corrective action. Keep notes on any change in LED behavior so you build a clear picture of the fault.
Diagnose the blink pattern and timing
- Note when the red light appears. During setup, motion events, live view, or idle.
- Watch the Sync Module LED. Record whether it is solid green, blinking, or shows red.
- Check RSSI in the Blink app under camera settings. Numbers weaker than minus 65 dBm suggest range or interference problems.
Network stability checks and channel selection
- Run a speed test near the camera. Aim for at least 5 Mbps upstream and stable latency for reliable clip uploads.
- Log in to your router and set the 2.4 GHz channel to 1, 6, or 11. Pick the least congested option based on your environment.
- Disable aggressive band steering and verify the camera stays on the 2.4 GHz SSID.
- Assign DHCP reservations to the Sync Module and camera so they keep stable IP addresses after restarts.
Resets and re adding devices without losing settings
- In the Blink app, remove the affected camera from the system.
- Power cycle the Sync Module and wait for solid green.
- Re add the camera by scanning its QR code and following the prompts in the app.
- If issues continue, use the camera reset button as documented for your model. Keep power and network stable during any firmware update.
- For stubborn faults, factory reset the Sync Module and rebuild the system. Document SSIDs and passwords before you start.
Once you complete the flow, review model specific advice. Each device has unique power needs and physical constraints that can help you fine tune the fix.
Model Specific Guidance for Blink Devices
The red LED can appear under different conditions on each model. Tackle power, cable quality, and placement to address those specifics.
Blink Mini: Power adapters, cables, and setup flash patterns
- Blink Mini depends on a stable USB power source. Use the original adapter or a high quality equivalent and a short cable.
- If Mini flashes red at boot, press and hold the reset button until you see the setup mode. Then re add the device in the app.
- Improve Wi Fi RSSI by placing Mini away from microwaves, baby monitors, and heavy metal objects. Keep a clear path to the router or the Sync Module.
Blink Outdoor and Indoor 3rd Gen: Lithium AAs and Sync Module range
- Install non rechargeable lithium AA batteries. Alkaline or rechargeable cells drop voltage under load and can trigger red flashes during motion.
- Keep the camera within a reasonable distance of the Sync Module. Move the Sync Module closer or centrally to reduce obstacles.
- If red flashes occur during motion, adjust router channels and reduce interference. A clean 2.4 GHz environment supports clip uploads and live view.
Blink Video Doorbell: Battery vs wired modes and chime hardware
- In battery mode, use fresh lithium AA cells. In wired mode, confirm the transformer and chime meet spec and that wiring is secure.
- If the doorbell flashes red after pressing the button, test live view and move the Sync Module closer to the entry if walls or metal doors block signal.
- Check the door area for mesh nodes, power supplies, or appliances that emit interference and change placement to improve RSSI.
When your model behaves correctly under these adjustments, your system should stabilize. If red flashes continue, turn to advanced network practices that reduce edge cases and lock in reliability.
Advanced Fixes and Network Security Considerations
Strong network design prevents recurring red flashes. Security settings can help or hinder IoT connectivity. Aim for compatibility and consistent behavior across reboots.
WPA2 and WPA3 compatibility and DHCP reservations
- Use WPA2 or WPA2 WPA3 mixed mode when WPA3 only causes pairing failures or intermittent drops.
- Create DHCP reservations for the Sync Module and cameras. Stable IPs reduce reconnection delays after restarts and service incidents.
- Avoid captive portals and enterprise networks. Blink devices expect a simple home style network with a password and standard DHCP.
Mesh network, band steering, and interference mitigation
- On mesh systems, place the Sync Module near a node with strong backhaul. Avoid placing it between thick walls or near noisy appliances.
- Disable aggressive band steering so the camera stays on 2.4 GHz for better range.
- Reduce interference from microwaves, cordless phones, baby monitors, Bluetooth hubs, and high density electronics near cameras or the Sync Module.
Firmware updates and service status checks
- Update the Blink app regularly. Opening the app can trigger firmware updates on devices.
- Keep cameras powered and online during updates. Do not interrupt power or network.
- If a known service incident affects connectivity, wait for resolution and then test live view, motion clips, and LED behavior again.
With advanced fixes applied, set some preventive habits. This final layer guards against future red light events and speeds recovery after outages.
Preventive Best Practices to Avoid Future Red Flashes
Adopt simple routines to keep Blink cameras stable. Focus on placement, power, and documented settings. These practices preserve uptime and prevent surprises.
Placement and RSSI targets for reliable streaming
- Aim for RSSI better than minus 55 to minus 65 dBm in the Blink app.
- Place the Sync Module centrally, off the floor, away from thick masonry or metal objects.
- Keep cameras within a clear path to the Sync Module. Avoid placing cameras behind televisions or refrigerators that block signal.
Battery care and climate tips for outdoor installs
- Use non rechargeable lithium AA batteries in Outdoor and Indoor models.
- In cold weather, batteries deliver less capacity. In heat, they degrade faster. Check battery health seasonally and replace as needed.
- Keep weatherproof seals clean and dry to prevent moisture issues that look like power faults.
UPS, documentation, and privacy safe reset habits
- Put your router and Sync Module on a small UPS to ride through brownouts and short outages.
- Document SSIDs, passwords, device names, and notes on placement. Store them securely for quick recovery after a reset.
- Before resets, turn off motion alerts and save important clips to local storage or the cloud so you do not lose data.
If you have followed prevention and still see red flashes, it may indicate hardware trouble or a rare network constraint. At that point, collect details and contact support.
When to Contact Blink Support
Support can diagnose hardware faults and unique network conflicts. Prepare clear data so they can solve the issue quickly without repeated steps.
What details to capture
- Record camera and Sync Module LED states when the red flash occurs.
- Note RSSI values from the app, your router channel settings, and any recent changes such as new passwords or device moves.
- Provide timestamps for dropouts and state whether motion or live view triggers the flash.
Warranty, RMA, and hardware failure signs
- Frequent red flashes with strong Wi Fi and stable power may point to a failing camera or Sync Module.
- If the device is under warranty, request an RMA and include proof of purchase and steps you already tried.
- Inspect cables, ports, and adapters for wear. Replace damaged parts before pursuing a full device swap.
Data protection when replacing or disposing devices
- Remove devices from the Blink app before you return or recycle them.
- Clear local storage on Sync Module 2 and save important clips.
- Perform a factory reset to protect privacy.
Conclusion
A flashing red light on a Blink camera usually points to Wi Fi instability, Sync Module range limits, or power issues. Start by reading LED patterns and matching them with Sync Module states. Run quick fixes such as power cycling, confirming 2.4 GHz SSIDs, and checking app permissions. If needed, follow the step by step flow and apply network improvements like channel tuning and DHCP reservations. Use model specific guidance for Mini, Outdoor and Indoor, and the Video Doorbell to address power and placement. Advance to security and mesh settings when edge cases appear. Finally, build preventive habits around placement, battery care, and UPS backed power. If hardware faults persist, contact support with clear logs and timestamps. With these actions, you will resolve why your Blink camera is flashing red and restore strong, dependable monitoring across your smart home.
Frequently Asked Questions
Is a red glow at night normal on Blink cameras?
Yes. That faint red glow comes from infrared LEDs used for night vision. It is normal. A rapid or persistent red blink during the day usually signals a connection or power problem.
Why does my Blink camera flash red after changing my Wi-Fi?
The camera lost its saved credentials or cannot connect to 2.4 GHz. Update the SSID and password in the Blink app, split 2.4 and 5 GHz bands, then reboot the router and Sync Module.
Do rechargeable AA batteries cause the red blinking issue?
Often yes. Rechargeable and alkaline AAs sag under load. Use non-rechargeable lithium AA batteries for Outdoor and Indoor models. They provide stable voltage in hot and cold conditions.