Why Is My Ring Camera Not Recording? Causes, Fixes, and Pro Tips
Introduction
A silent camera defeats the purpose of your smart security. If you keep asking, ‘why is my Ring camera not recording’, the answer usually comes down to plan status, motion settings, power, or network issues. The good news: you can fix most causes at home in minutes.
This guide walks you through fast checks first, then deeper fixes. You will learn how Ring records, how settings control events, and how power and Wi‑Fi affect video uploads. Each section builds on the last so you can test methodically and confirm what solved it.
Before you start, open the Ring app and note the device model, power type (battery or hardwired), Wi‑Fi strength (RSSI), and plan status. Those details help you troubleshoot faster and avoid guesswork. Let us begin with the shortest path to a working timeline and then move step by step.
Quick Answer: Top Reasons a Ring Camera Stops Recording
You want quick answers first. Start here, then go deeper with the next sections.
Top causes:
– No Ring Protect Plan, expired trial, or failed payment.
– Modes or motion schedules accidentally disabled recording.
– Motion Zones, sensitivity, or People Only filtering too aggressively.
– Weak Wi‑Fi or router settings blocking video uploads.
– Low battery, poor transformer voltage, or cold weather limiting starts.
– Outdated firmware or app issues.
– Night‑only failures from IR, glare, or environmental movement.
– Timezone or date mismatches.
– Temporary Ring service outage.
Run this triage:
1) Verify plan status for the exact device and location.
2) Check Modes and motion schedules.
3) Walk through active Motion Zones to trigger a test.
4) Confirm battery or transformer health and RSSI signal strength.
If clips still do not appear in Event History, continue with the structured steps below.
Understand What ‘Recording’ Means in Ring: Motion Events, Live View, and Snapshots
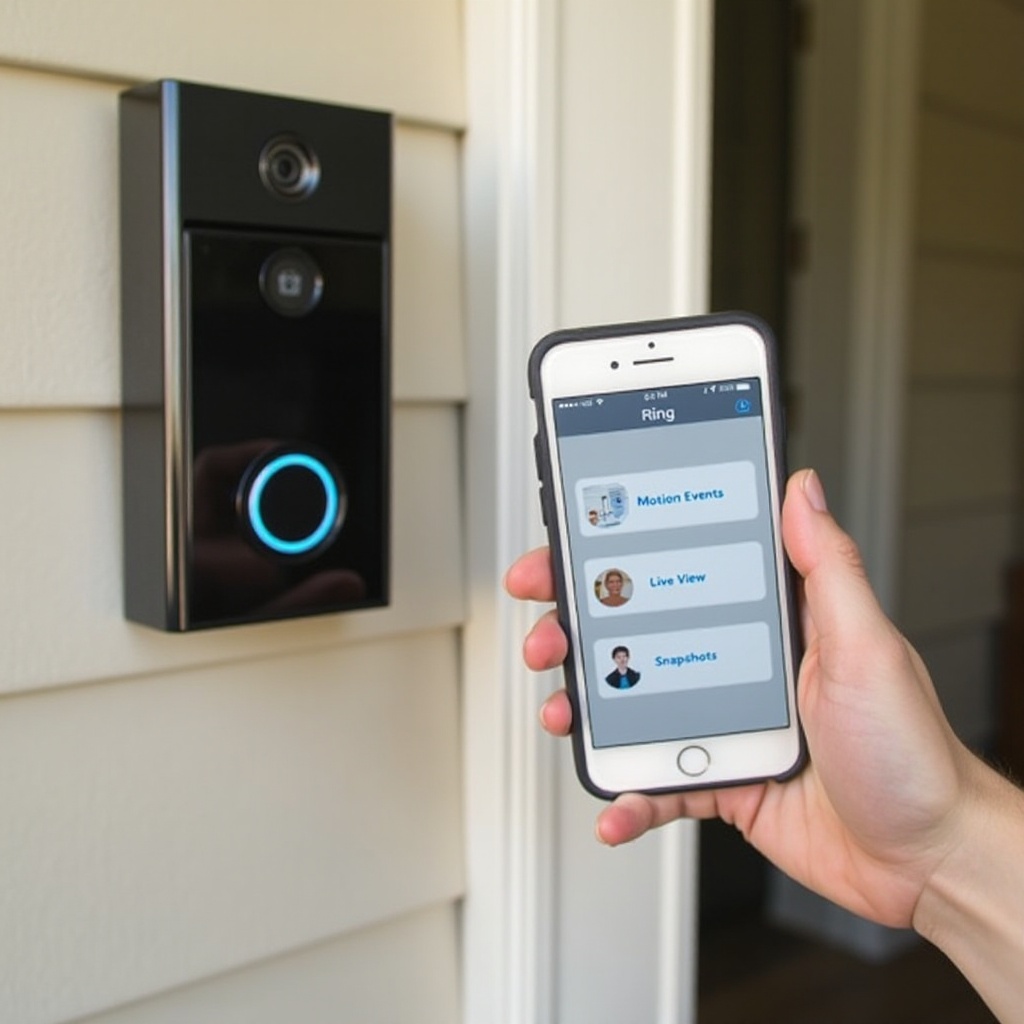
Before changing settings, confirm what you expect the camera to record. Ring devices capture three types of activity:
– Motion Events: Short clips triggered when the camera detects motion.
– Live View: On‑demand viewing. Some models and plans can save Live View as a clip.
– Snapshot Capture/Timeline: Periodic stills between events to fill gaps.
If Live View works but Event History is blank, the camera may be operating but not saving to the cloud. That usually points to plan or filter issues. If you do see events but they start late or end early, you likely have power, Wi‑Fi, or sensitivity problems. Clarifying your goal helps you make targeted fixes and confirm the result after each change. With that foundation in place, check your subscription next.
Step 1: Verify Ring Protect Plan, Trial Expiry, and Payment Status
If Event History is empty or stopped recently, confirm your Ring Protect Plan first. Without an active plan for that specific device and location, Ring will not save motion recordings. It is the most common cause of missing clips after the trial ends.
Do this now:
1) Open the Ring app or ring.com and check plan status for the exact device.
2) Confirm the device belongs to the same location as the plan (many accounts have multiple locations).
3) Look for a recent trial expiry or failed payment and update your card if needed.
4) Ensure you are viewing the correct location in the app (top of the dashboard).
5) If you are a shared user, ask the owner to verify the plan and your permissions for Event History.
If the plan lapsed, reactivate it, then run a walk test through your Motion Zone and confirm the clip appears on the timeline. If your plan is active and clips still do not save, move to settings that can silently suppress recordings.
Step 2: Check Modes, Motion Schedules, and Smart Alerts
You fixed plan issues but still do not see clips? Your device may be set not to record under certain conditions. That often happens after setup changes or when different family members adjust settings. Make sure nothing is unintentionally suppressing motion events before you retune zones.
Disarmed/Home/Away Modes and Geofencing Conflicts
- Open Modes settings and confirm the camera is set to detect and record motion in each Mode you actually use.
- If you use geofencing, allow the app to use location services and background activity on your phone.
- Test by switching Modes manually and triggering a motion event to confirm behavior.
Motion Schedules Pausing Recording
- Check motion schedules. If a schedule mutes motion at certain hours, the device will not save recordings during those times.
- Disable the schedule or adjust the hours, then save changes and run a test event.
People Only Mode and Smart Alerts Filtering
- If People Only is enabled, non‑human motion may not trigger clips.
- Review Smart Alerts intensity. Strong filtering can suppress uploads.
- Temporarily disable People Only and reduce Smart Alerts, then retest. Re‑enable with milder settings if clips start saving again.
Once these controls allow events, you can dial in detection so it triggers quickly instead of late. That leads us to zone design and placement.
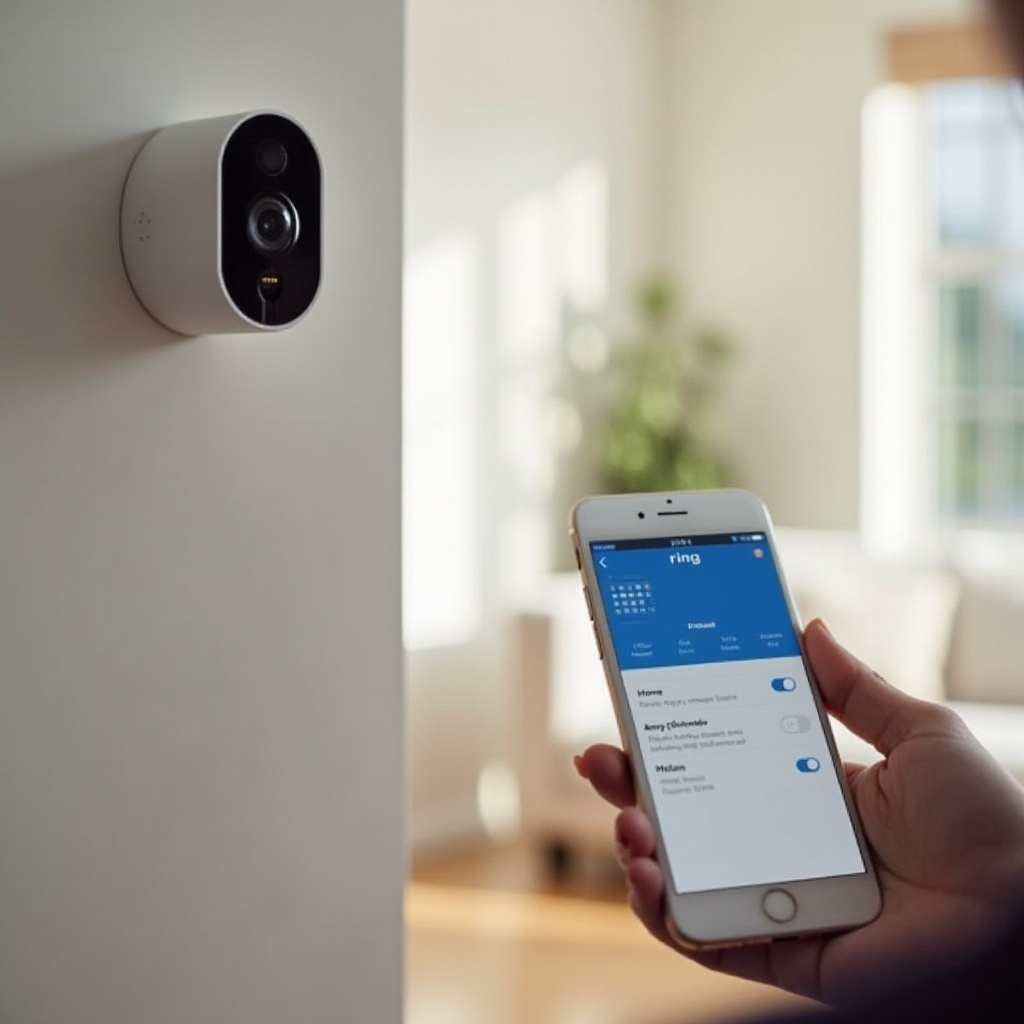
Step 3: Tune Motion Zones, Sensitivity, and Camera Placement
If Modes are correct, your camera may not consistently see motion. Poor angles, narrow zones, or low sensitivity often cause missed events or short clips. Tuning these settings aligns detection with real‑world movement around your entry points.
Custom Zones for Porches/Sidewalks and Distance Targeting
- Draw zones that cover approach paths such as walkways, driveways, or gates.
- For doorbells, focus lower on the frame where people move toward the door.
- Increase sensitivity in small increments, then retest after each change.
Mounting Angle, Wedge/Corner Kits, and Field of View
- Use wedge or corner kits to tilt the camera downward and reduce irrelevant street motion.
- Aim so the frame centers on the approach path, not the horizon.
- Avoid pointing at reflective glass or bright lights that can confuse detection and exposure.
Run Controlled Walk Tests and Adjust
- Perform three tests: a slow walk toward the camera, a lateral walk across the field, and a fast approach.
- Note where the clip begins relative to your position and adjust zones until the video starts when you enter the zone.
- Save the configuration and perform a final verification at different times of day.
With detection tuned, confirm that your device has the power to start recordings instantly and sustain uploads.
Step 4: Power and Hardware Health
Recording depends on stable power. Weak or unstable power leads to late starts, short clips, or missed uploads. Inspect the power source and hardware condition now so detection translates into saved video.
Battery Levels, Cold Weather, and Charging Best Practices
- Keep battery above 25 percent for reliable motion recording and clip uploads.
- Cold weather reduces capacity. Charge more often or add a plug‑in power source or solar accessory if supported.
- Reseat the battery pack until the latch clicks. Clean contacts with a dry cloth to ensure a solid connection.
Hardwired Doorbells: Transformer Specs and Diode Use
- Verify the transformer meets your model voltage and VA requirements.
- If you hear frequent chimes, see dimming, or observe brownouts at night, upgrade the transformer.
- Where required, install a diode per Ring guidance to stabilize the circuit and reduce power dips.
Inspect for Damage, Obstructions, and Loose Faceplates
- Check for a loose faceplate or misaligned sensor area that can affect PIR performance.
- Remove spider webs, dust, and debris near the lens and sensor.
- Secure or trim objects like flags or plants that swing into the zone and confuse detection.
If power looks solid and hardware is clean, turn to the network. Even perfect detection and power cannot overcome a poor Wi‑Fi link.
Step 5: Fix Wi‑Fi and Network Issues That Block Clip Uploads
Even perfect motion settings cannot compensate for a weak or unstable connection. If RSSI is high in absolute value (a larger negative number) or uploads fail, the camera may detect motion but never save video to the cloud.
RSSI Goals, 2.4 GHz vs 5 GHz, and Mesh Node Placement
- Aim for RSSI closer to 0. A range of about -40 to -60 dBm is strong; -70s is weak.
- Prefer 2.4 GHz for longer range if 5 GHz drops at the door or gate.
- Place a mesh node or Chime Pro midway between the router and camera. Avoid hiding nodes behind TVs or inside cabinets.
Router Channels, Band Steering, DFS, and Interference
- Set 2.4 GHz to channels 1, 6, or 11 to reduce overlap with neighbors.
- If band steering forces 5 GHz and causes drops, split SSIDs or temporarily disable steering to test stability.
- Avoid DFS channels for 5 GHz in radar‑sensitive regions. Microwave ovens, baby monitors, and thick walls add interference, so reposition the router or node for a clearer path.
Firewall, UPnP/NAT, IPv6, DNS, VPNs, and Parental Controls
- Allow outbound traffic for Ring services; avoid strict firewall profiles that block new device sessions.
- Enable UPnP or use an open NAT so the camera can maintain connections.
- If parental controls, DNS filters, or VPNs are enabled at the router, whitelist the camera or disable those features and test.
- Reboot the router and modem. Power‑cycle the camera. Retest with a controlled walk to confirm that clips appear promptly.
When the network is healthy and clips still misbehave, turn to software and account configuration. These can hide recordings or prevent saving despite good connectivity.
Step 6: App, Firmware, and Account Troubleshooting
If network and power look good, software or account configuration may block recording or hide clips from view. Keep everything up to date and confirm that you are on the right device and location with the right permissions.
Update Firmware and Ring App; Clear Cache or Reinstall
- Check for a firmware update on the device page inside the app.
- Update the Ring app from your phone app store.
- Log out and back in. Clear cache on Android or reinstall to fix stuck timelines.
Shared Users, Device Ownership, and Multi‑Location Confusion
- Verify you are viewing the correct location at the top of the dashboard.
- If you are a shared user, ask the owner to confirm your access includes Event History.
- Remove and re‑invite shared users if permissions appear out of sync.
iOS/Android Permissions, Background Refresh, and Notifications
- Allow the Ring app to use background refresh and precise location if you rely on geofencing.
- Enable notifications for motion events to confirm that triggers occur in real time.
- Test on another phone or the web app to rule out device‑specific app issues.
If recordings still fail under certain conditions, examine the unique challenges of darkness. Nighttime often introduces different detection and exposure problems.
Step 7: Night‑Only Recording Failures
If recordings fail mostly after dark, detection and optics need tuning. Darkness changes how sensors work and how video compresses and uploads. Adjust IR and lighting to stabilize overnight clips.
IR/Night Vision, Color Night Vision, and Headlight Glare
- Toggle Color Night Vision off if the area is very dark to reduce noise and improve detection.
- Adjust the camera angle to avoid direct exposure to car headlights, street lamps, or porch lights.
- Clean the lens to prevent halos from smudges that scatter IR light and obscure detail.
Spiders, Webs, Moving Plants, and Reflective Surfaces
- Remove webs and trim vegetation that moves in wind and overwhelms the sensor.
- Reduce reflective surfaces in the frame that bounce IR back toward the lens and create glare.
- Use insect‑repellent strategies near, not on, the device to discourage spiders.
Add Lighting: Floodlights, Path Lights, and Linked Triggers
- Add a motion light or link the camera to smart lights so motion immediately improves illumination.
- Use Ring Linked Devices to trigger lights first, then verify the camera records reliably.
- Re‑run night walk tests after each change and compare clip timing to daytime results.
Once nighttime reliability improves, confirm that time settings and service status are correct. That ensures events line up and appear where you expect.
Step 8: Time, Timezone, and Service Outages
After fixing night issues, confirm the basics that can silently break timelines: time settings and service status. Accurate time ensures events appear in the right place and reduce confusion when you cross locations.
Date/Time Sync and Timezone Mismatches
- Open device settings and confirm the correct timezone for your location.
- If your phone or account shows the wrong region, fix it and restart the app.
- Verify event timestamps match the moment you trigger motion.
How to Check Ring Service Status vs Local Network Problems
- Visit the Ring service status page or official social channels to see if there is an outage.
- If Ring systems are up, test another device on your network for upload speed and stability.
- Run a hotspot test from your phone: connect the camera to the hotspot temporarily to isolate router or ISP issues.
If time and service check out, and you still have unreliable recordings, a clean reinstall often clears hidden glitches. That is when a factory reset can help.
Step 9: When and How to Factory Reset and Re‑Add Your Device
When all else fails, a factory reset and fresh setup often resolve firmware quirks or corrupted configurations. Only reset after documenting your settings so you can rebuild quickly.
Backups, QR Codes, and Reconfiguring Settings
- Screenshot Motion Zones, schedules, and network details so you can recreate them.
- Press and hold the setup or reset button for your model as directed to factory reset.
- Re‑add the device in the app, connect to Wi‑Fi, update firmware, and recreate zones and preferences.
What to Gather Before Contacting Ring Support
- Note device model, serial number, RSSI value, transformer specs (if wired), and recent changes.
- Prepare screenshots of Event History, Modes, and Motion Zones to show the current configuration.
- Provide exact times of failed events and steps you already tried. That accelerates troubleshooting.
You have restored recordings; now keep them stable with a simple monthly routine.
Prevent Missed Recordings: Ongoing Testing and Best‑Practice Checklist
A short monthly routine prevents gradual drift in performance as seasons and networks change. It also helps you catch new interference before it erodes reliability.
Monthly Walk Tests and Network Health Checks
- Run a three‑step walk test monthly (slow, side, fast) and review clip timing in Event History.
- Check RSSI and run an internet speed test. Aim for consistent upload performance.
- Reboot the router quarterly and update firmware for both router and camera.
Power Optimization, Seasonal Adjustments, and Retention Tips
- Charge batteries before they drop below 25 percent, especially in cold months.
- Retune Motion Zones when foliage, decorations, or lighting changes seasonally.
- Download important clips and confirm your plan retention meets your needs.
Conclusion
When you face the ‘why is my Ring camera not recording’ problem, follow a simple path: confirm your Protect Plan, review Modes and schedules, tune Motion Zones, and check power and Wi‑Fi. Those steps solve most failures. If issues remain, update firmware and the app, address night‑specific factors, verify time settings, and test for service outages. As a last resort, reset and re‑add the device.
Document each change and test after every step. That approach shows what fixed the issue and keeps your setup stable. With a few targeted adjustments, your Event History will capture what matters and your smart home will do its job: keep you informed and confident.
Frequently Asked Questions
Why does Live View work but nothing appears in Event History?
Live View uses an on-demand connection, while Event History requires an active Ring Protect Plan and a successful upload. If Live View works but Event History is empty, first confirm your plan status and that the device sits under the correct location. Next, check Modes, motion schedules, and Smart Alerts that might filter events. Finally, confirm Wi‑Fi upload stability and RSSI. A device can stream briefly yet still fail to upload motion clips if the network drops or filters traffic.
Does a Ring camera record without Wi‑Fi or a Ring Protect Plan?
Without Wi‑Fi, the camera cannot upload clips to the cloud and Event History will not populate. Without an active Ring Protect Plan for that device and location, motion events typically will not save, even if the camera detects motion. You can still use Live View if the device is online. To retain motion videos automatically, maintain a valid plan, stable Wi‑Fi, and correct account permissions.
Why are my motion clips short, delayed, or missing the first seconds?
Short or late clips usually point to power or Wi‑Fi problems, or sub‑optimal motion tuning. Try these fixes: 1) Raise battery level or verify transformer specs. 2) Improve Wi‑Fi signal with better RSSI, a mesh node, or 2.4 GHz. 3) Increase motion sensitivity and redraw zones to capture approach paths. 4) Reduce Smart Alerts filtering and disable People Only temporarily. 5) Adjust camera angle to avoid glare and focus on where people enter the frame. Retest after each change to confirm improvement.