Why Is My Sony TV Blinking Red? Troubleshooting Blink Codes and Fast Fixes
Introduction
A red blinking light on a Sony TV signals that the set has detected a fault and has entered protection mode. That warning is not random. The number of flashes between pauses points to a specific area, such as power, backlight, thermal, or audio. When you count the blinks and follow a clear path, you can often fix the problem at home.
This guide shows what the red light means, how to count the blinks, and the fastest steps to try first. You will learn how to isolate conflicts from HDMI, CEC, and eARC. You will see safe software resets and how to update firmware even if the screen stays black. Then you will walk through fix paths for each blink count from two to eight. At the end, you will know when to call support, how to prepare for service, and how to prevent the issue from coming back.
What the Red Standby Light Means on Sony BRAVIA TVs
Sony BRAVIA TVs use the red standby LED to show an error state. When the TV finds an abnormal condition, it shuts down the picture and blinks red in a repeating code. The set is protecting itself from damage. The fault can involve power rails, backlight drivers, thermal sensors, or the audio path.
Use the pattern to aim your fix. In most recent models, two to three blinks suggest power or main board faults; four to six blinks point to panel, T-Con, or backlight problems; seven blinks signals heat protection; and eight blinks often means an audio amplifier or speaker issue. You will confirm the count next. Once you have it, start with quick universal checks before code specific steps.
How to Accurately Count Your Sony TV’s Red Blinks
Blink codes repeat. You will see a series of flashes, a pause, then the same sequence again. To count correctly:
1. Power on the TV and wait for the red LED to start flashing.
2. Watch for the longer pause that marks the end of a cycle.
3. Count the flashes between pauses. That number is your code.
4. Repeat the count a few times to confirm.
Helpful tips:
– Dim the room lights to see the flashes clearly.
– Record a short video on your phone and play it back at slow speed.
– If you see mixed patterns, use the count that repeats most often.
With a reliable count, you can start with quick checks that often clear the fault without deeper steps.
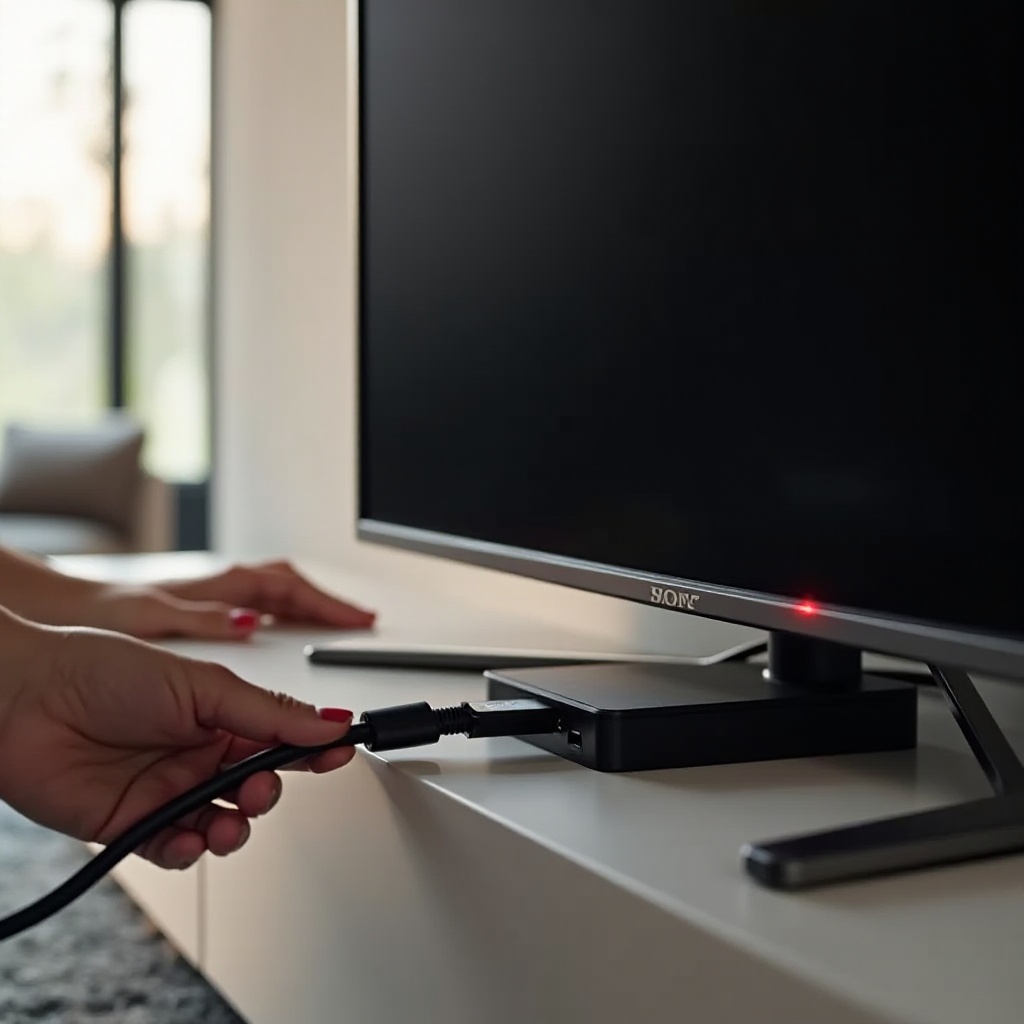
Fast First Steps: Power Reset, Cable Check, and Outlet Test
Many red blink cases come from power hiccups or simple device conflicts. Start here:
1. Power reset
– Turn the TV off and unplug it from the wall for at least 2 minutes.
– If your model has a power button on the set, press and hold it for 10 to 15 seconds while unplugged to discharge residual power.
– Plug the TV directly into a known good wall outlet. Avoid power strips for this test.
– Turn the TV on and recheck the blink pattern.
2. Outlet and power source
– Test the outlet with a lamp or phone charger.
– Move the TV to a different outlet on a different circuit if possible.
– Temporarily bypass surge protectors or UPS units. A failing strip can drop voltage and trigger protection.
3. Cable and device isolation
– Disconnect all HDMI and USB devices, soundbars, game consoles, and antenna or coax cables.
– Disconnect network cables and turn off nearby Bluetooth accessories.
– Power on the TV with only the power cord attached.
If the TV stops blinking with nothing connected, you likely had a device or cable conflict. If the blink persists with only power connected, proceed to software checks. Those will rule out firmware or app issues before you assume a hardware fault.
Software Fixes: Safe Mode, Factory Reset, and USB Firmware Update
Firmware bugs or corrupted settings can mimic hardware problems. Try these safe steps:
1. Soft reset
– With the TV on or trying to start, hold the remote power button for 5 to 10 seconds until the TV restarts.
2. Power cycle with cache clear
– Unplug the TV for 2 minutes, plug it back in, and press the remote power button once.
3. Safe mode on Google TV or Android TV (if accessible)
– Restart the TV from the power menu. When the Sony logo appears, hold the remote volume down button until you see safe mode. If the TV stays stable in safe mode, remove recent apps and test again.
4. Forced factory reset when the screen is black
– Unplug the TV. Hold the TV power and volume down buttons on the set. Plug the TV back in while holding the buttons. Release when the reset starts. Complete setup and test the TV bare, without external devices.
5. USB firmware update with no picture
– Get the latest firmware for your exact model from the Sony support site.
– Format a USB drive to FAT32 and place the update file at the root as Sony instructs.
– Insert the USB drive and power the TV on. The LED will blink during the update. Do not unplug until it completes.
If software steps do not resolve the blinking, refocus on your connected gear. External devices can send bad signals or power feedback that triggers protection.
External Devices: HDMI, CEC, eARC, and Power Feedback Conflicts
HDMI devices can cause protection events due to signal handshakes, CEC control loops, eARC audio feedback, or ground issues. To isolate:
– Test with no devices connected except power. If the TV behaves, add devices one by one.
– Use certified high speed or ultra high speed HDMI cables that match your ports and features.
– Turn off Bravia Sync CEC and eARC to test. You can find these options under Settings for external inputs and sound.
– Plug devices into separate outlets to avoid ground loops.
– Update the firmware of connected devices such as soundbars, AV receivers, and consoles.
If the red blinking continues with nothing attached, the fault likely lies in the TV. Heat often plays a role in intermittent shutdowns, so check thermal conditions next.
Heat and Ventilation: Fixing Thermal Shutdowns
Overheating can trigger red blinking and fast shutdown. Make sure the TV can breathe and that heat sources do not press against it:
– Leave a few inches of clearance on all sides, especially the top and back.
– Keep set top boxes, sticks, and consoles from blocking the vents.
– Clean dust from vents using a soft brush or a short burst of air from a distance. Do not open the TV.
– Reduce picture brightness and backlight levels during testing.
– Cool the room and use a fan to move air behind the TV.
If cooling the set lets it run longer before it blinks, suspect a heat sensitive part or clogged airflow. With basic power, device, and heat checks complete, you can use no tools to gather more clues about the type of hardware fault.
No-Tools Hardware Checks: Backlight, Panel, and T-Con Clues
You can narrow down likely faults without opening the TV:
– Backlight test
Shine a flashlight at an angle on the screen in a dark room while the TV is on. If you see a faint image, the panel is working and the backlight may be off.
– Sound check
If audio plays briefly before the blink, the processor and main board may be operating, which points to a backlight or power path issue.
– Input response
Try changing inputs or volume before the TV shuts down. Any response suggests the logic path is alive.
– Screen artifacts
If you see lines, half screens, or flicker before shutdown, suspect a T-Con board or panel driver problem.
– Immediate protection
If the LED blinks right at power on, a short or overcurrent may exist on the power, backlight, or audio rails.
Armed with these clues and your blink count, move into focused steps for each code. The next sections give causes and clear actions for two through eight blinks.
2 Blinks: Power Supply or Overcurrent Protection — Causes and Fixes
Common causes
- Power surge or unstable wall voltage
- Short on the power board or connected rails
- Failing components on the power board
- Rarely, a shorted external device pulling the line down
Step by step fixes
- Plug the TV directly into a different wall outlet and test.
- Perform a full power reset and try again.
- Disconnect all external devices and cables.
- If your model uses a removable power cord, try another compatible cord.
- Update the TV firmware via USB if possible.
- If two blinks persist, contact Sony support or a professional. Power board diagnosis and replacement are common remedies.
3 Blinks: Main Board or Power Board Fault — Causes and Fixes
Common causes
- Main board regulator or logic short
- Corrupted firmware causing boot failure
- Intermittent power board output feeding the main board
Step by step fixes
- Complete the power, outlet, and isolation steps.
- Perform a forced factory reset and test before adding accounts or apps.
- Update firmware via USB if a newer version exists.
- Cool the TV and test for longer stability to rule out heat.
- If three blinks remain, the main board or power board likely needs service. Gather model and serial numbers, proof of purchase, and your notes before calling support.
4 Blinks: Panel or Backlight Driver Error — Causes and Fixes
Common causes
- Shorted LED strips or open circuits in the backlight string
- Backlight driver overcurrent or failure
- Panel power rail fault
Step by step fixes
- Run the flashlight test to check for image without backlight.
- If the menu appears briefly, lower brightness and backlight levels and test for stability.
- Repeat power and device isolation checks.
- Improve ventilation and test again.
- If four blinks persist, a backlight or driver repair is likely. Compare repair quotes with the TV replacement cost before proceeding.
5 Blinks: T-Con or Panel Communication Error — Causes and Fixes
Common causes
- T-Con board failure
- Loose or oxidized ribbon cables between the main board, T-Con, and panel
- Panel row or column driver faults
Step by step fixes
- Perform power reset and firmware update to rule out software issues.
- Watch for artifacts such as lines, half screen images, or flicker before shutdown.
- Ensure the TV and its frame are not under pressure or heat that could warp connections.
- If five blinks persist, leave ribbon work and board tests to a professional. Panels are fragile and easy to damage.
6 Blinks: LED Backlight Driver Overcurrent — Causes and Fixes
Common causes
- Shorted LEDs in the backlight chain causing overcurrent
- Backlight driver circuit failure
- Wiring or connector issues along the LED rails
Step by step fixes
- Perform the flashlight test to check for a faint image.
- If you reach the menu briefly, lower backlight and local dimming settings and test.
- Improve airflow and cool the TV, then test again.
- If the TV blinks six times immediately on each start, stop repeated attempts. Continued cycling can stress components.
- Contact a pro to test and replace LED strips or the backlight driver as needed.
7 Blinks: Overheating or Thermal Protection — Causes and Fixes
Common causes
- Blocked vents or tight wall mount restricting airflow
- Dust buildup on external vents
- Failing fan on models that use active cooling
- High ambient temperature or nearby heat sources
Step by step fixes
- Unplug the TV and let it cool for at least 30 minutes.
- Ensure open space around the set, especially behind and above.
- Gently clean external vents. Do not open the TV.
- Reduce picture brightness and turn off power hungry picture modes during testing.
- Test with the room cooler and a fan moving air behind the TV.
- If seven blinks return with good airflow, seek service. Internal sensors, fans, or thermal pads may require replacement.
8 Blinks: Audio, Amplifier, or Speaker Protection — Causes and Fixes
Common causes
- Shorted internal speaker or wiring
- Faulty audio amplifier on the main board
- ARC, eARC, or CEC conflicts from connected audio gear
Step by step fixes
- Disconnect all external audio devices such as soundbars and AV receivers. Turn off eARC and CEC in settings.
- Set audio output to TV speakers only and test.
- If stable, try known good HDMI cables and re enable eARC later.
- Update firmware on the TV and audio devices.
- If eight blinks continue with nothing attached, contact service. An internal audio amp or speaker path likely needs repair.
When to Call Sony Support or a Pro: Warranty, Data, and Repair Costs
If the TV still blinks after you have isolated devices, run resets, verified airflow, and followed the code path, call for help. Prepare before you reach out:
– Write down the model number, serial number, purchase date, and blink count.
– List every step you tried and what changed.
– Check warranty status, extended plans, or credit card coverage.
Typical repair patterns:
– Power or main board faults are often repairable at moderate cost.
– Backlight driver or LED strip failures are common; cost scales with screen size.
– Panel and T-Con problems can be expensive; replacement may be better for large or older sets.
Ask for a diagnostic estimate and turnaround time. If the panel is at fault or the backlight repair cost comes close to a new TV, replacement may make more sense. If the price is modest and the set is otherwise solid, a board repair can add years of life.
Preventive Tips: Power Protection, Ventilation, and Settings That Reduce Stress
Once your TV is stable, simple habits reduce the chance of the red blink returning:
– Use a quality surge protector or a small UPS to ride through sags and spikes.
– Leave open space around the TV and avoid tight enclosures.
– Keep vents clean and dust free.
– Use certified HDMI cables, seat them fully, and avoid sharp bends.
– Adjust settings
– Set brightness and backlight to reasonable levels for your room.
– Use ambient light or eco features if you prefer cooler operation.
– Turn off CEC or eARC if you see recurring device conflicts.
– Keep firmware up to date on the TV and connected devices.
– Shut down devices gracefully instead of hard cutting power with a strip.
These steps protect power and backlight circuits, help manage heat, and reduce conflict with external gear.
Conclusion
A red blinking light on a Sony TV becomes manageable when you decode the pattern and move step by step. Count the flashes, strip the setup down to only power, and try fast resets. Update software and test without external devices. Many cases clear without tools. When a blink code points to hardware, you will know whether to keep going or to call a pro.
Work methodically. Add devices back one at a time. Watch for patterns and take notes. If you need service, your details and blink count speed the fix. With stable power, clean airflow, good cables, and sensible picture settings, your TV should run smoothly without that red light asking for help.
Frequently Asked Questions
Why does my Sony TV blink red six times and refuse to turn on?
Six blinks usually point to an LED backlight driver overcurrent or shorted LED strips. Try a full power reset, test with only power connected, and lower backlight if the menu appears briefly. Improve ventilation and cool the set. If the code returns, a pro should test and replace LED strips or the driver.
Can a software update or factory reset stop the red blinking light?
Yes, if software causes the fault. Corrupted settings, buggy apps, or outdated firmware can trigger protection. A soft reset, safe mode cleanup, forced factory reset, or a USB firmware update can restore normal operation. If blinking continues after clean software steps, hardware is likely at fault.
Is repairing a backlight or panel issue worth it compared with replacing the TV?
It depends on screen size, model, and part prices. Backlight repairs can be cost effective on many LED sets. Panel or T-Con faults often cost much more. Get a diagnostic quote and compare it with current TV prices. If repair costs more than half the price of a similar new set, replacement often makes more sense.