Why Won’t My Skullcandy Headphones Turn On? Troubleshooting Guide and Fixes
Introduction
You press the power button and nothing happens. No chime. No light. If you have asked yourself, why won’t my Skullcandy headphones turn on, you are in the right place. Power problems usually come from a dead battery, a confused pairing state, a stuck button, or a charging case that fails to make contact. The good news: most fixes take minutes and cost nothing.
This guide starts with a quick checklist to revive your earbuds or headset fast. Then it dives into model‑specific steps for Skullcandy true wireless lines like Indy, Sesh, Push, Dime, Jib, and Grind, and over‑ear or on‑ear lines like Crusher, Hesh, and Riff. You will learn how to read LED patterns, run the correct reset, update firmware, and recover a deeply discharged battery. You will also see how to prevent the issue from returning and when to use your warranty.
Quick Answer and 60-Second Checklist
Before you dive into details, run a 60‑second triage. These steps often bring a silent device back to life.
- Confirm charge: Use a known‑good USB‑C or micro‑USB cable and a 5V/1–2A wall adapter. Try a different outlet.
- Watch for LEDs: If any light appears, leave it on charge for 10–15 minutes, then try to power on again.
- Clean contacts: For earbuds, wipe case pins and the metal pads on each bud with a dry cotton swab. For grime, use a swab with a little isopropyl alcohol, then dry.
- Hard reset: Use the correct reset sequence for your model. Resets clear stuck firmware states that block power.
- Remove Bluetooth conflicts: Turn off Bluetooth on nearby devices or forget the pairing on your phone, then retry power.
- Inspect buttons: Make sure the power or multi‑function button is not jammed by dirt, earwax, a case, or the headband.
- Normalize temperature: Warm up a cold battery or cool down an overheated headset before you try again.
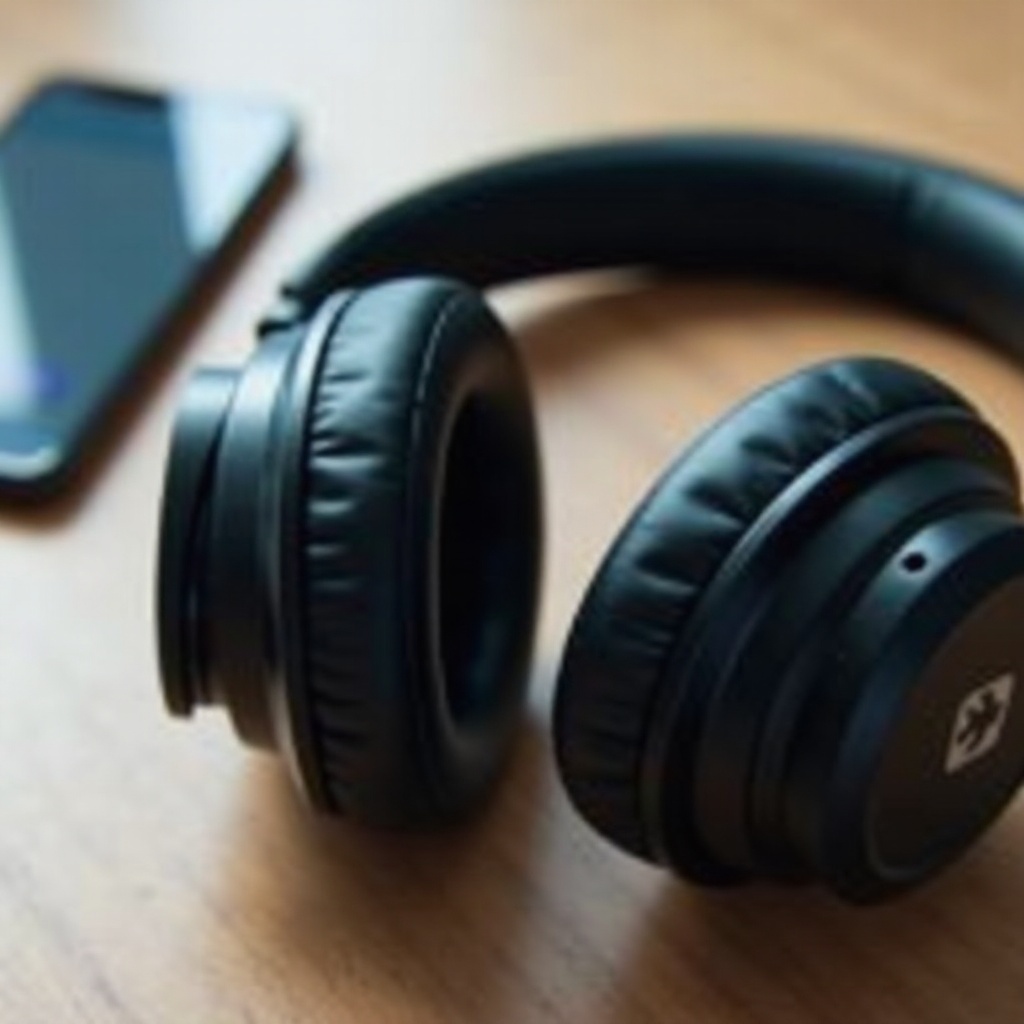
- Try analog: For over‑ear models with a 3.5 mm jack, plug in a cable. If wired audio works, you likely have a battery or Bluetooth power issue.
If your headphones still refuse to wake, the next step is to tailor the fix to your exact model, because power behavior and reset combos vary.
Identify Your Skullcandy Model and What That Changes
If quick checks did not solve it, identify your exact model so you can apply the right steps. True wireless earbuds depend on the charging case and its sensors for sleep and wake behavior. Case lid magnets, pogo pins, and firmware decide when the buds charge and power on. Over‑ear and on‑ear headsets rely on an internal battery, a physical power button or slider, and sometimes an ANC switch that can complicate things.
Look for the model name on the box, inside the headband, on the case, or in the Skullcandy app. Group your device into one of these families: Indy, Sesh, Push, Grind, Dime, Jib for true wireless; Crusher, Hesh, Riff for headsets. Once you have identified the family, you can decode LED signals and apply the right reset sequence.
Understand LED Indicators and Power States
Now that you know your model family, read the LEDs correctly. Misreading the lights makes it easy to chase the wrong fix.
What no lights, solid lights, and blinking patterns usually mean
- No lights while pressing power often points to a drained battery, deep sleep, or a stuck button. Charge for 10–15 minutes, then try again.
- Solid red or amber on a case or earcup usually means charging or low battery.
- Blinking blue and red often signals pairing mode, not a power failure.
Differences between pairing mode and power-on indicators
Some models enter pairing mode as soon as they power on and start flashing blue and red. That is normal. If you see pairing flashes, your headset is on. Complete pairing and then test audio. If it flashes once and shuts off, you likely have a weak or unstable charge.
Case LEDs vs earbud/headset LEDs
Case LEDs show the case battery level. They do not guarantee the earbuds themselves are charged. After removing the buds from the case, check each bud for its own LED cue. Over‑ear headsets use a single LED on the earcup for both power and pairing feedback.
Verify a Real Charge: Cables, Chargers, and Ports
Once you understand the LED states, confirm that you delivered a real charge. Many dead‑on‑arrival cases turn out to be cable or charger issues.
USB-C vs micro-USB and cable quality pitfalls
Use a short, known‑good cable. Avoid old, frayed, or data‑only cables that pass almost no current. If your device uses micro‑USB, test at least two different cables. Gently wiggle the plug at the port to check for a loose fit, but do not force it.
Charger specs: safe voltage/amp recommendations
Use a 5V wall adapter rated between 1A and 2A. Quality fast chargers usually fall back to 5V automatically, but a basic 5V/1A adapter removes doubt. Avoid 9V or 12V modes unless the manual explicitly confirms support.
Signs your outlet or power bank is the culprit
If LEDs flicker, never light, or cut out, switch to a different wall outlet. Some hubs and power banks time out with low loads. A simple wall adapter gives the most stable result for recovery charging.
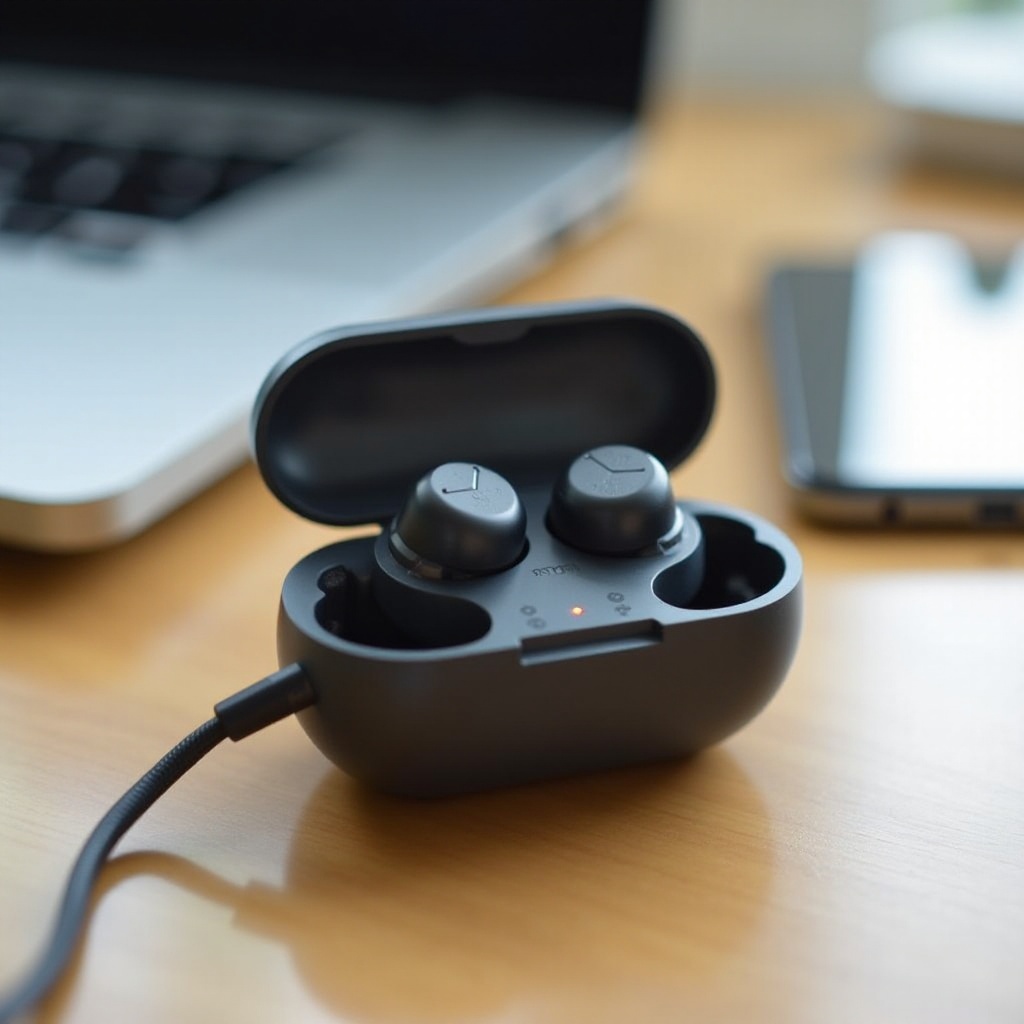
Charging Case Troubleshooting for True Wireless
With power delivery verified, focus on the charging case if you use true wireless earbuds. Small contact issues often block charging and wake behavior.
Clean contacts, pins, and magnets safely
Pocket lint, dust, and skin oils can prevent charging. Clean metal pads on the buds and the case pins with a dry swab. For sticky grime, use a swab with a little isopropyl alcohol and let it dry. Make sure magnets pull the buds into their wells.
Lid sensors and alignment issues
If the lid does not close fully, the case may not register open or closed states correctly. Reseat the buds until you feel a firm magnetic seat. Adjust eartips or wings so they do not prop the lid open.
Case battery level vs earbud battery level
A case can look full but still fail to charge the buds if the pins are stuck. Lightly press each pin to check spring action. If the case is low, charge it for 15–20 minutes first. Then reseat the earbuds to kickstart charging and wake behavior.
Over-Ear and On-Ear Power-On Quirks
If your device is an over‑ear or on‑ear headset, a few model‑specific quirks can look like a dead unit. Address those before deeper steps.
Crusher series: bass slider, analog cable bypass, and ANC
Crusher headsets can play audio over a 3.5 mm cable even when the battery is empty. If wired audio works but Bluetooth power does not, charge longer and test again. The haptic bass slider only functions when the headset is powered. If your model has ANC, toggle ANC off, then retry power to avoid a confused state.
Hesh series: single-button power/Bluetooth behavior
The multi‑function button handles both power and pairing. Hold it for a full 3–5 seconds to power on. If it jumps to pairing right away, that is normal. Complete pairing to lock in the connection so the headset stays on. If power still fails, try a long press for a hard reset after a 10‑minute charge.
Riff family: fold/auto-off behaviors and quick-charge expectations
Some on‑ear models auto‑power off after inactivity. Quick charge should provide a short listening window after about 10 minutes of charging. If quick charge fails, switch to a full 60–90 minute session with a 5V/1–2A adapter, then try again.
Perform a Proper Reset (Model-by-Model)
When basic steps do not work, a model‑specific reset often clears firmware glitches and left/right desync. Remove the device from your phone’s Bluetooth list before you reset.
Indy/Indy Evo/Indy ANC reset sequence
- Put both buds in the case and open the lid.
- Forget the earbuds in your phone’s Bluetooth settings.
- Remove both buds. Press and hold each touch surface for about 10 seconds to power cycle.
- Return both buds to the case, close the lid, wait 10 seconds, then remove and pair again.
- If needed, repeat once to fully clear the state.
Sesh/Sesh Evo reset sequence
- Delete the Bluetooth entry on your phone.
- Place both buds in the case, then remove them.
- Tap or press and hold both buds for 4–10 seconds (model dependent) until they power off, then on.
- Return them to the case, close the lid, wait a moment, then re‑pair from scratch.
Push/Grind series reset and desync fixes
- Forget the earbuds on your phone.
- Power off both buds.
- Hold both buttons for about 10 seconds to force a reset.
- Place in the case, close the lid, then remove both to let the master bud link first.
- Once the second bud joins, enter pairing with both in your ears and complete pairing.
Dime/Jib True Wireless reset basics
- If the buds power on, hold each button for 10 seconds to force a reset.
- If they will not power on, place them in a fully charged case for 5–10 minutes.
- Remove and try the reset again, then pair from a clean Bluetooth list.
Crusher/Hesh/Riff over-ear button combos
- Hold the power or multi‑function button for 10–15 seconds to force a power reset.
- If your model has volume buttons, some use volume up + down + power for a hard reset.
- After the reset, charge for 10 minutes and try a normal 3–5 second power‑on press.
Firmware, App, and Tile Conflicts
After a reset brings your device back, prevent repeats with software updates. Also check for background conflicts from device‑finder features.
When to use the Skullcandy app for updates
Open the Skullcandy app once the device powers on. Install any available firmware updates. Updates often fix random shutdowns, flaky wake events, and battery reporting bugs. Keep the app open until it finishes.
Resolving Tile background conflicts
If Tile is active, it may ping or wake the buds. That is normal, but a loop can cause odd states. Disable Tile temporarily in the app, forget the Bluetooth pairing, complete a reset, then pair fresh.
Avoiding app-layer pairing confusion
Close other device management or audio apps during pairing. Pair first in your phone’s Bluetooth settings, confirm audio, then link in the Skullcandy app. This prevents competing prompts that leave the headset in limbo.
Battery Health, Deep Discharge, and Calibration
If behavior still looks odd after resets and updates, check the battery state. Lithium batteries can fall into deep discharge and look dead until they take a stable charge.
Signs of a worn or failing battery
- The device only turns on while plugged in.
- It dies right after the startup chime.
- It charges unusually fast to full but drains in minutes.
- Playtime is much shorter than it used to be.
Safe recovery from deep discharge
- Connect to a 5V/1–2A wall adapter.
- Leave it charging undisturbed for 30–60 minutes, even if LEDs stay off.
- Try a normal power‑on. If it works, continue charging to 100% before use.
- If it still fails, repeat once with a different cable and adapter.
Calibrating battery indicators after updates
Once your device powers up, run a quick gauge calibration: listen until around 10–20%, then charge to full in one go. This helps the battery meter report accurately and reduces surprise shutdowns.
Moisture, Sweat, and Temperature Gotchas
Another hidden cause of no‑power issues is moisture or temperature extremes. Address these before assuming hardware failure.
Drying methods that will not damage components
Wipe visible moisture and let the device air‑dry in a warm, dry room for 24 hours. Do not use a hair dryer, oven, or microwave. For earbuds, leave the case open while drying so trapped humidity can escape.
Sweat guards and silica gel tips
Store your buds and case with small silica gel packets to absorb residual moisture. If you work out with them, consider sweat‑resistant tips and give the buds a quick wipe before placing them in the case.
Hot and cold environment effects on power-on
Lithium cells throttle or shut down when too hot or too cold. If your device sat in a hot car or a freezing pocket, bring it back to room temperature before you try to power on or charge.
Isolate the Fault: Case vs Buds vs Headset vs Charger
If problems persist, isolate the failing component. This prevents unnecessary returns and speeds up support conversations.
Simple swaps to pinpoint the failing part
- Swap to a different cable and a basic 5V wall adapter.
- For earbuds, test each bud alone. If one powers and the other does not, you found the issue.
- If possible, try another matching case. If the buds work in the second case, the original case is likely at fault.
- For headsets, test wired audio through the 3.5 mm jack to confirm the drivers work.
Testing without the app, then with the app
First, pair straight from Bluetooth settings and test audio. If stable, add the Skullcandy app. If issues appear only after adding the app, clear its cache or reinstall, then update firmware again.
Interference from previously paired devices
Turn off Bluetooth on old phones, laptops, and tablets. A previously paired device can steal the connection and make it look like your headphones will not stay on.
When It’s Hardware Failure: Warranty, RMA, and Next Steps
If you still get no power after verified charging, contact cleaning, resets, and an hour on a stable charger, hardware is likely at fault. Move to support with the right details to speed things up.
What proof of purchase and serial info you need
Gather your receipt or order email, model and serial information printed in the headband or case, and your shipping address. Take photos of labels if the text is small.
Typical turnaround and what’s covered
Manufacturer warranties usually cover defects in materials or workmanship, not water damage or abuse. After approval, you may ship the unit for repair or replacement. Keep your tracking number and watch for email updates.
Repair vs replace vs recycle decisions
If out of warranty, compare repair costs to replacement. Many sealed designs make DIY battery swaps impractical. Recycle e‑waste at an approved center if you choose to replace.
Prevention Checklist: Keep Your Skullcandy Powering On
Once you have fixed or replaced your device, a few habits will reduce the chance of another no‑power episode.
Safe charging habits and storage
- Use 5V/1–2A wall adapters and short, quality cables.
- Do not leave the battery at 0% for weeks. If unused, top up monthly.
- Store at room temperature and away from direct sunlight.
Routine cleaning and contact care
- Wipe charging contacts and case pins weekly.
- Keep lint and debris out of the USB port and earbud wells.
- Ensure buds seat firmly and the lid closes cleanly.
Update cadence and avoiding deep drains
- Check the Skullcandy app for firmware updates on a regular schedule.
- Calibrate the battery gauge now and then with a near‑empty to full cycle.
- If you plan to store them a while, leave them around half charge.
Conclusion
When you ask why won’t my Skullcandy headphones turn on, think power first: deliver a verified 5V charge, read the LEDs, and remove simple blockers like a stuck button or dirty contacts. Then run the correct reset for your model and install firmware updates if your device supports the app. If moisture or temperature played a role, dry and normalize conditions before you try again. When you isolate the fault and find hardware at the root, gather your proof of purchase, model details, and reach out for warranty support. With a simple, methodical approach, most Skullcandy headphones and earbuds come back to life in minutes, and the prevention tips above will keep them ready the next time you press power.
Frequently Asked Questions
Why do my Skullcandy earbuds show lights in the case but will not turn on when I take them out?
Case LEDs reflect case battery level, not the buds. If pins or contacts are dirty, the buds may never charge even if the case looks full. Clean the contacts, press the buds into the wells to feel the magnets seat, close the lid, and charge for 15–20 minutes. Then remove both buds together, wait for the link tone, and start pairing. If one bud powers while the other does not, perform the model reset and reseat again.
Can I use a fast charger, and could it be why my Skullcandy headphones will not power on?
Use a 5V wall adapter rated 1–2A. Many fast chargers fall back to 5V safely, but some ports or cables negotiate poorly. If you suspect fast‑charge issues, switch to a basic 5V/1A adapter and a short, known‑good cable. Leave the device on charge for 30–60 minutes, then try a normal power‑on. Avoid 9V or 12V modes unless the manual confirms support.
Only one earbud turns on. How do I fix desync without replacing them?
Forget the earbuds in Bluetooth settings. Put both buds in the case and close the lid for 10 seconds. Remove both at the same time. If they do not link, perform the model’s hard reset, return them to the case, close the lid, then remove and pair again. Keep other paired devices’ Bluetooth off during this process so nothing interrupts the re‑link.