Wyze Cam Won’t Scan QR Code? 17 Fixes and a Setup Checklist for Reliable Pairing
Introduction
If your Wyze cam won’t scan QR code, pairing stalls before it really starts. The camera sits ready to connect, you show the code, and nothing happens. The most common causes are simple: the phone screen is dim, blue light filters reduce contrast, the camera sits at the wrong distance, or glare makes the squares fuzzy. Sometimes the scan works but the camera cannot join Wi Fi because the network settings in the code do not fit the router.
You can fix this without deep tech skills. Start with fast wins that take a minute or less. Then tune your display and the QR source, stabilize the shot, and confirm the network path. If the scan completes but setup still fails, adjust the router and app permissions. Model nuances and a clean reset can also get you over the line. The final checklist gives you a quick routine to repeat whenever you add more cameras.
Quick Wins: 60-Second Fixes
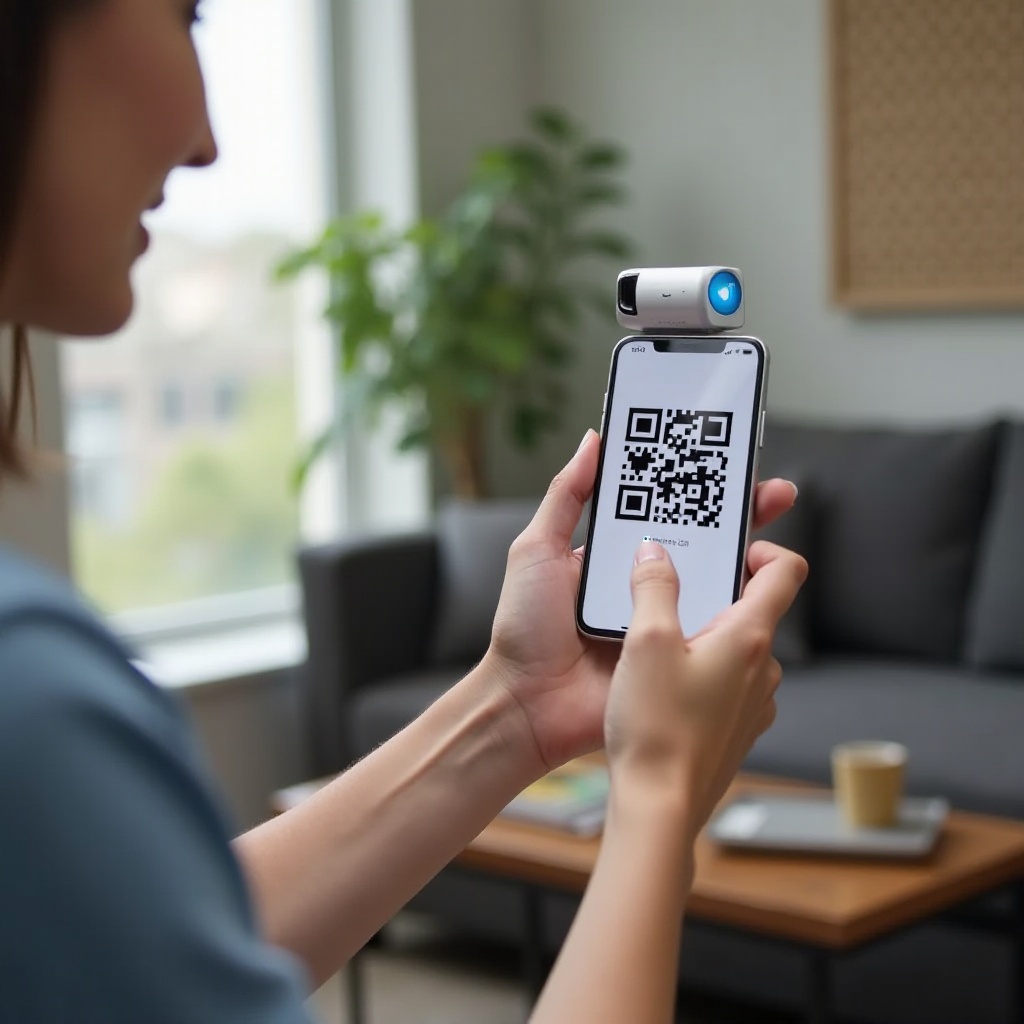
You can often get a stubborn camera to read the code with small changes. Try these in order:
- Set your phone or tablet to 100 percent brightness.
- Turn off blue light filters or eye comfort mode.
- Hold the phone 5 to 8 inches from the camera lens. Move slowly in and out until you hear a beep or voice prompt.
- Improve ambient light. Use bright, even light and avoid glare patches on the screen.
- Clean the Wyze lens and your phone screen with a microfiber cloth.
- Remove any clear protective film from the camera lens. Take off glossy or mirrored cases that reflect light onto the screen.
- Rotate the phone to landscape so the code appears larger without cropping.
- Avoid pointing the screen at windows or bare bulbs that can produce reflections.
If these do not help, the problem often lives in your display settings. The next section shows how to make the QR code bold and crisp on iPhone and Android.
Phone Display Settings That Prevent Scanning (iPhone & Android)
Your screen controls the contrast of the QR code. Even small tweaks can make the pattern easier to read. Focus on contrast, color accuracy, and stability.
On iPhone:
– Turn off True Tone in Settings > Display & Brightness.
– Disable Night Shift and any Focus or Low Power mode that dims the display.
– Temporarily turn off Reduce White Point in Settings > Accessibility > Display & Text Size.
– Set Auto Lock to a longer time so the code does not vanish mid scan.
– If you use Display Zoom, switch to Standard for a sharper render.
On Android:
– Disable Eye Comfort or Blue Light filter and turn off Adaptive Brightness temporarily.
– Set brightness to maximum while scanning.
– Turn off Extra Dim and any color correction or inversion under Accessibility.
– Pause overlay apps that tint the screen or dim it, such as battery savers and privacy overlays.
On all phones:
– Remove privacy or matte screen protectors that blur fine edges. If removal is not an option, use a different device for the code.
– Zoom the code within the app or pinch to enlarge so it fills most of the screen without cropping the edges.
If the code still looks small or low contrast, change the way you present it. A larger, brighter display or a sharp printout will help. That is where we go next.
Optimize the QR Code Source
A camera reads a clear, high contrast code far more reliably than a small, dim one. You can improve the source in a few simple ways.
- Enlarge the QR code in the app so it takes up most of the display but leaves a thin border.
- Use a second device with a larger, brighter screen, such as a tablet or a newer phone.
- Print the QR code on plain white paper at high resolution. Avoid glossy paper because it creates glare bands.
- Keep the code flat and steady. Do not tilt the device or curve the paper. If you can, prop the phone or paper on a stand.
- Avoid showing the code on a TV or monitor that flickers or shows scan lines. Those patterns can confuse the camera.
Once your code looks great, you still need to help the lens see it. Stabilize the shot and hold the right distance to make the pattern sharp.
Perfect the Camera’s View and Focus
Wyze cameras use compact, fixed focus lenses. Press too close and the code blurs; hold too far and the pattern loses detail. Find the sweet spot and keep both devices steady.
- Start roughly 5 to 8 inches from the display. Move slowly until the camera confirms the scan.
- Frame the entire code with a small margin around the edges. Cropping the border makes detection harder.
- Stabilize everything. Place the camera on a flat surface. Prop the phone or printed code against a book or stand to prevent hand shake.
- Remove glare by repositioning lights or tilting the phone slightly while keeping the code square to the lens.
- Turn off nearby TVs or monitors and avoid flickering LED bulbs that can introduce banding.
- Clean the camera lens and confirm you removed any factory film.
- Respect minimum focus distance. Most small lenses cannot focus at point blank range.
If you achieve a clean scan but the process stalls during network join, the bottleneck likely moved from optics to Wi Fi. Prepare your network so the camera can attach without drama.
Network Prerequisites During Setup
The QR code packs your Wi Fi credentials. If your network does not meet the camera’s requirements, the camera will scan the code and then fail to connect. Confirm these items before you try again.
- Use 2.4 GHz Wi Fi for onboarding. Most Wyze models cannot join 5 GHz during setup.
- If your router uses band steering, split the SSIDs so 2.4 GHz has a unique name.
- SSID and password hygiene:
- Avoid leading or trailing spaces.
- Use letters, numbers, and common symbols. Exotic or extended characters can cause parsing errors.
- Keep the SSID visible during setup; hidden networks add friction.
- Security and addressing:
- Prefer WPA2 PSK with AES. If you run WPA3 only, enable a WPA2 or transition mode during pairing.
- Make sure DHCP is enabled and the address pool has free leases.
- Turn off AP or client isolation on the 2.4 GHz SSID so the camera can reach the internet and cloud.
If these basics look good but the camera remains stuck after the scan, adjust a few router parameters that often block small IoT devices.
Router Tweaks If Scan Completes but Setup Fails
Modern routers ship with performance features that can confuse low power devices. A few changes improve compatibility during onboarding.
- Disable band steering temporarily. Give 2.4 GHz and 5 GHz distinct SSIDs.
- Set 2.4 GHz channel width to 20 MHz for maximum compatibility.
- Use channels 1, 6, or 11 to reduce overlap and interference.
- Turn off MAC filtering or add the camera’s MAC to the allow list.
- Disable AP or client isolation on the 2.4 GHz SSID.
- Confirm DHCP is active and the LAN subnet has room for new clients.
- Reboot the router after changes so settings apply cleanly.
With the network clear, address the app and phone state. A clean, updated app with the right permissions prevents surprises during scanning and pairing.
App and Device Readiness
The Wyze app and your phone must display a crisp code and pass credentials smoothly. A tidy app environment keeps the process reliable.
- Update the Wyze app to the latest version from the app store.
- Force close and reopen the app to refresh its state.
- If problems persist, clear the app cache on Android or reinstall the app on iPhone and Android.
- Grant requested permissions:
- Camera permission for the app screen that shows the code and for scanning with some models.
- Location and Bluetooth permissions on Android when prompted, as some onboarding flows rely on them.
- Disable overlay apps that dim or tint the screen while you are scanning.
- Restart the phone and power cycle the camera to clear temporary glitches.
Once your phone and app cooperate, consider model quirks. Different Wyze models behave slightly differently during scanning.
Model-Specific Notes
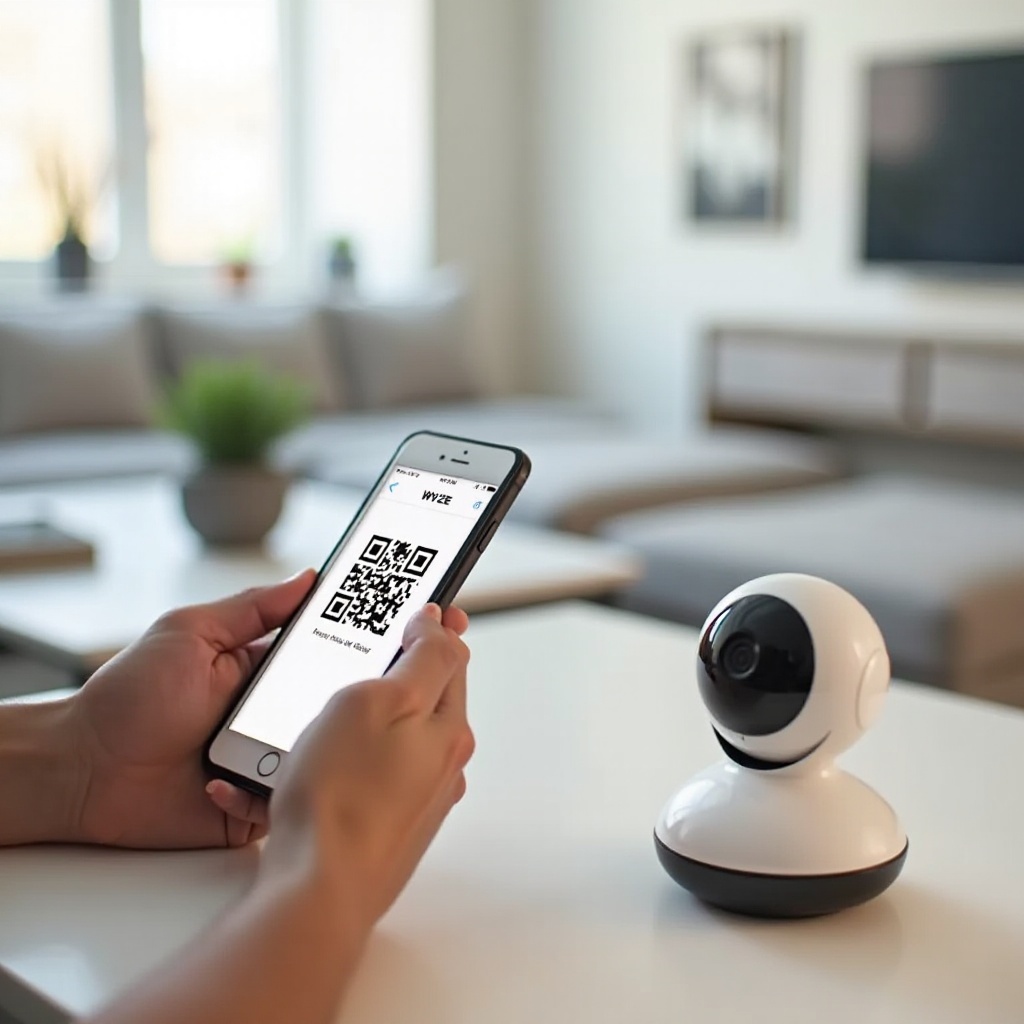
Each model has its own feel when it comes to scanning distance, stability, and lighting. Use these targeted tips if general steps do not work.
- Wyze Cam v2 and v3:
- These have fixed focus lenses that prefer a short, steady distance rather than point blank.
- Start at 6 to 8 inches and move slowly until you hear the scan prompt.
- Confirm the status LED shows the pairing color and the voice says ready to connect before you present the code.
- Pan and Pan v2:
- Place the camera on a stable, flat surface so the pan motor does not introduce wobble.
- Aim the lens squarely at the code and avoid scanning while the unit is rotating.
- Doorbell models:
- If outdoor glare interferes, bring the device inside for scanning.
- Avoid direct sunlight on the phone screen and tilt slightly to remove reflections while keeping the code square.
- Battery powered models:
- Charge to at least halfway so voltage does not sag during setup.
- Use the supplied cable during pairing if possible.
If model tuned steps still fail, a clean reset removes partial pairings or stuck states so you can start fresh.
Reset and Clean Setup
A fresh setup clears flaky states that block scanning or connection. Follow a consistent reset routine and then re add the device through the app.
- Confirm the camera says ready to connect and the LED matches the pairing state for your model.
- Perform a factory reset:
- Unplug the camera for ten seconds and plug it back in.
- Hold the setup or reset button as your model requires until you hear the reset prompt.
- Wait for the reboot and the ready to connect voice prompt.
- Run a clean add flow:
- Open the Wyze app, tap Add Device, and choose your model.
- Enter the correct 2.4 GHz SSID and password. Verify there are no typos or trailing spaces.
- Generate a new QR code and scan it with the camera at the proper distance.
If a reset does not help, you may face a hardware or power fault. Look for the signs described next.
When Hardware Is the Problem
Sometimes the camera hardware prevents a successful scan regardless of lighting or distance. Check for clear indicators before you contact support.
- Lens or focus defects:
- The preview looks soft or smeared at all distances.
- The camera never acknowledges any QR code even with perfect contrast and lighting.
- You notice haze, debris, or moisture inside the lens area.
- IR cut filter stuck:
- The image looks pink or shows odd color shifts in normal light.
- Scans fail more often at specific times of day due to lighting spectrum changes.
- Power faults:
- The camera reboots or the LED flickers during setup.
- The unit feels unusually warm or unstable.
- Test with a known good USB cable and the correct rated adapter.
If these symptoms match, gather details before reaching out: model, serial number, app version, router brand and model, firmware version if available, and a short video that shows the failure. Provide that bundle to Wyze Support to speed diagnostics and, if eligible, a warranty replacement.
Step-by-Step ‘Always Scans’ Checklist
Use this condensed routine whenever a Wyze cam will not read the code. It standardizes your setup and avoids guesswork.
1) Set phone brightness to 100 percent. Turn off True Tone and Night Shift on iPhone or Eye Comfort and Adaptive Brightness on Android.
2) Clean the Wyze lens and your phone screen. Remove any lens film and privacy screen protector.
3) Display the code on a bright, high resolution device and enlarge it until it nearly fills the screen.
4) Stabilize both devices on solid surfaces. Avoid handheld wobble.
5) Hold the camera 5 to 8 inches from the code and move slowly until you hear the scan confirmation.
6) Improve lighting with diffuse, even light. Remove glare by slightly adjusting the phone angle while keeping the code square.
7) Use a simple, visible 2.4 GHz SSID and WPA2 PSK security for onboarding.
8) Disable band steering and set 20 MHz on 2.4 GHz channels 1, 6, or 11.
9) Reboot the router and the camera, then retry the scan and join.
10) If all else fails, print the QR code on plain paper and scan from the printout.
Conclusion
A failed QR scan usually traces back to dim screens, reduced contrast, poor framing, or an incompatible Wi Fi path. You can correct each issue with small, practical steps. Max out brightness, turn off blue light filters, and enlarge or print the code. Hold the right distance and keep both devices steady. Then confirm your 2.4 GHz network uses simple SSIDs and WPA2 security.
If the scan works but pairing stalls, apply the router tweaks and verify app permissions. When symptoms suggest hardware, test the power path and gather evidence for support. Keep the always scans checklist close by. It turns a frustrating setup into a clear, repeatable routine that you can trust for every camera you add.
Frequently Asked Questions
Why will my Wyze Cam not scan the QR code on my iPhone
Display features often reduce contrast. Turn off True Tone, Night Shift, and Reduce White Point, set brightness to 100 percent, enlarge the code, and remove any privacy screen protector. Hold 5 to 8 inches from the lens and move slowly. If needed, show the code on a brighter tablet or print it.
Can I finish Wyze setup without scanning a QR code
The standard flow uses a QR code to pass Wi Fi details. If scanning fails, display the code on a different device or print it for higher contrast. Some models may offer limited alternative onboarding, but the QR method remains the primary path. Use the checklist to improve contrast, distance, lighting, and network settings.
Why does the QR scan succeed but the camera never connects to Wi Fi
Your network likely blocks onboarding. Use 2.4 GHz only and split SSIDs, prefer WPA2 PSK or enable a WPA2 or transition mode, set 20 MHz on 2.4 GHz, and disable AP or client isolation and MAC filtering. Confirm DHCP is on and SSID or password have no trailing spaces. Reboot the router and retry.