Why Is My Crosley Record Player So Quiet? Troubleshooting, Fixes, and Proper Setup
Introduction
Quiet vinyl playback kills the vibe fast. You expect warm, full sound, but your Crosley whispers instead. The good news is that most low volume issues come from simple setup mistakes or small hardware mismatches. You can resolve many of them in minutes with a clear plan. This guide takes you from silence to sweet spot by moving step by step through the signal chain. We will start with quick checks, then identify your exact model and connection path, and finally dial in proper gain staging so every link in the chain pulls its weight. Along the way, you will learn how PHONO and LINE settings work, how Bluetooth can limit loudness, and why stylus condition matters. If a component fails, you will know how to test it and what to replace. Keep your records safe, your speakers protected, and your Crosley playing at the right level.

Quick Checks to Rule Out Simple Causes
Before you chase complex fixes, confirm the basics. These checks often solve the why is my Crosley record player so quiet issue without tools.
Volume and Input Baselines
- Turn up all volume controls: the Crosley knob, the speaker or receiver knob, and the phone or tablet volume if you use Bluetooth.
- Select the correct input on your receiver or powered speakers.
- If your unit has a PHONO or LINE switch, note the current position for the next section.
Media and Auto-Stop
- Try another record to rule out a quiet pressing or worn grooves.
- Clean the stylus with a soft brush from back to front.
- Disable auto stop and test again in case it is partially engaged.
Connectors and Power
- Reseat RCA cables until they fit snugly.
- Ensure the power supply is stable and the outlet is strong.
If volume improves after any step, you found your bottleneck. If not, move on to identify your model and map the signal path. That context sets the stage for correct gain.
Identify Your Crosley Model and Map the Signal Path
A clear map of your setup reveals where gain should happen and where volume gets lost.
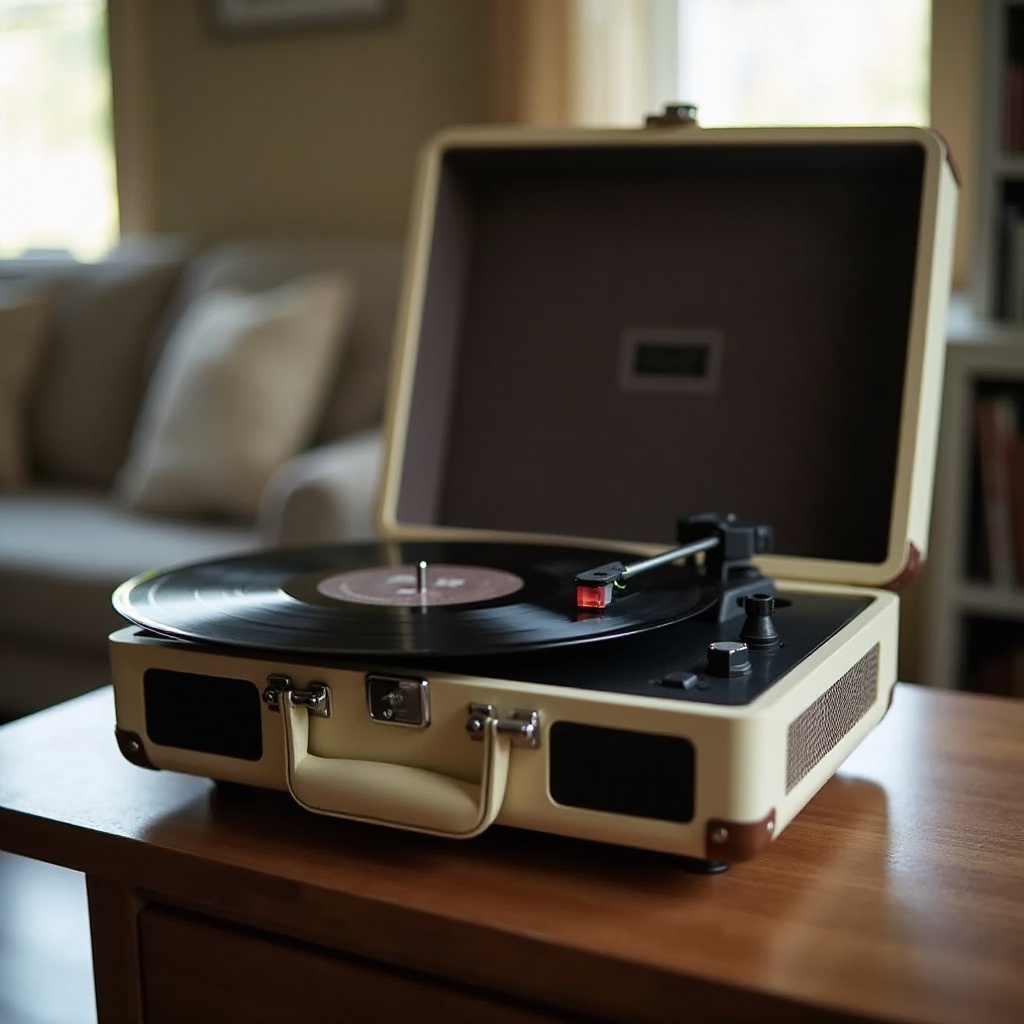
- Suitcase style models such as Cruiser, Voyager, and Discovery include built in speakers and a small internal amp. They play at modest levels suited for small rooms.
- Component decks such as C6, C100, and C200 behave like traditional turntables. Some have a built in preamp; others do not.
- Bluetooth capable models may transmit to speakers or receive from phones. Know which direction applies to your use.
Sketch your chain in one line:
– Built in speakers: Turntable to internal amp to speakers.
– With powered speakers: Turntable output to speaker RCA input.
– With a receiver: Turntable to PHONO input or to AUX or LINE via a preamp.
– With Bluetooth out: Turntable to Bluetooth transmitter to speaker.
This map shows where the signal starts small and where it should be amplified. Next, set the PHONO or LINE switch to match the input you use.
PHONO vs. LINE: Built In Preamp Settings and Correct Input Pairings
Moving magnet cartridges output a tiny PHONO level signal that needs RIAA equalization and gain. A built in preamp boosts that to LINE level. Pair the right output to the right input and the quiet problem often disappears.
When to Use LINE
- Use LINE when you connect to AUX or LINE inputs on powered speakers or receivers that lack a phono stage.
- Use LINE when you feed a Bluetooth transmitter or internal Bluetooth module that expects line level.
When to Use PHONO
- Use PHONO when your receiver has a dedicated PHONO input for moving magnet cartridges.
- Attach the ground wire to the receiver ground post if your model provides one.
Mistakes to Avoid
- Do not send LINE into PHONO. You will hear overload and strange EQ.
- Do not send PHONO into AUX or LINE without a phono preamp. It will sound quiet and thin.
- Ceramic cartridges on some suitcase models can output near line level, so an extra preamp is not needed. Check your manual if you are unsure.
With the switch correct, you can focus on the speaker and amp side. Built in speaker models have unique limits and quick upgrades.
Built In Speaker Models (Cruiser, Voyager, Discovery): Why They Sound Quiet and How to Fix It
Suitcase models rely on small amps and drivers. They can sound nice up close, but they cannot fill large spaces. You can still improve usable volume and clarity.
Easy Loudness Boosts
- Set the Crosley volume knob to at least halfway and adjust from there.
- Place the unit on a solid surface to reduce resonance and energy loss.
- Open the dust cover during playback to avoid reflections and muffling.
- Clean or replace the stylus to restore proper groove contact.
Add On Speakers
- If your model has a line out, connect compact powered speakers. Even small desktop speakers can double perceived loudness and improve midrange clarity.
- If you have a headphone out only, some powered speakers accept a 3.5 mm input as a stopgap.
If you use a component deck, your fix revolves around gain staging with a receiver or powered speakers.
Component Decks (C6, C100, C200): Quiet Output Fixes with Receivers, Preamps, and Powered Speakers
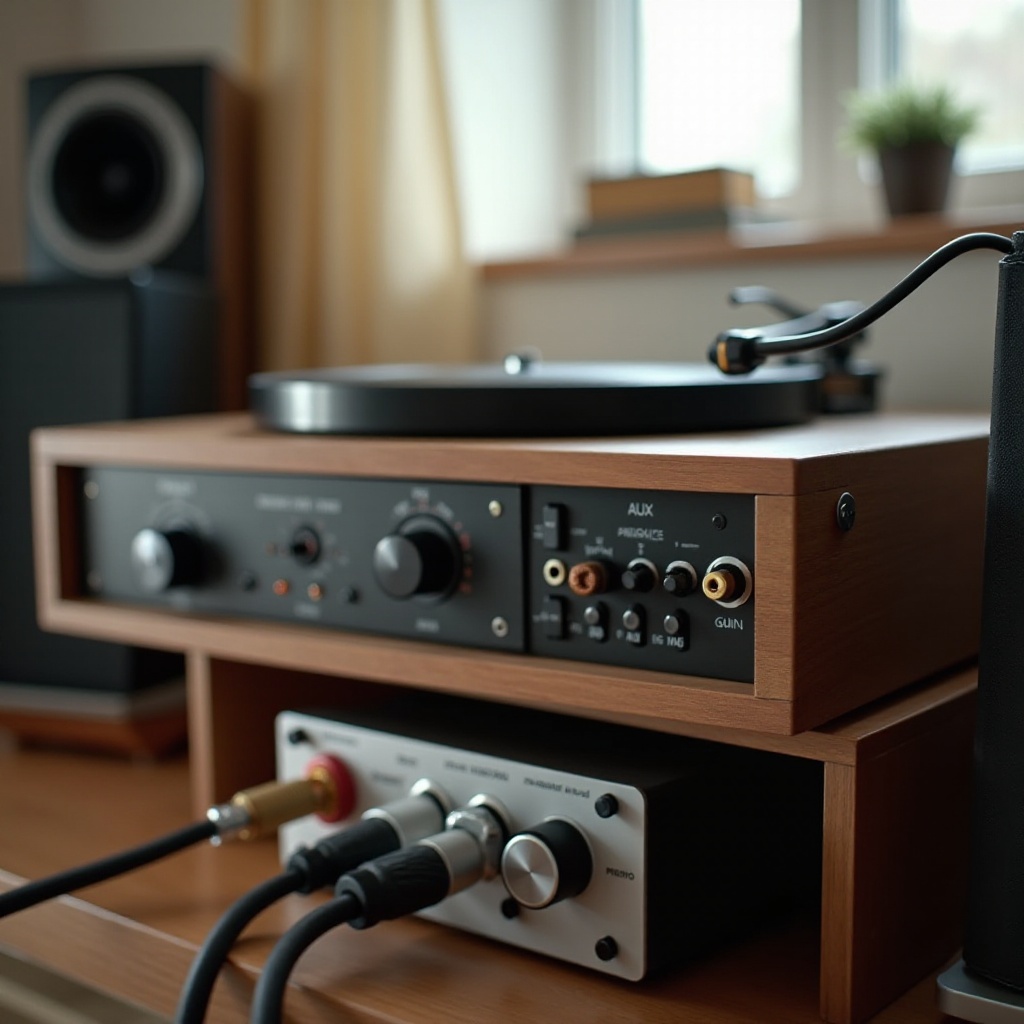
Component decks need correct gain at each step. Quiet playback usually means a mismatch between PHONO and LINE or a missing preamp.
With a PHONO Receiver
- Set the deck to PHONO.
- Plug into the receiver PHONO input and connect the ground wire if available.
- Start with receiver volume around nine to ten o clock and adjust upward.
Without a PHONO Receiver
- If your deck has a built in preamp, set it to LINE and connect to AUX or LINE.
- If your deck lacks a preamp, insert an external moving magnet phono preamp between the turntable and the receiver AUX or LINE input.
- Choose a preamp with sufficient gain to reach line level without noise.
With Powered Speakers
- Set the deck to LINE.
- Plug RCA into the speakers line or AUX input.
- Set speaker input gain around noon and fine tune from there.
If volume is still low, check cable integrity and speaker sensitivity. Some speakers require a stronger input, and a preamp with adjustable output can provide it.
Bluetooth Playback: Phone Volume, Speaker Limits, and Codec Gain
Wireless convenience introduces volume caps and codec quirks. A quiet result often points to device level limits rather than a turntable fault.
Send vs Receive
- If your Crosley transmits to a Bluetooth speaker, set the deck to LINE and keep its source output strong.
- If you stream from a phone into a Bluetooth enabled Crosley, turn the phone volume near maximum.
Device Caps and Apps
- Check for volume limit toggles in the speaker or phone app and disable them during tests.
- Test another Bluetooth speaker or headphones to reveal whether one device enforces a cap.
Wired A B Test
- Compare wired RCA output to Bluetooth. If wired is louder, Bluetooth is the bottleneck.
- Keep the wired path as your reference while you adjust wireless settings.
After wireless checks, confirm the cartridge and stylus supply a healthy signal at the source. Weak contact at the groove can mimic a gain problem.
Cartridge and Stylus Factors: Ceramic vs. Moving Magnet, Wear, Alignment, and Tracking Force
Your cartridge converts groove motion into electrical signal. Output depends on type, condition, and setup.
Cartridge Types
- Ceramic cartridges on some suitcase models produce higher native output and do not need a phono preamp.
- Moving magnet cartridges on component decks produce low output and require RIAA EQ and gain.
Stylus Health
- Replace a worn or chipped stylus. Symptoms include low volume, distortion, or sibilance.
- Clean the stylus with a proper brush or stylus cleaner. Dust and fibers reduce output and detail.
Tracking and Alignment
- Set tracking force within the recommended range. Too light reduces groove contact and volume; too heavy risks damage.
- Check overhang and alignment if your headshell allows adjustment. Misalignment can reduce channel balance and output.
- Ensure cartridge pins and headshell contacts are clean and fully seated.
With a healthy source signal, lock down the links between components. Bad cables and dirty contacts often mute the music.
Cables and Connections: RCA Polarity, Loose Jacks, Grounding, and Contact Cleaning
Weak connections and oxidized contacts can steal gain and channel balance. Secure the path end to end.
Cable Basics
- Use short, well shielded RCA cables.
- Match red to right and white to left at every connection.
- Avoid long, thin cables that add resistance and noise.
Clean and Secure
- Reseat RCA plugs firmly until they fit snugly.
- Swap in a spare RCA cable to rule out a bad lead.
- Clean jacks and plugs with contact cleaner or isopropyl alcohol. Insert and remove plugs a few times to wipe oxidation.
Grounding
- If you use a separate preamp and a receiver, attach the ground wire to the receiver ground post.
- While hum is not the same as quiet, fixing ground issues improves overall signal integrity and consistency.
With the physical path confirmed, consider how records and mechanical drag change perceived loudness.
Record and Mechanical Variables: Quiet Pressings, Dirty Grooves, Belt Slip, Platter Drag, Auto Stop
Not all records or drive systems behave the same. Mechanical resistance and dirty grooves can cut perceived volume.
Pressings and Records
- Some albums are cut at a lower level. Compare with a known loud record.
- Clean records with a carbon brush or fluid to improve contact and restore energy.
Drive and Platter
- Replace a stretched belt if pitch seems off or startup feels slow.
- Ensure the platter spins freely and the bearing is not sticky.
- Verify the mat lies flat and does not rub the platter or chassis.
Auto Stop and Friction
- If auto stop drags or triggers early, disable it and retest.
- Check tonearm movement and cable routing so nothing tugs on the arm.
Once mechanics and media check out, align the entire system around correct gain staging. That is where many systems fall short.
Gain Staging 101: Output Voltage, RIAA Preamp Gain, Receiver Settings, and Speaker Sensitivity
Proper gain staging ensures each stage passes a strong, clean signal without clipping. Get this right and the quiet problem fades.
From Groove to Line
- Moving magnet cartridges output millivolts. A phono preamp adds roughly 35 to 45 dB of gain and RIAA EQ to reach line level.
- After the preamp, the signal is ready for AUX or LINE inputs on receivers or powered speakers.
Amp and Speaker
- Start the receiver or amplifier master at nine to ten o clock and bring it up while listening for distortion.
- Set powered speaker input gain around noon and adjust the turntable output if present.
- Choose speakers with higher sensitivity if you need more loudness per watt.
Avoid Double Preamp
- Do not chain multiple preamps unintentionally. Sending LINE into PHONO or stacking EQ stages causes distortion and poor tone.
- Keep one phono preamp in the chain and feed all downstream inputs at line level.
With a strong gain structure, you can troubleshoot systematically and isolate any weak link in minutes.
Diagnose in 10 Minutes: A Step by Step Flow to Isolate the Quiet Link
Use a quick A B method to find the exact point that reduces level.
1) Play a known loud record as your reference.
2) If your unit has a headphone jack, test it. Loud headphones indicate a healthy source and preamp stage.
3) Compare wired RCA output to a Bluetooth connection. If wired is loud, the wireless path is limiting.
4) Toggle the PHONO or LINE switch and connect to the correct input. Note any change in level.
5) Swap RCA cables. Many quiet cases come from a single bad cable.
6) Try another input on your receiver or another pair of powered speakers to rule out input sensitivity issues.
7) Insert a small moving magnet phono preamp between the turntable and receiver AUX. If volume jumps, you were missing gain or EQ.
8) Replace the stylus if age or unknown condition is a factor. A fresh stylus restores contact and output.
The first step that restores normal level points to the failing link. Fix that link and keep the rest of the chain as you tested it.
When Hardware Is Faulty: Preamp, Amplifier, or Speaker Failure Signs and What to Do Next
If correct setup and clean connections do not help, a component may be failing. Recognize the signs and respond efficiently.
Symptoms
- One channel stays quiet or dead even after swapping cables and inputs.
- Volume drops suddenly and ignores switch positions.
- Distortion appears at low volume, pointing to a weak preamp or amp stage.
- Crackling occurs when you touch knobs or wiggle plugs, suggesting worn pots or jacks.
- Bluetooth volume seems normal, but RCA output is very low, or the opposite. This isolates the fault to a specific stage.
Next Steps
- Test the turntable with a different system and test your system with a different source to triangulate the fault.
- If the internal preamp is weak, bypass it if possible and use an external moving magnet preamp, then set the deck to PHONO.
- If under warranty, contact Crosley support with your tests and results.
- For suitcase models with failing amps, compare repair costs against adding powered speakers through line out.
With the fault isolated, you can choose a repair or a simple add on to restore proper loudness.
Budget Friendly Pairings and Upgrades to Restore Proper Loudness
You can solve quiet playback and improve sound without overspending. Target the weakest link first.
Suitcase Paths
- Add compact powered speakers via line out. You will gain headroom and clarity instantly.
- Replace the stock stylus with a reputable compatible tip for better contact and output.
- Place the unit on a solid shelf and open the lid during playback for a freer sound.
Component Paths
- Add an adjustable gain moving magnet phono preamp if your receiver lacks PHONO.
- Choose powered speakers with higher sensitivity and separate volume controls.
- Keep cables short and well shielded to preserve signal strength.
Handy Accessories
- Stylus cleaner and carbon fiber brush maintain strong contact.
- A fresh belt cures speed instability that can sap energy.
- Isolation pads under speakers tighten bass and focus mids.
Conclusion
Low volume usually has a simple cause: a switch set wrong, a mismatched input, a tired stylus, or a weak link in the chain. Map your model and signal path, match PHONO or LINE to the right input, clean and secure every connection, and set gain properly. Most why is my Crosley record player so quiet cases resolve quickly with this method. If the problem persists, run the ten minute diagnosis to isolate the quiet link and consider a small preamp or a pair of powered speakers. With the right gain at each stage, your records will sound lively and clear without strain or distortion. Enjoy the music at the level it deserves.
Frequently Asked Questions
Why is my Crosley record player so quiet even at max volume?
Start with the PHONO or LINE switch. If you feed AUX or LINE on speakers or a receiver, set the turntable to LINE or insert a phono preamp. Reseat RCA cables, clean the stylus, and try a known loud record. If headphones sound strong but speakers do not, the issue sits downstream from the turntable.
Should my Crosley be set to PHONO or LINE for my speakers or receiver?
Use LINE when you connect to AUX or LINE inputs on powered speakers or receivers without a phono stage. Use PHONO only when you plug into a receiver PHONO input for moving magnet cartridges. Sending PHONO into AUX sounds quiet and thin, while sending LINE into PHONO sounds boosted and wrong.
Do I need a separate preamp or powered speakers to make my Crosley louder?
If your receiver has a PHONO input, you do not need a separate preamp; set the deck to PHONO. If it lacks PHONO, set the deck to LINE if it has a built in preamp or add an external moving magnet preamp between turntable and AUX. Suitcase models often benefit from powered speakers via line out for a big volume boost.